A Sweater Alteration with Chain Stitch Embroidery Accent
Featuring Embroidery Stitch #2: The Chain Stitch

My studio above the garage, usually strewn with fabric and patterns, has been overtaken by painted coffee filters, pipe cleaners, and recycled jam jars. It’s still cozy and cluttered, with its original 1940s beveled tongue wood paneling and sage green carpeting, but for now, it’s a full-on preschool party prep zone. We’re deep in the mix of getting ready for my daughter’s fairy princess birthday—she picked the theme, and we’re running with it.
So while I’d planned to draft an evening jacket lining for this letter, I’m taking a short break from the reverse engineering series given the state of my studio. Instead, I thought it’d be fun to do a small sweater alteration with a chain-stitched accent. Plus, it’s the perfect chance to open up this fabulous patch kit from ace&jig, a bundle of scrap fabrics from their past collections, saved from the cutting room floor.

If you’re new to embroidery, be sure to check out my Hand Embroidery 101 letter for helpful tips on getting started.

The Chain Stitch
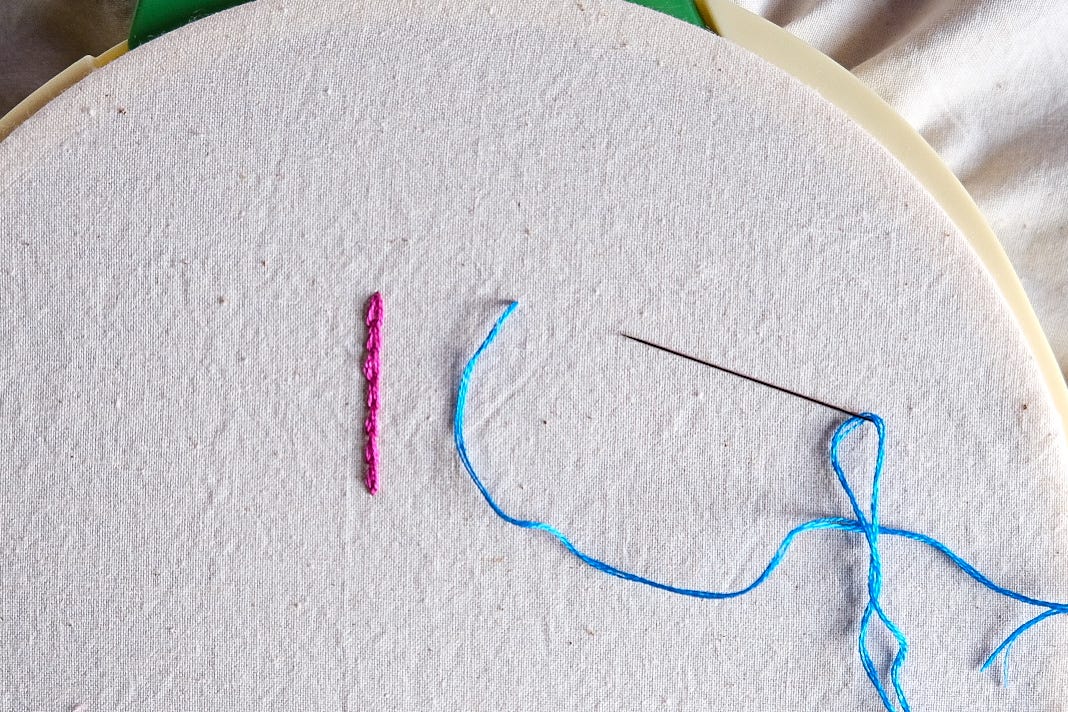
The chain stitch gets its name because it resembles links of a chain. It’s often used to emphasize outlines, embroider cursive script, and fill in broad areas. It’s also useful for tacking down the edges of appliqué or patchwork. In this letter, I’ll show how to embroider two versions of the chain stitch, and then I’ll share a simple sweater alteration.
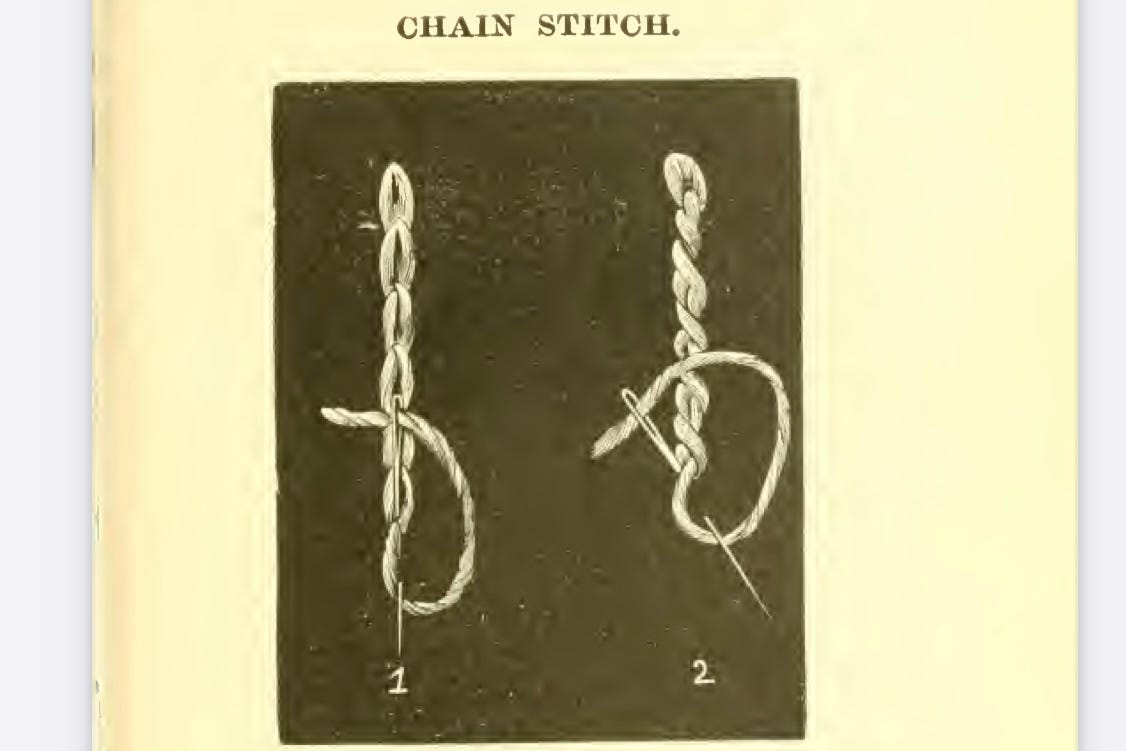
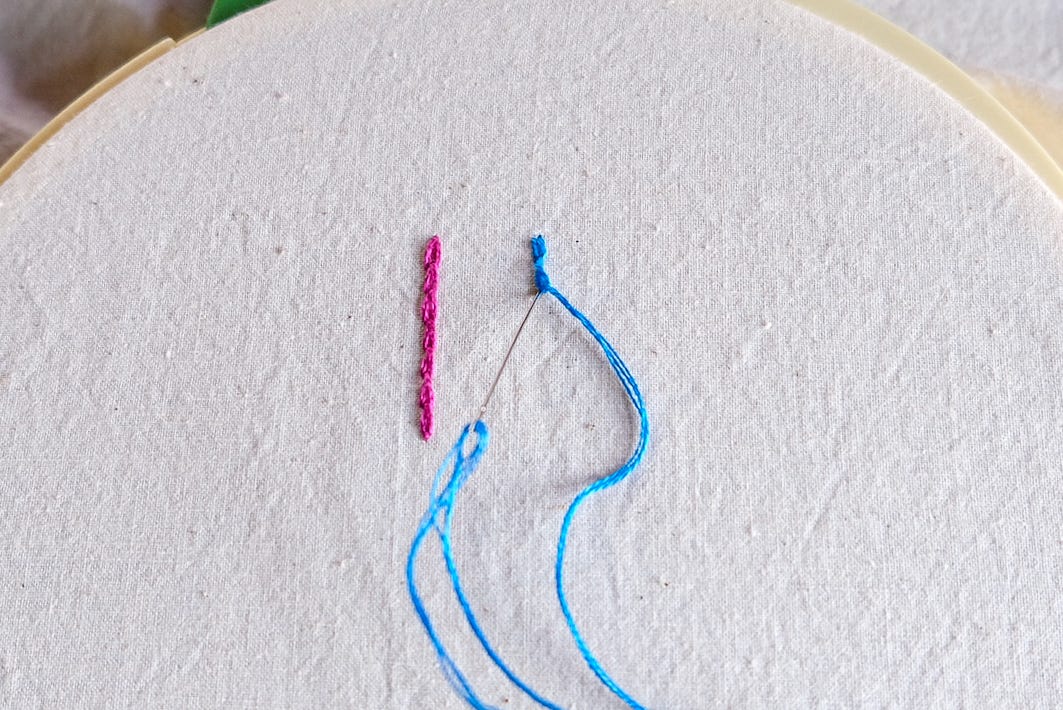
Version 1
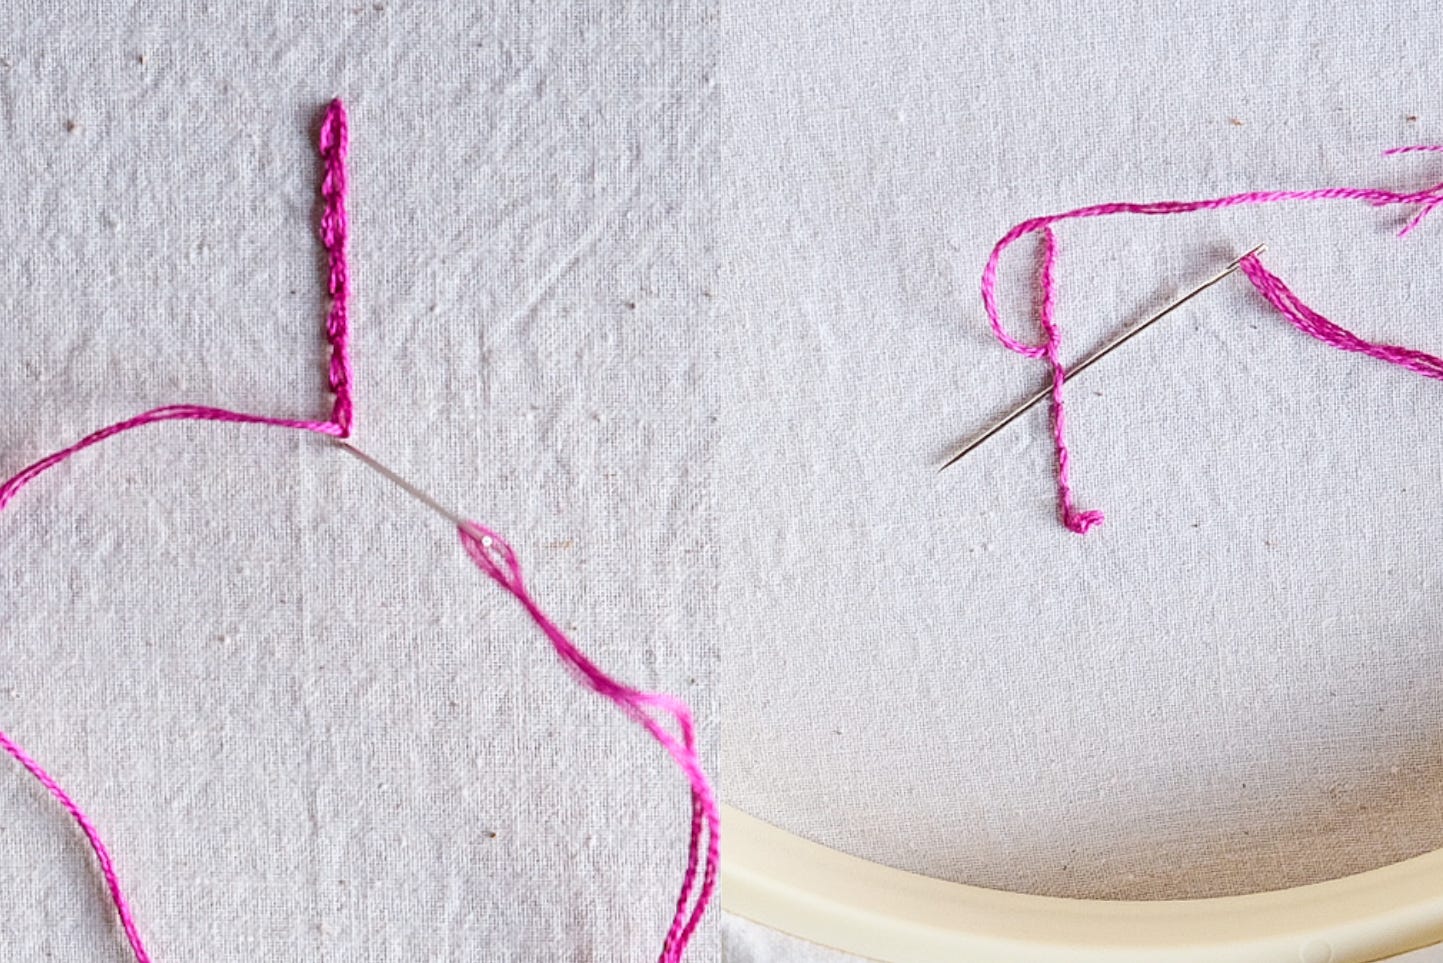
To begin a chain stitch, knot your thread and bring the needle up from the wrong side of the fabric. Pull it through, then loop the thread from left to right.
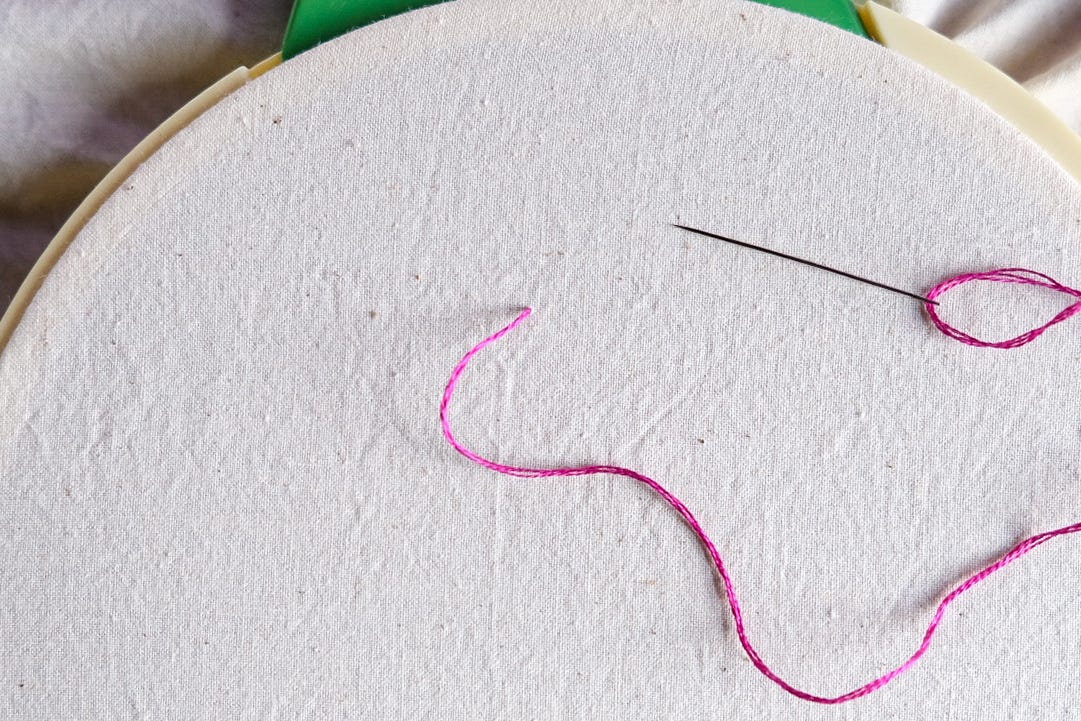
Insert the needle back into the same hole, holding the thread in a loop with your thumb. Keep the loop under the needle and bring it out directly below at your chosen distance. Pull through.

Again, loop the thread from left to right again and hold it down with your thumb. Insert the needle back into the same hole where it emerged, then bring it out through the loop. Pull the needle through to form the next chain stitch.

To finish, anchor the last stitch by inserting the needle just below its loop. On the wrong side of the fabric, secure the thread by sliding the needle under the nearest three or four stitches, pull it through, and snip off excess thread.


Version 2
Version 2 of the chain stitch is very similar to Version 1, but instead of bringing the needle out directly below, you’ll bring it out out slightly to the right.
First, knot your thread and bring the needle up from the wrong side of the fabric. Pull it through, then loop the thread from left to right.
Hold the thread in a loop with the thumb of your free hand, then insert the needle back into the same hole. Keeping the loop under the needle point, bring the needle out just below and slightly to the right. Pull the needle through.

Then, insert the needle just beside where it first emerged, keeping it aligned with the starting point from Step 1.

Continue your design and end off when complete.
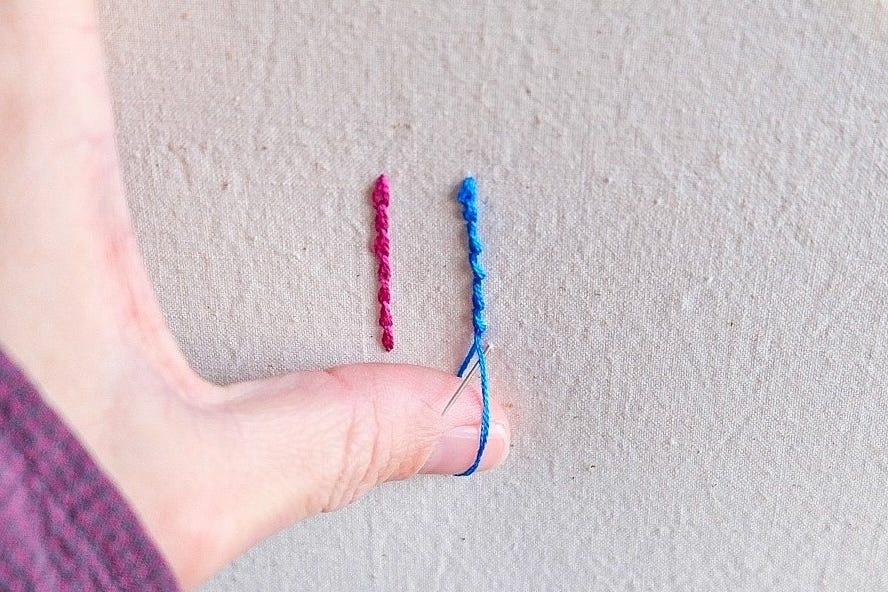
I found that keeping your thumb in the loop is helpful because it helps maintain the twist you create as you move from right to left.


Sweater Alteration with Chain Stitch Accent
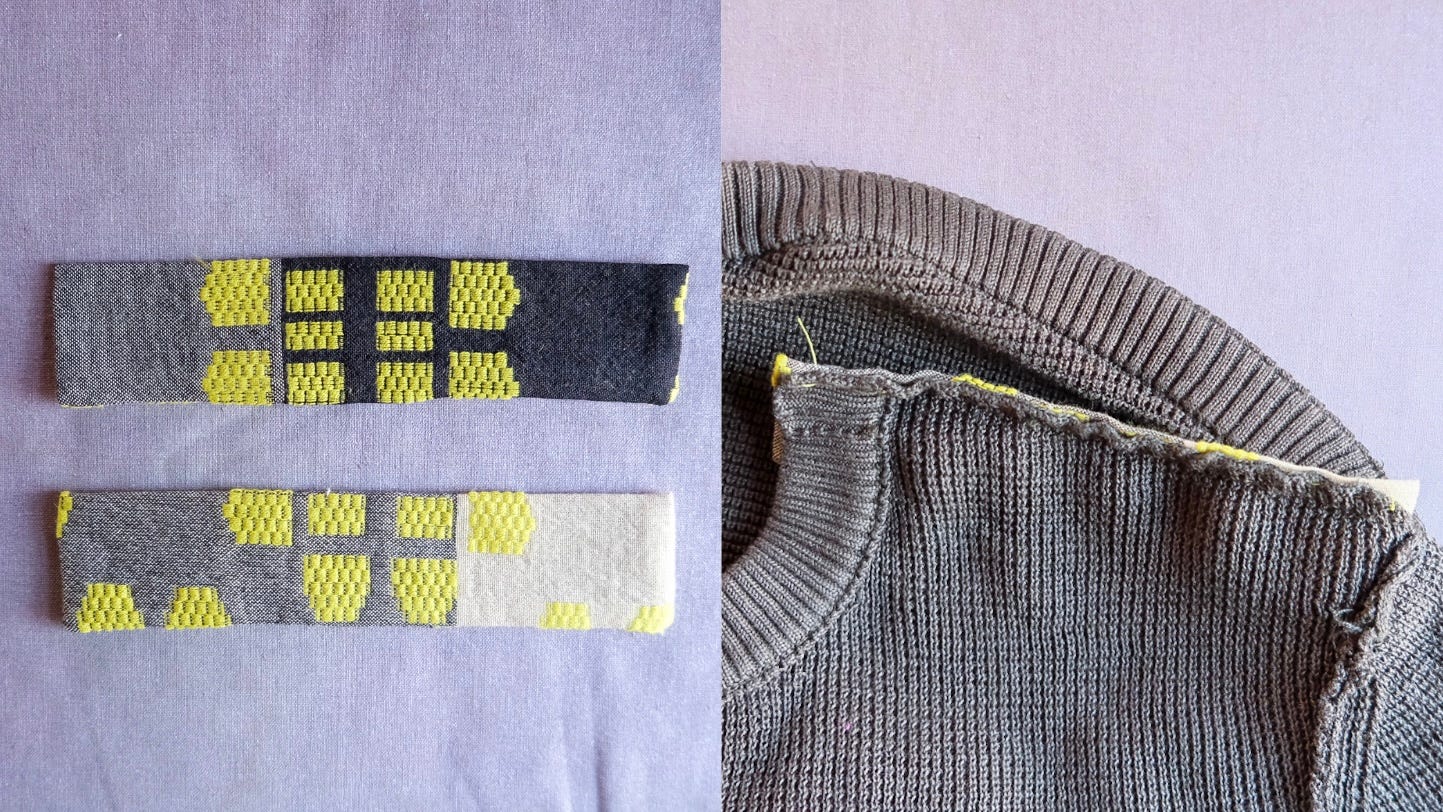
I found this cotton sweater thrifting, but the zippers felt too bulky for me, so I swapped them for cotton inserts from ace&jig’s patch kit. Mixing woven fabric with stretch at the neckline wasn’t a concern since the zippers had none, and I could still slip the sweater on without them.
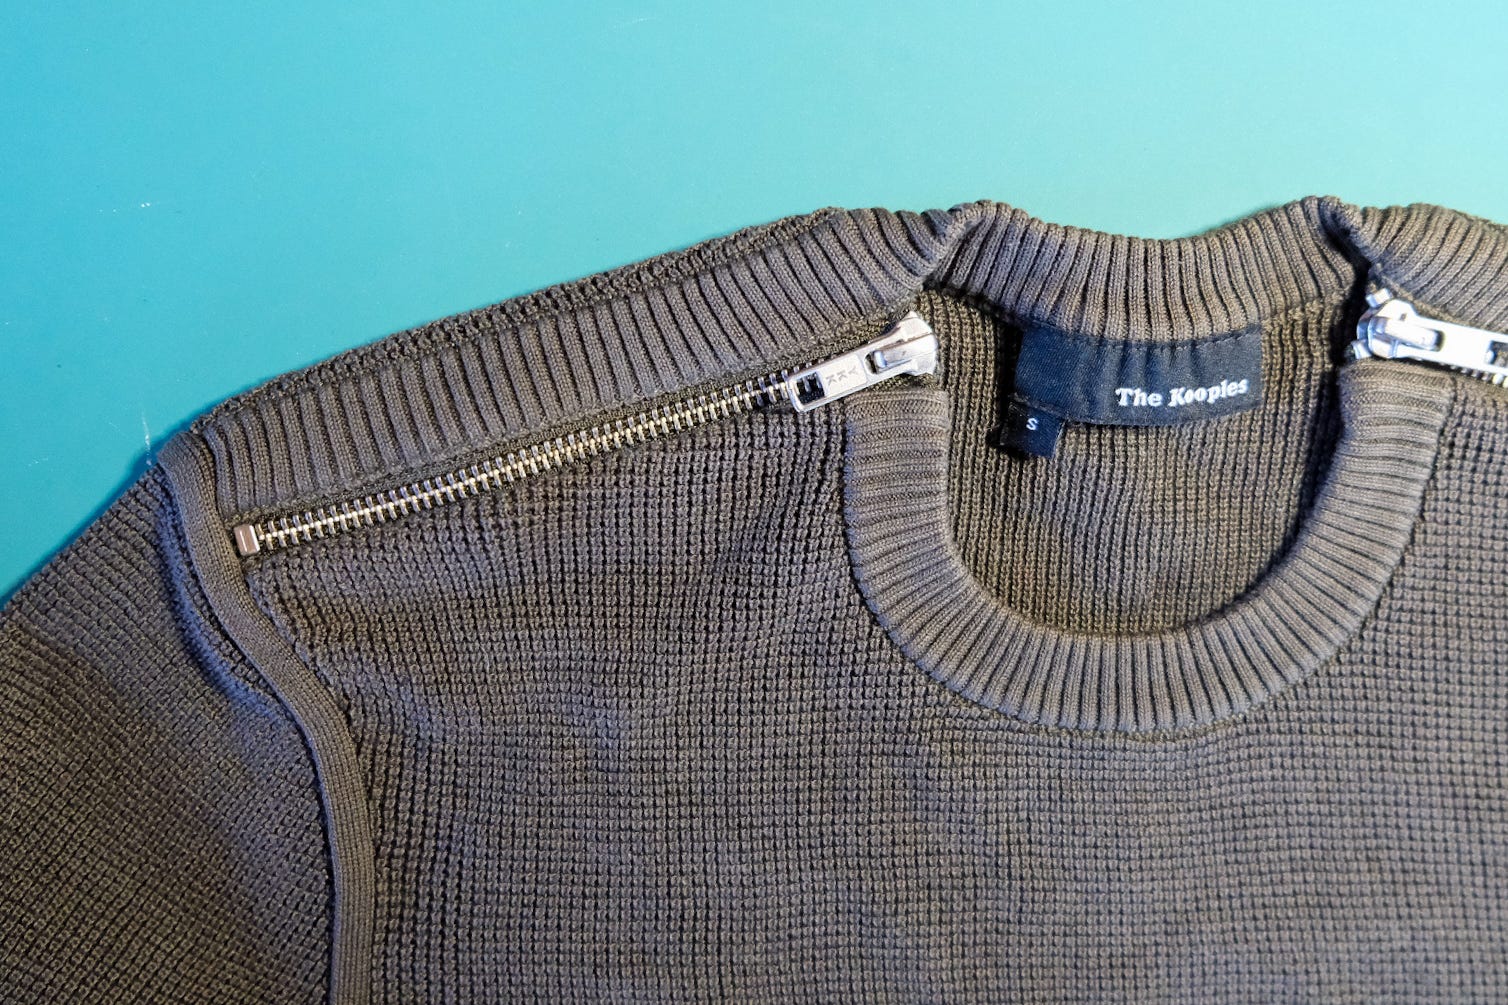
Here’s a look at the zipper construction on the inside of the sweater.

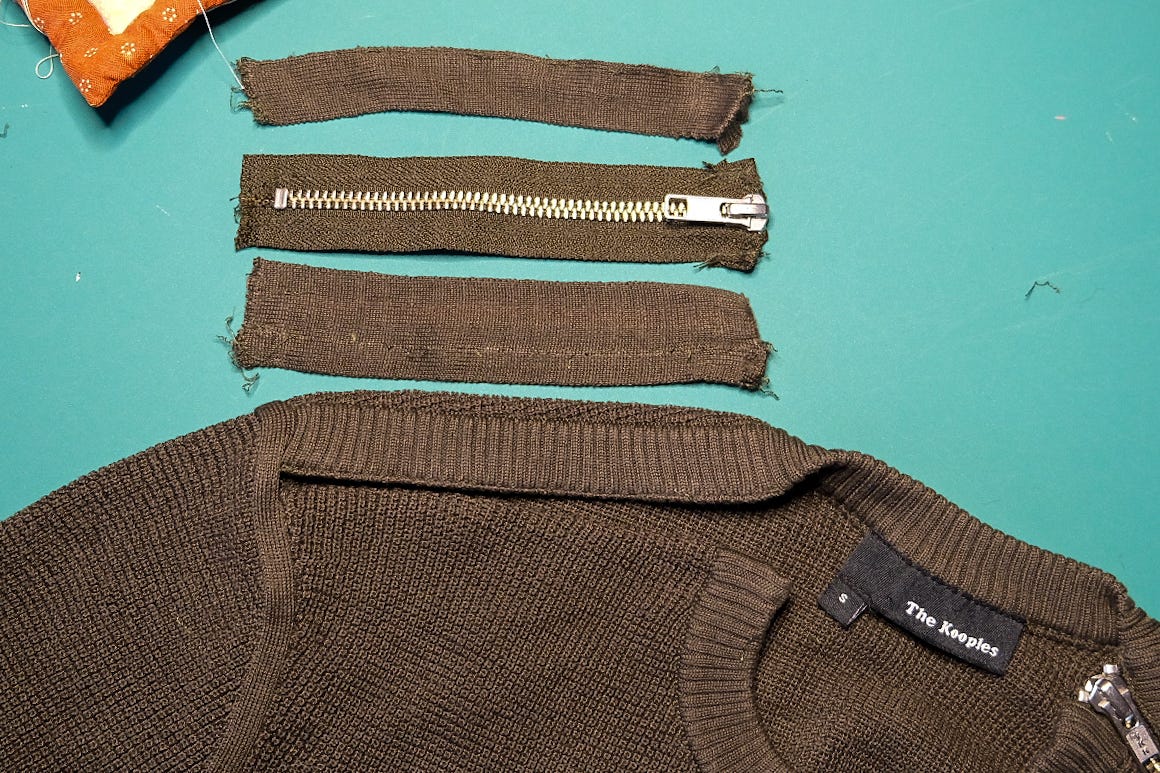
First, I removed the zippers and knit tape with a seam ripper.
To create the insert, I made a small pattern. The length is the same as the knit tape’s length and the width is the gap where the zipper teeth were visible plus the neckline rib width + seam allowances. To eliminate excess seam bulk, one side will be on the fold.
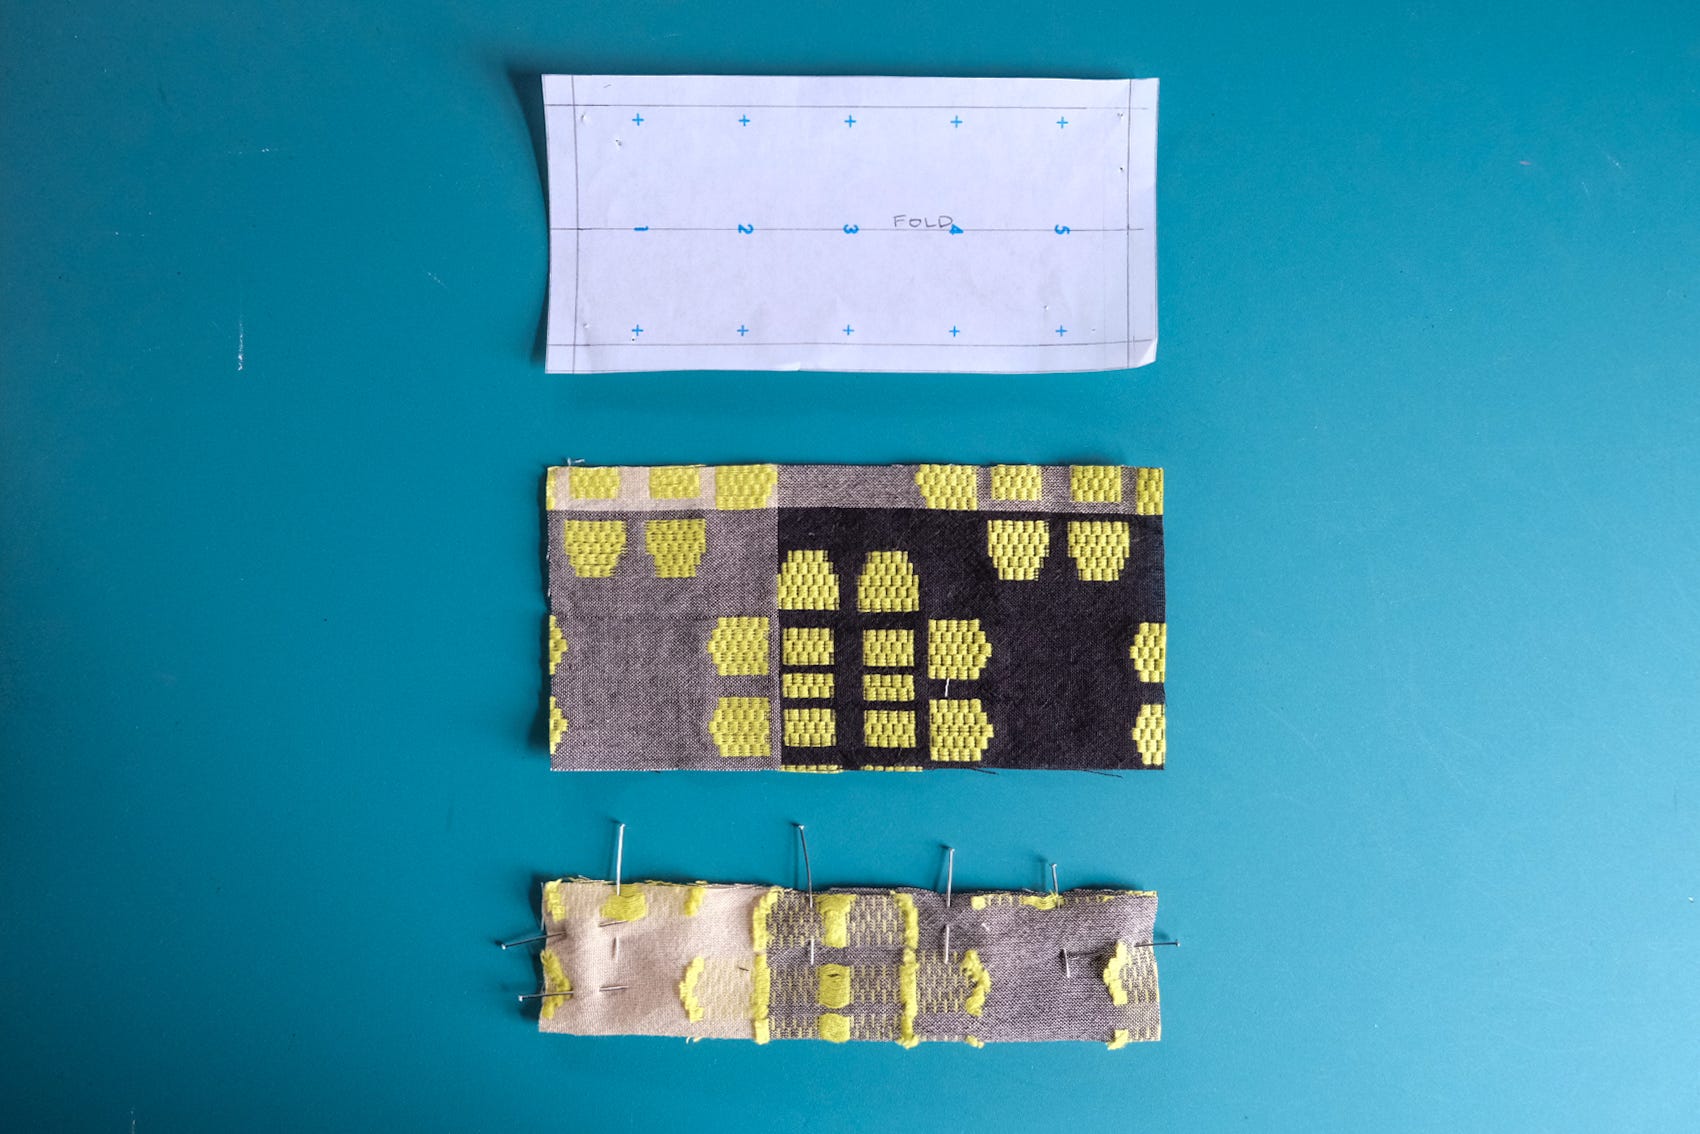
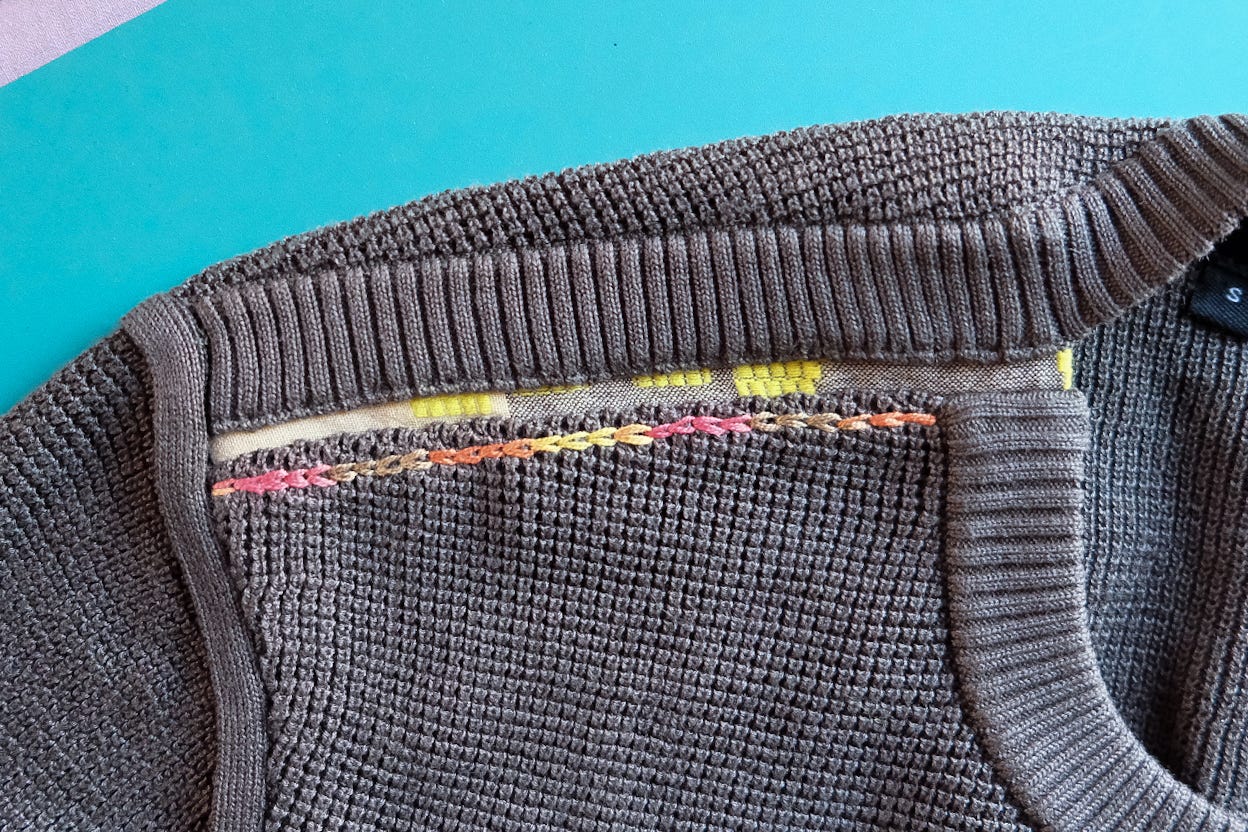
With the ends clean finished, I hand-basted the insert to the knit before machine stitching.
Next, I hand-basted the top of the insert to the rib, then attached it with a hand-sewn backstitch instead of machine stitching. To finish, I added chain stitch embroidery along the bottom seam. It’s decorative but also helps the seam lay flat.
Here’s a short video of my process!

Thank you so much for reading, and see you next time! Happy sewing!
~ Jane
Share this post with a friend who might enjoy it! 💕
Leave a comment with your favorite embroidery stitch! 🪡
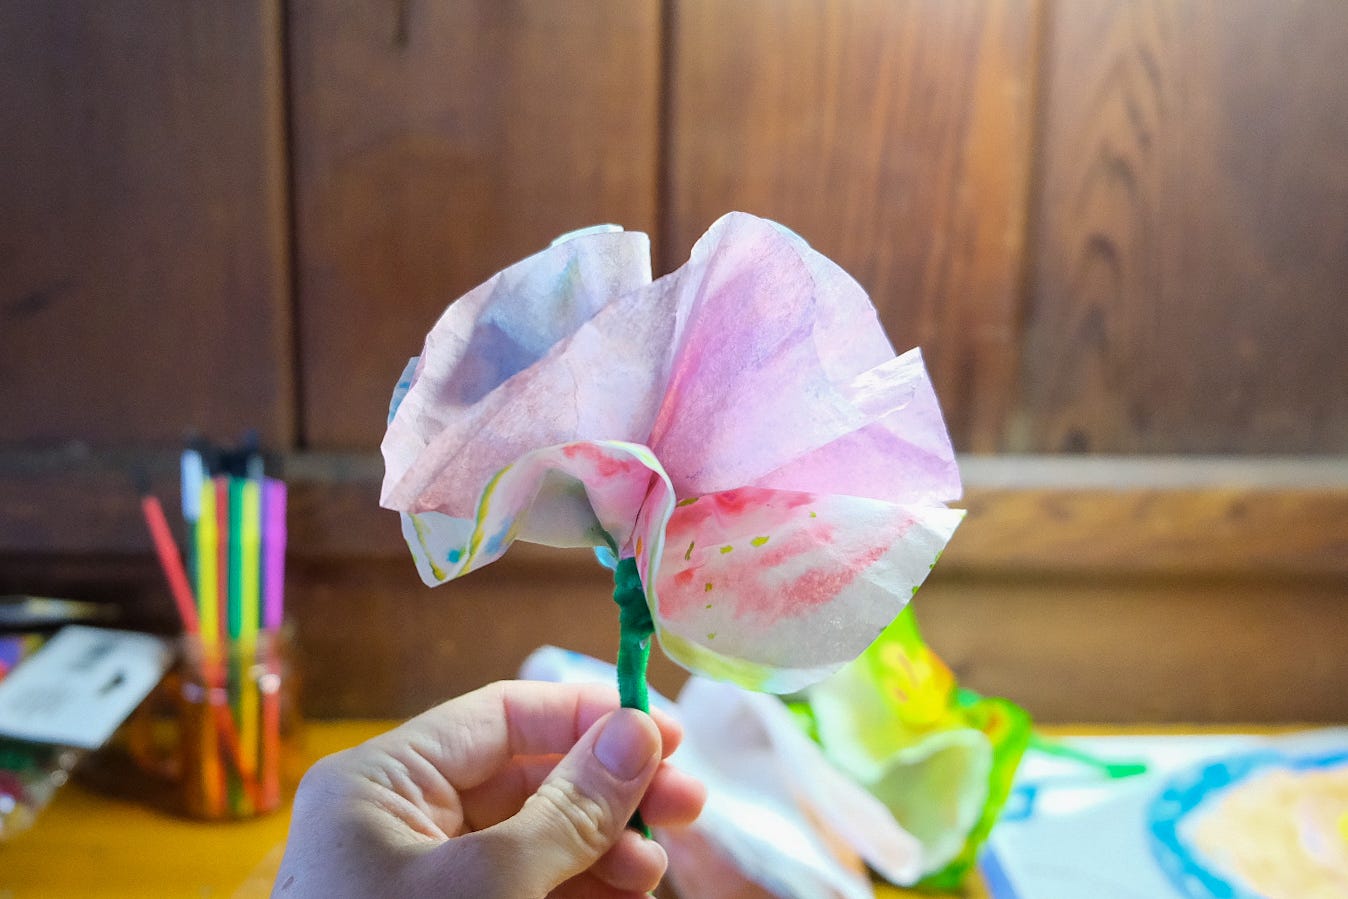
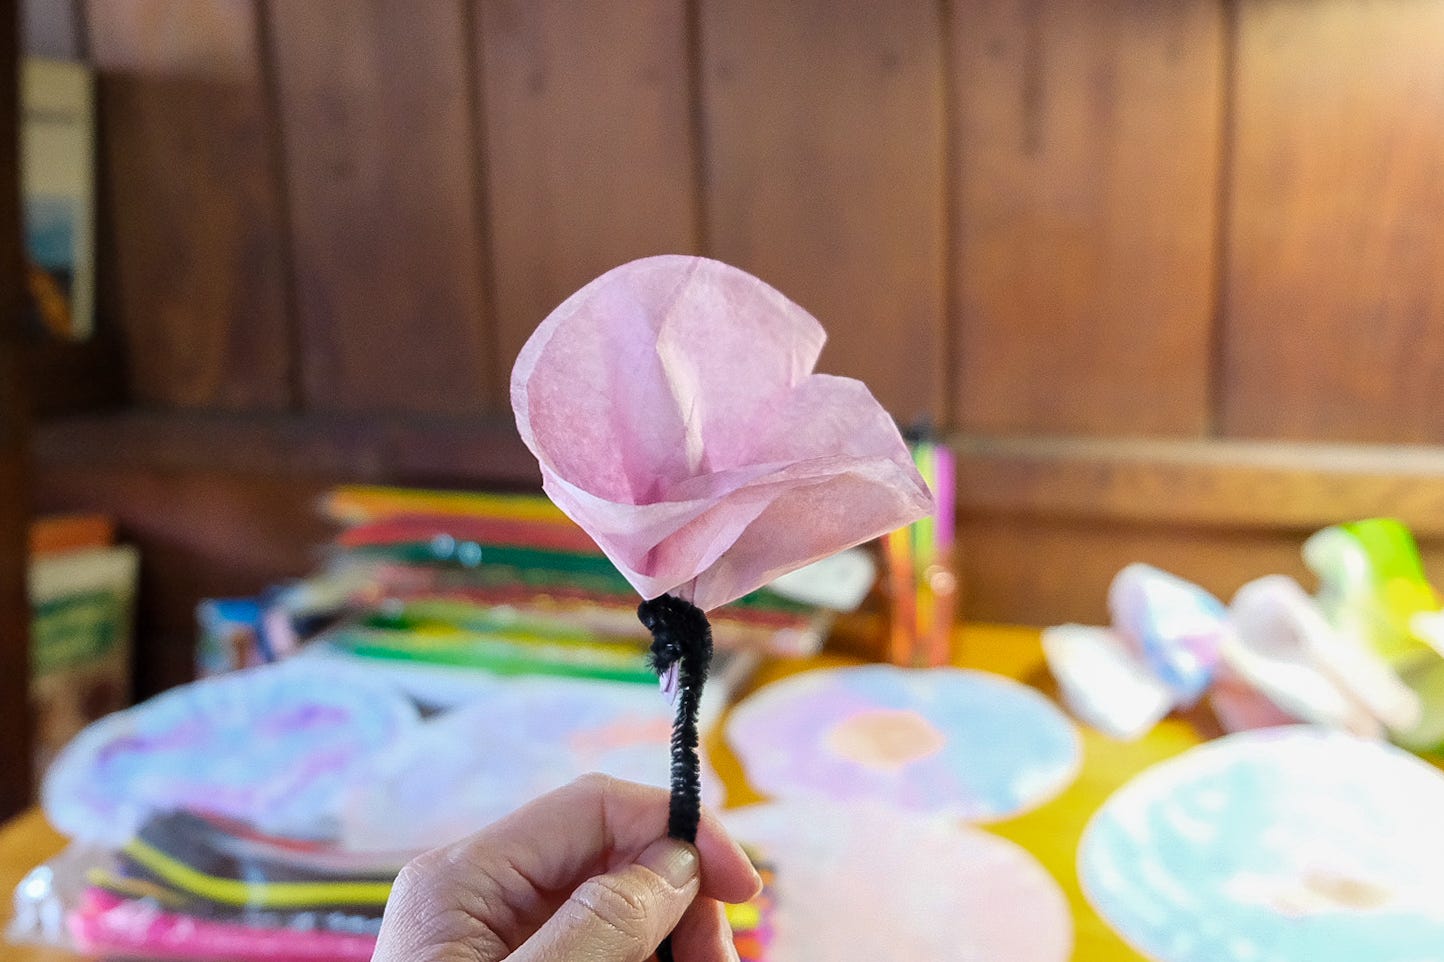
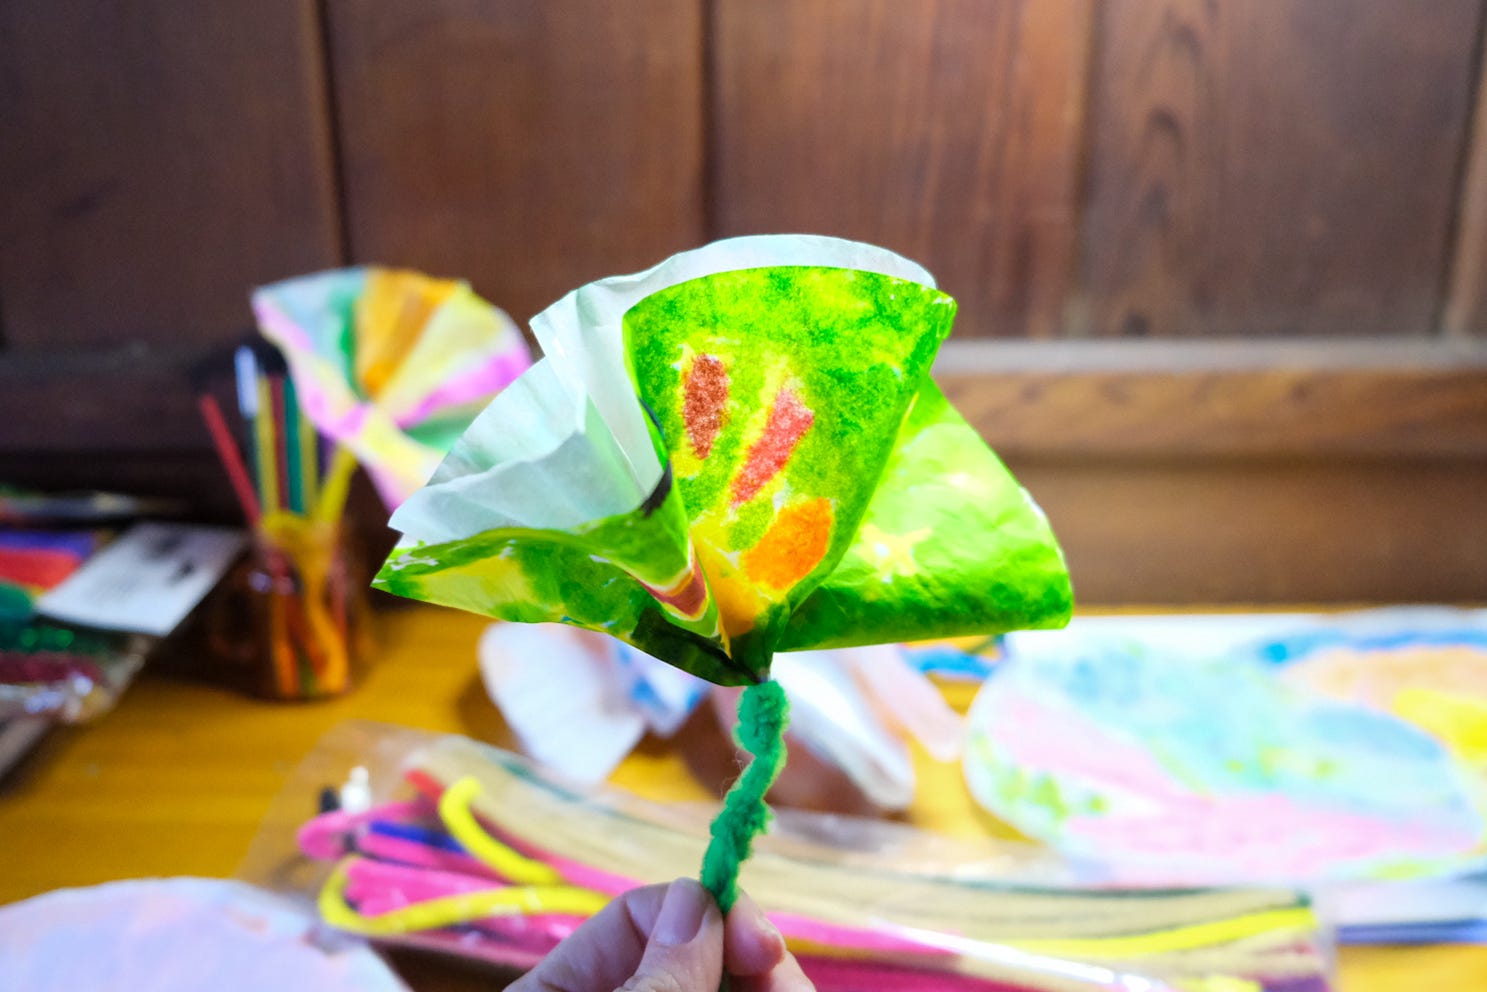
Here are a few coffee filter flowers popping up in the studio. We’re using them for decorations as well as setting up a craft station at the party—paint coffee filters with watercolors or color them with markers then brush on water—a creative activity for any age!