

The Basic Pattern Set
Along with Slopers, Muslin Mockups, & Freestyle Mending

The basic pattern set is to a pattern maker what primary colors are to a painter—a foundational tool and the starting point for limitless design possibilities.
In this post, I'll explain why working with a basic pattern set is so valuable, guide you through preparing it for use, and show you how to sew a test fit. And in future newsletters, I’ll be using the basic pattern set as a reference for drafting patterns.
The basic pattern set is a five-piece pattern set that represents the dimensions of a specific form or figure, and it’s developed without design features. The set consists of a front and back bodice and skirt, and a long sleeve. (Yes, there are basic pattern sets for childrenswear and menswear, but today I’ll focus on womenswear.)
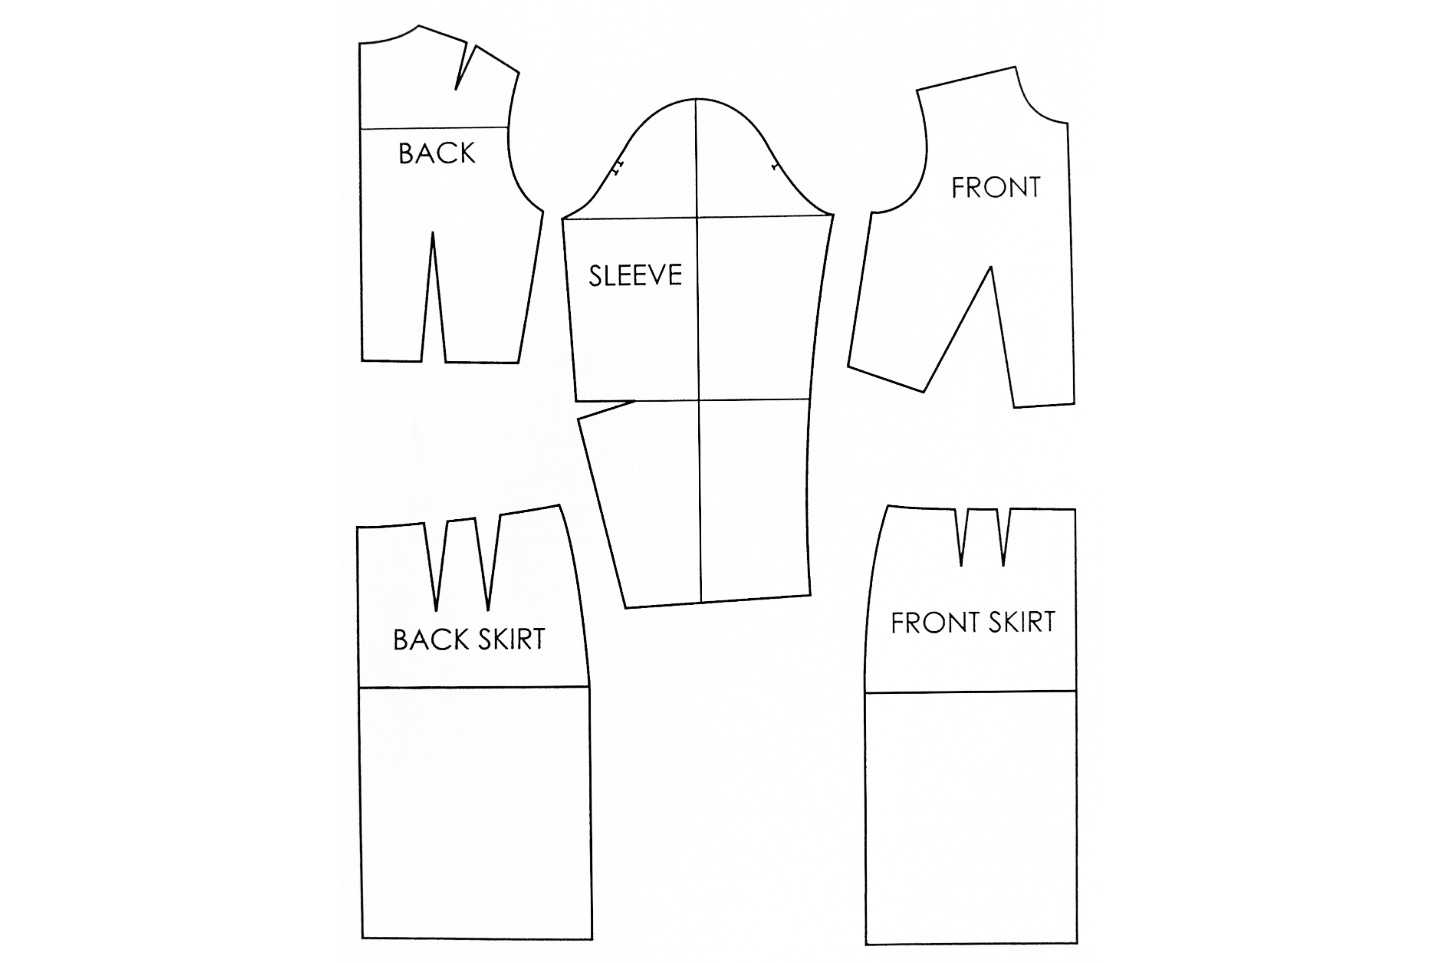
Singularly, one of these patterns is known as a block pattern or sloper. Each sloper may have minimal ease added, but ultimately, these are close-fitting and made to skim the form or figure.
Why work with a basic pattern set?
When measurements deviate from traditional or preset sizes.
To alter the pattern to fit your body.
Design customization!! You can draft almost any style you can imagine.
The basic pattern can be made from individual measurements or a standard set of measurements, or it can be a purchased pattern.
I purchased a digital pattern set on Etsy—just the bodice requires 20 measurements, and I found measuring myself nearly impossible. That’s why I chose a premade set. Even with that, creating a set for myself for the first time still came with its challenges.
My purchased set was not a perfect fit, and I had to make adjustments. (More on this below).
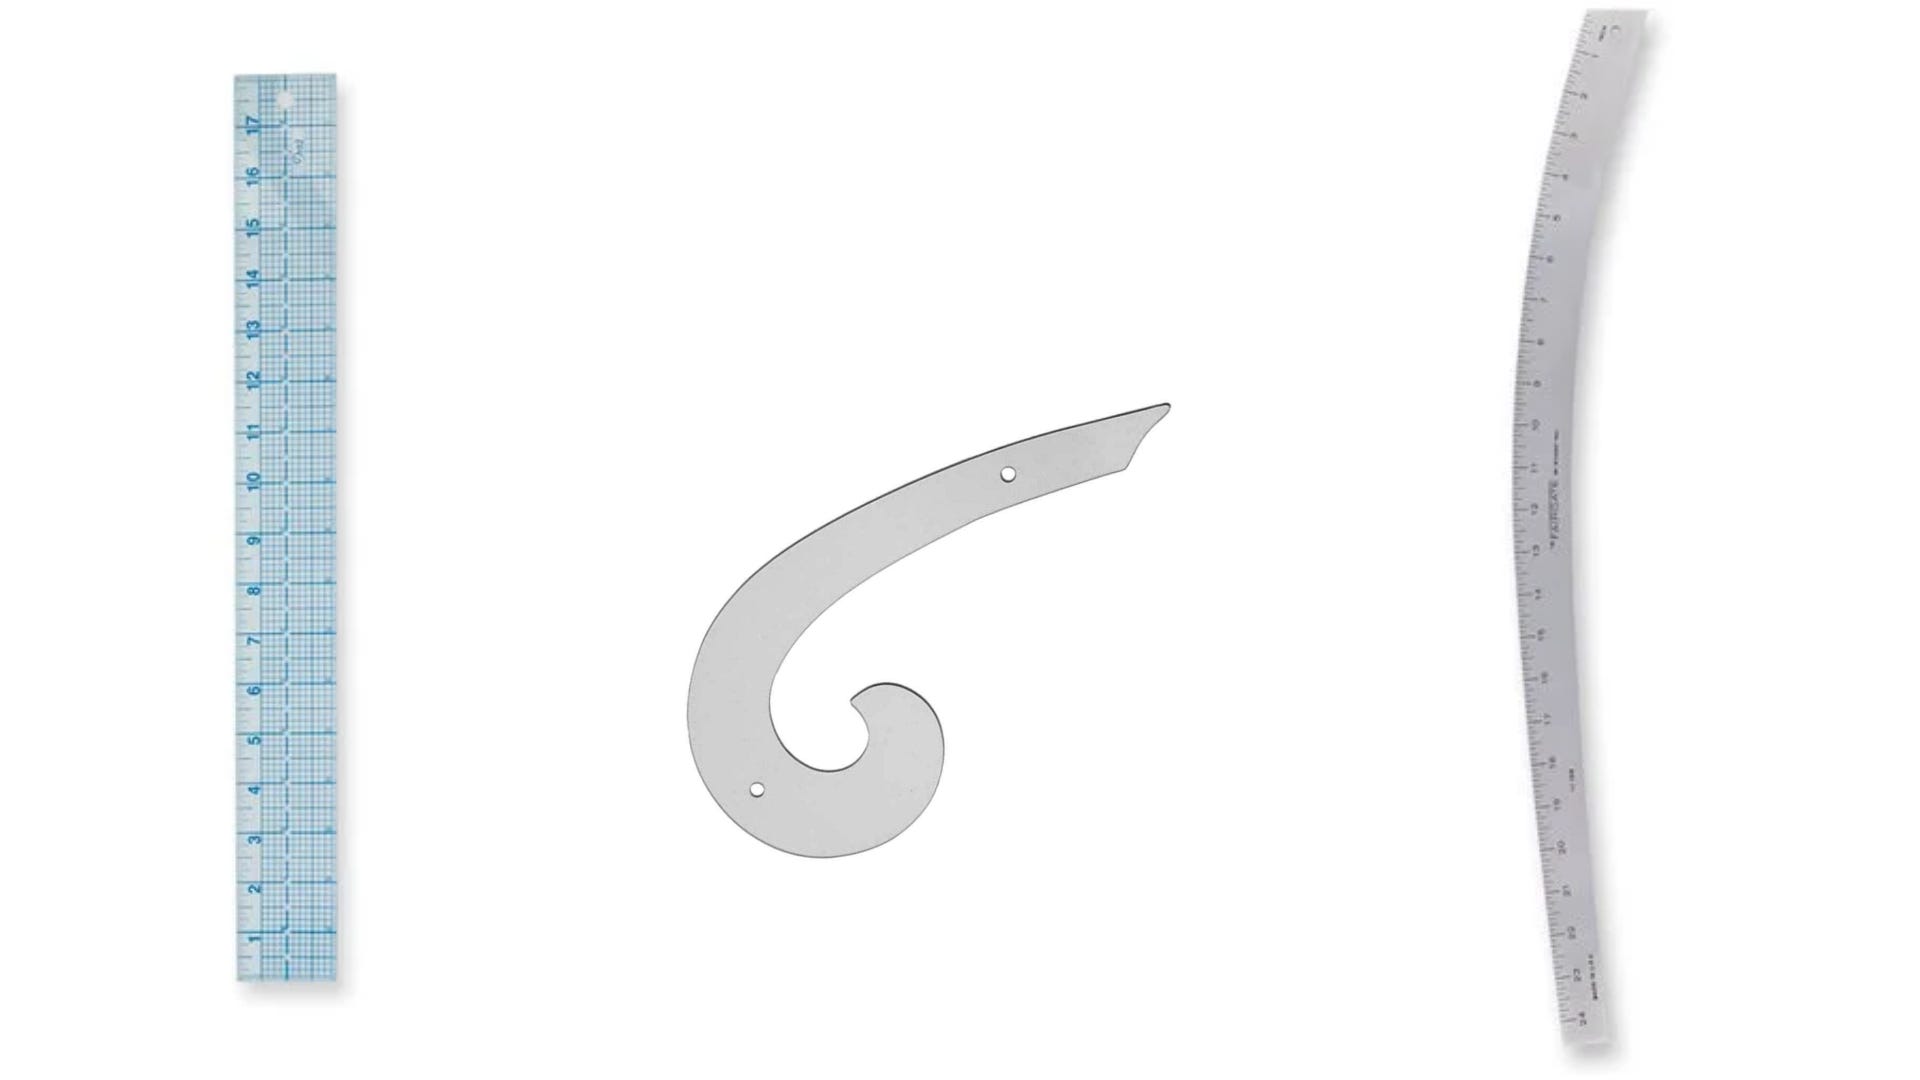
To start pattern making, you don’t need many tools. While there are plenty of rulers out there, I find these three cover all the basics.
Three Essential Pattern Drafting Rulers:
See-Thru Marking Ruler - 18" x 2"
French Curve
Hip Curve Metal Tailor Ruler
Book recommendation: If you’re interested in further exploration, Helen Joseph Armstrong’s PATTERN MAKING FOR FASHION DESIGN is tremendously comprehensive. Her book also walks you through how to draft a basic pattern set with custom measurements.
Let’s dive in, shall we?
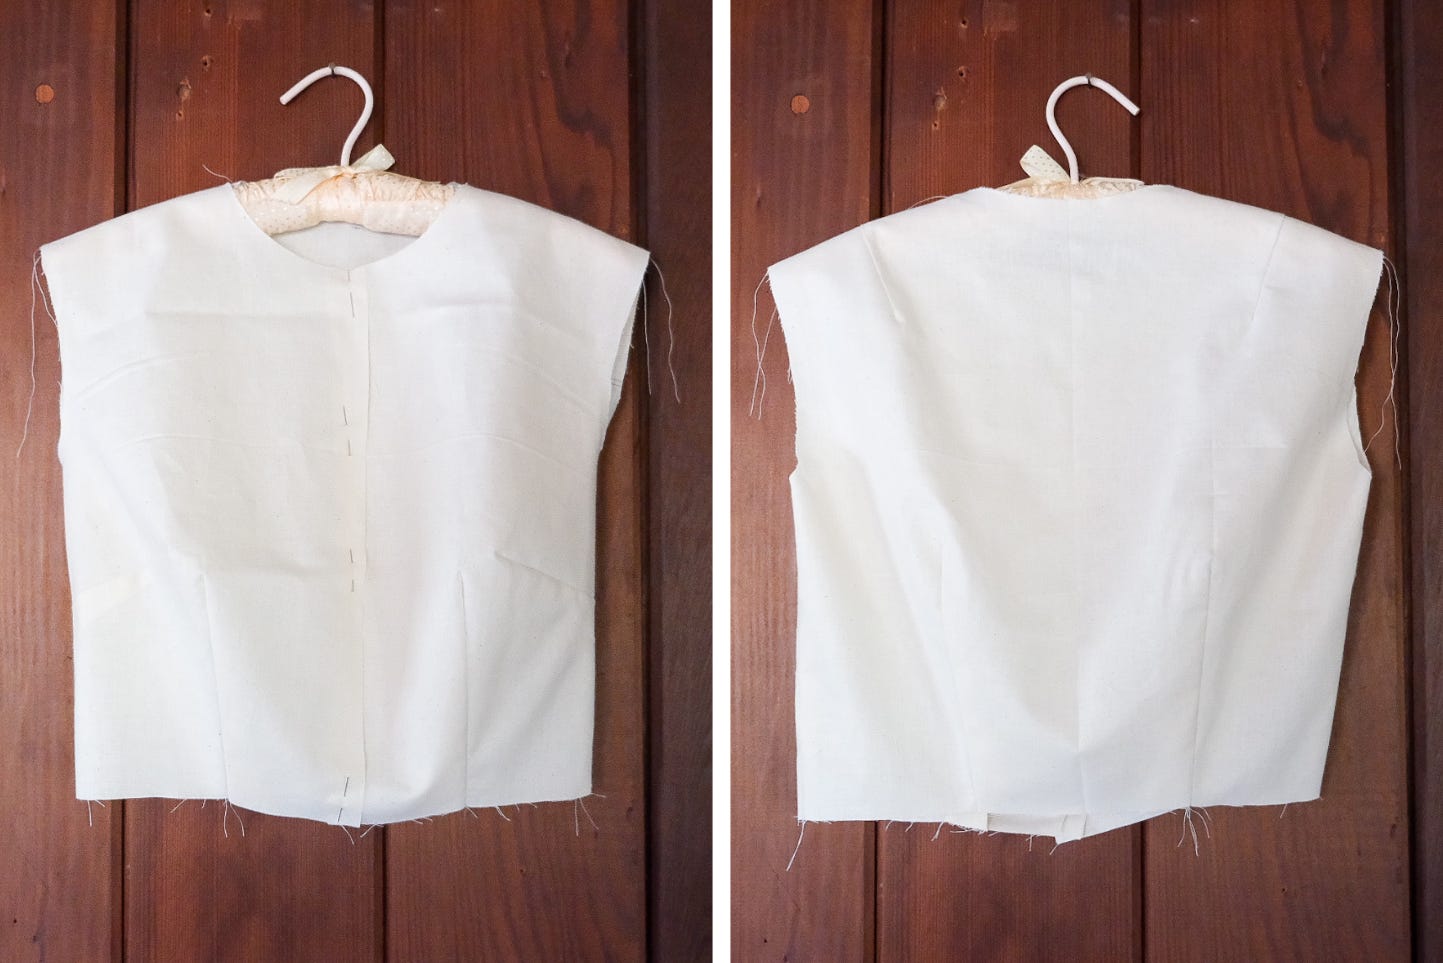
1. Sewing a Muslin Mockup
Sew a muslin mockup, also called a toile, before transferring your paper patterns to an oaktag sloper. This allows you to check the fit, identify any issues, and fine-tune the pattern. Otherwise, you'll need to create new slopers after making adjustments. Without checking the fit, any errors in the pattern will carry over into every design based on it.
*Don’t forget to add seam allowances to your toile before cutting.*
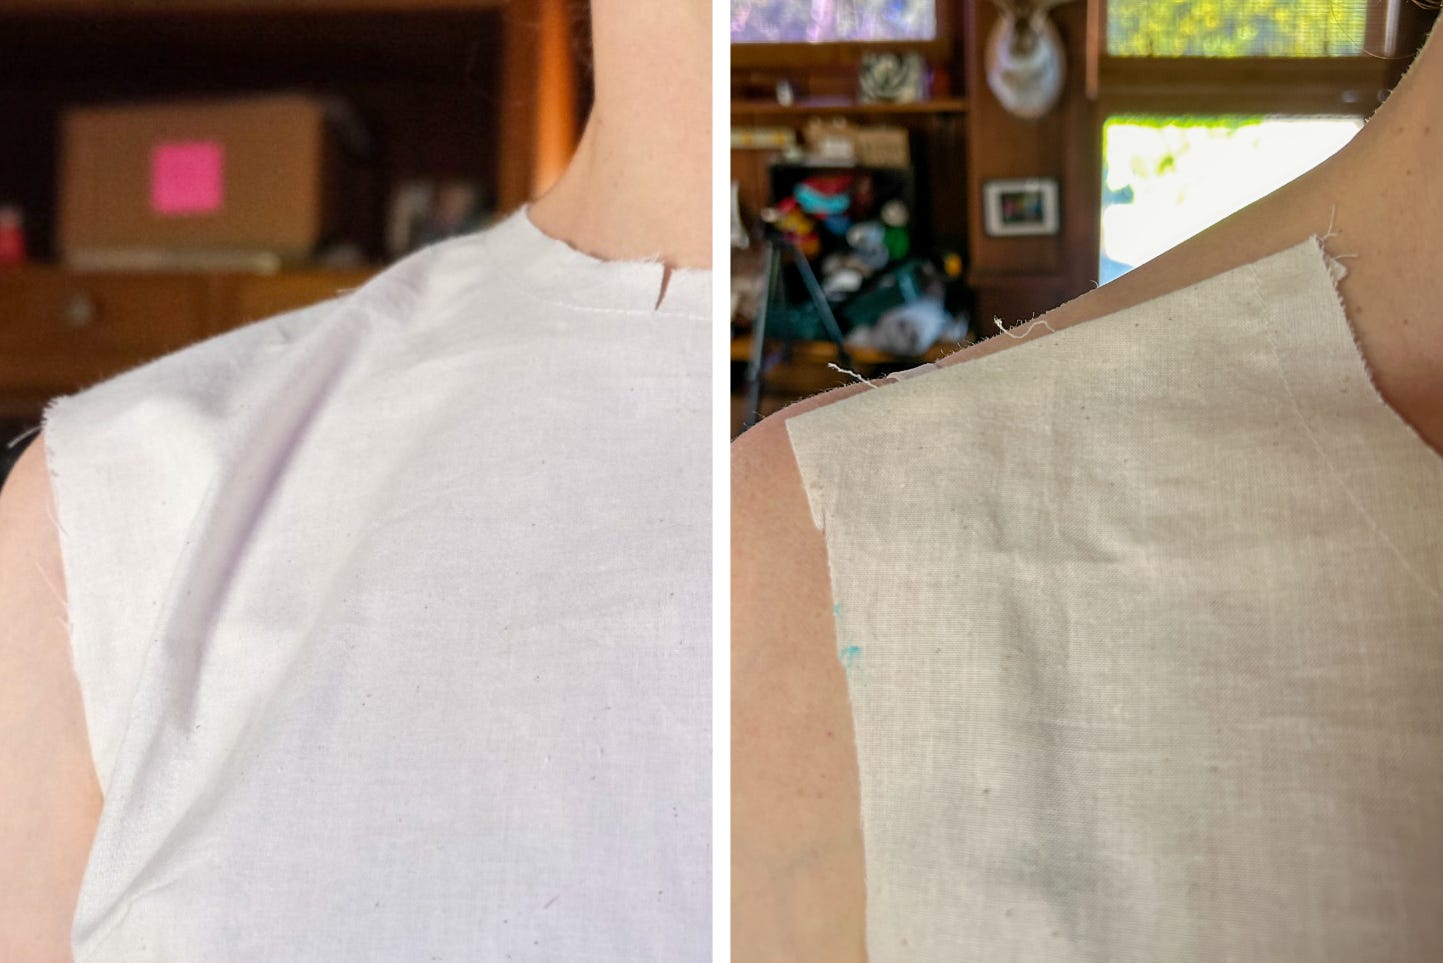
Fitting: Entire books could be written on fit issues, so I’ll give a broad-stroked overview. The goal is a smooth fit. There should be no gaps or draglines, and bust darts should point to the apex (nipple). Draglines form when fabric is forced to stretch or when fabric requires more contouring to travel over curves. In short, draglines signal a fit problem.
Sew the bodice toile before adding sleeves. If you have a fit issue with your bodice, it can be hard to distinguish whether it’s a sleeve issue or bodice issue, especially when fitting yourself.
2. Making Slopers
Once you’ve confirmed the fit, transfer your paper pattern set to oak tag—these are called slopers. A sloper is traced onto paper and then manipulated to create your design.
Oak Tag vs. Card Stock: Get the oak tag! Oak tag is a type of cardstock with a smoother, manilla-colored surface and comes in larger sizes. I purchase large sheets from our neighborhood art store and love that they come flat, not rolled. (It’s also such a delight to have a neighborhood art store!)
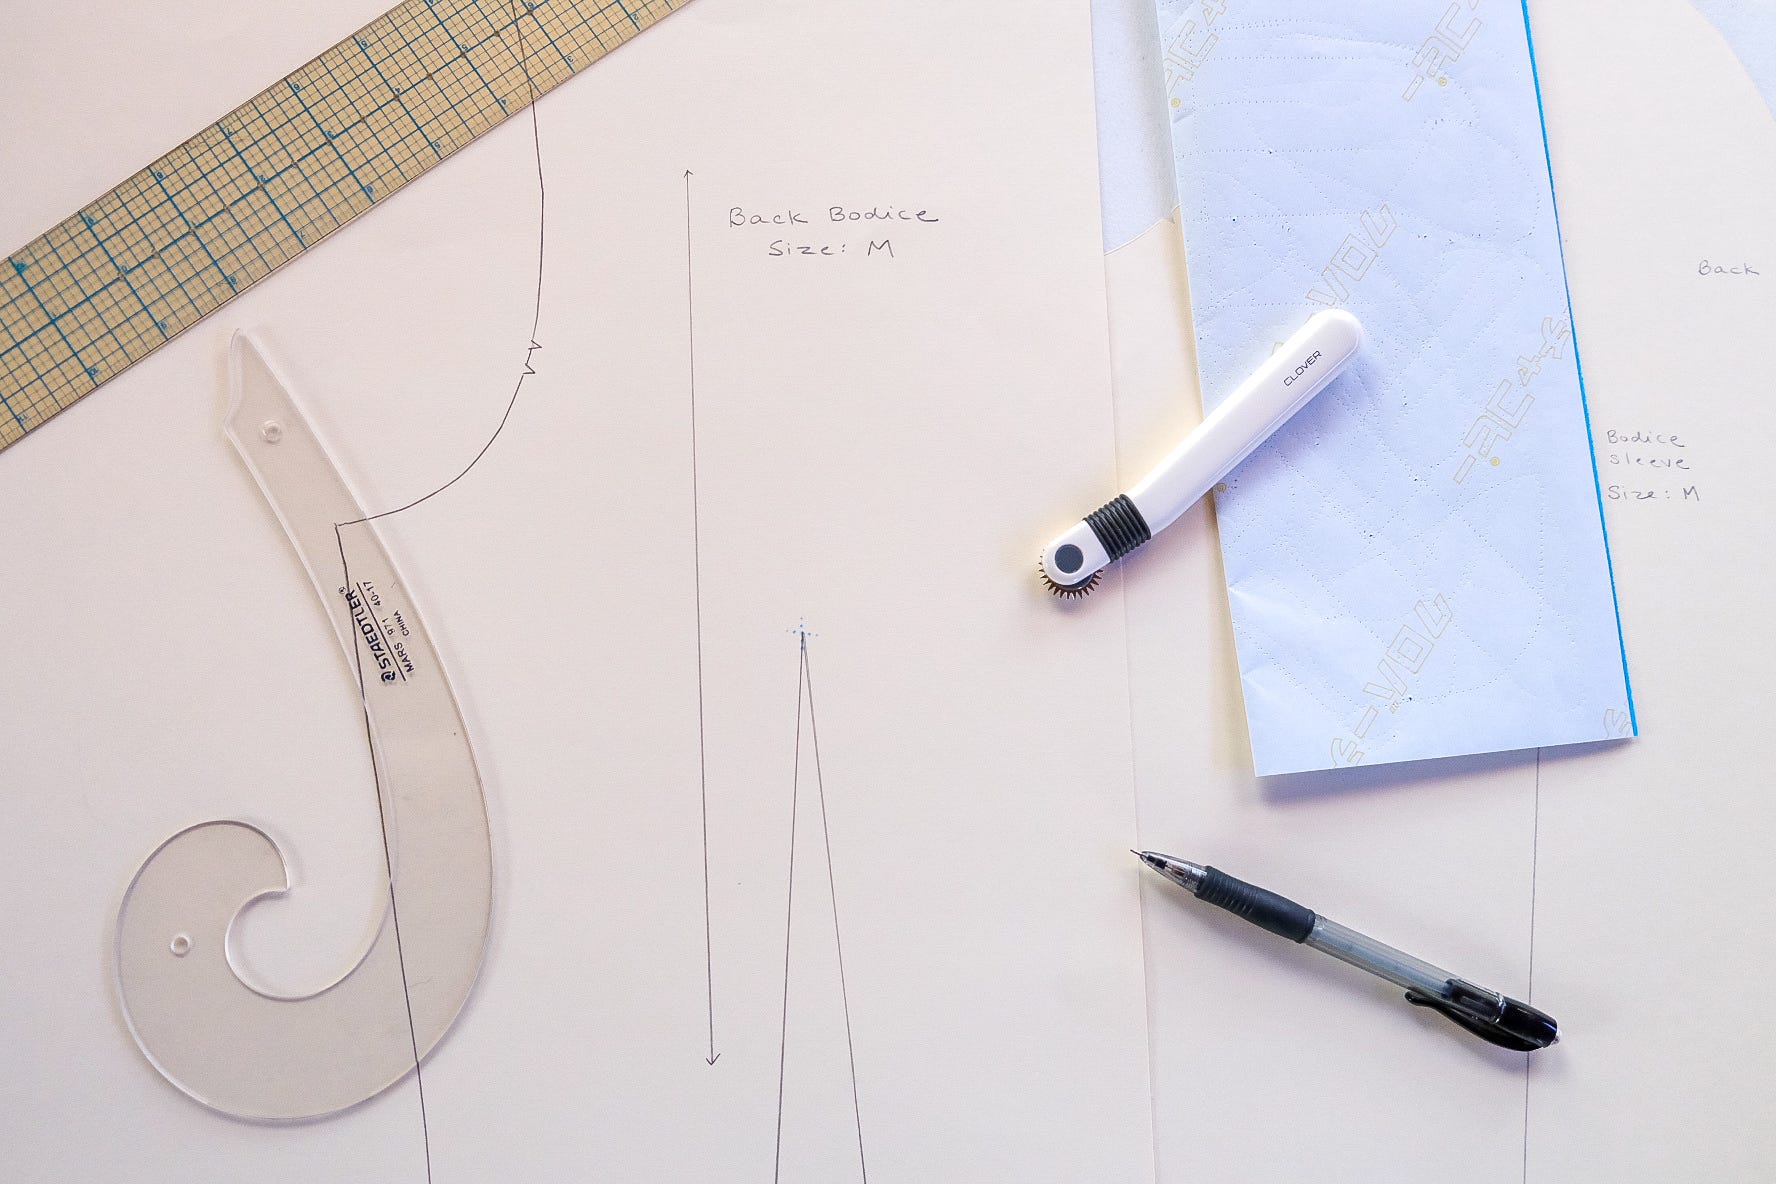
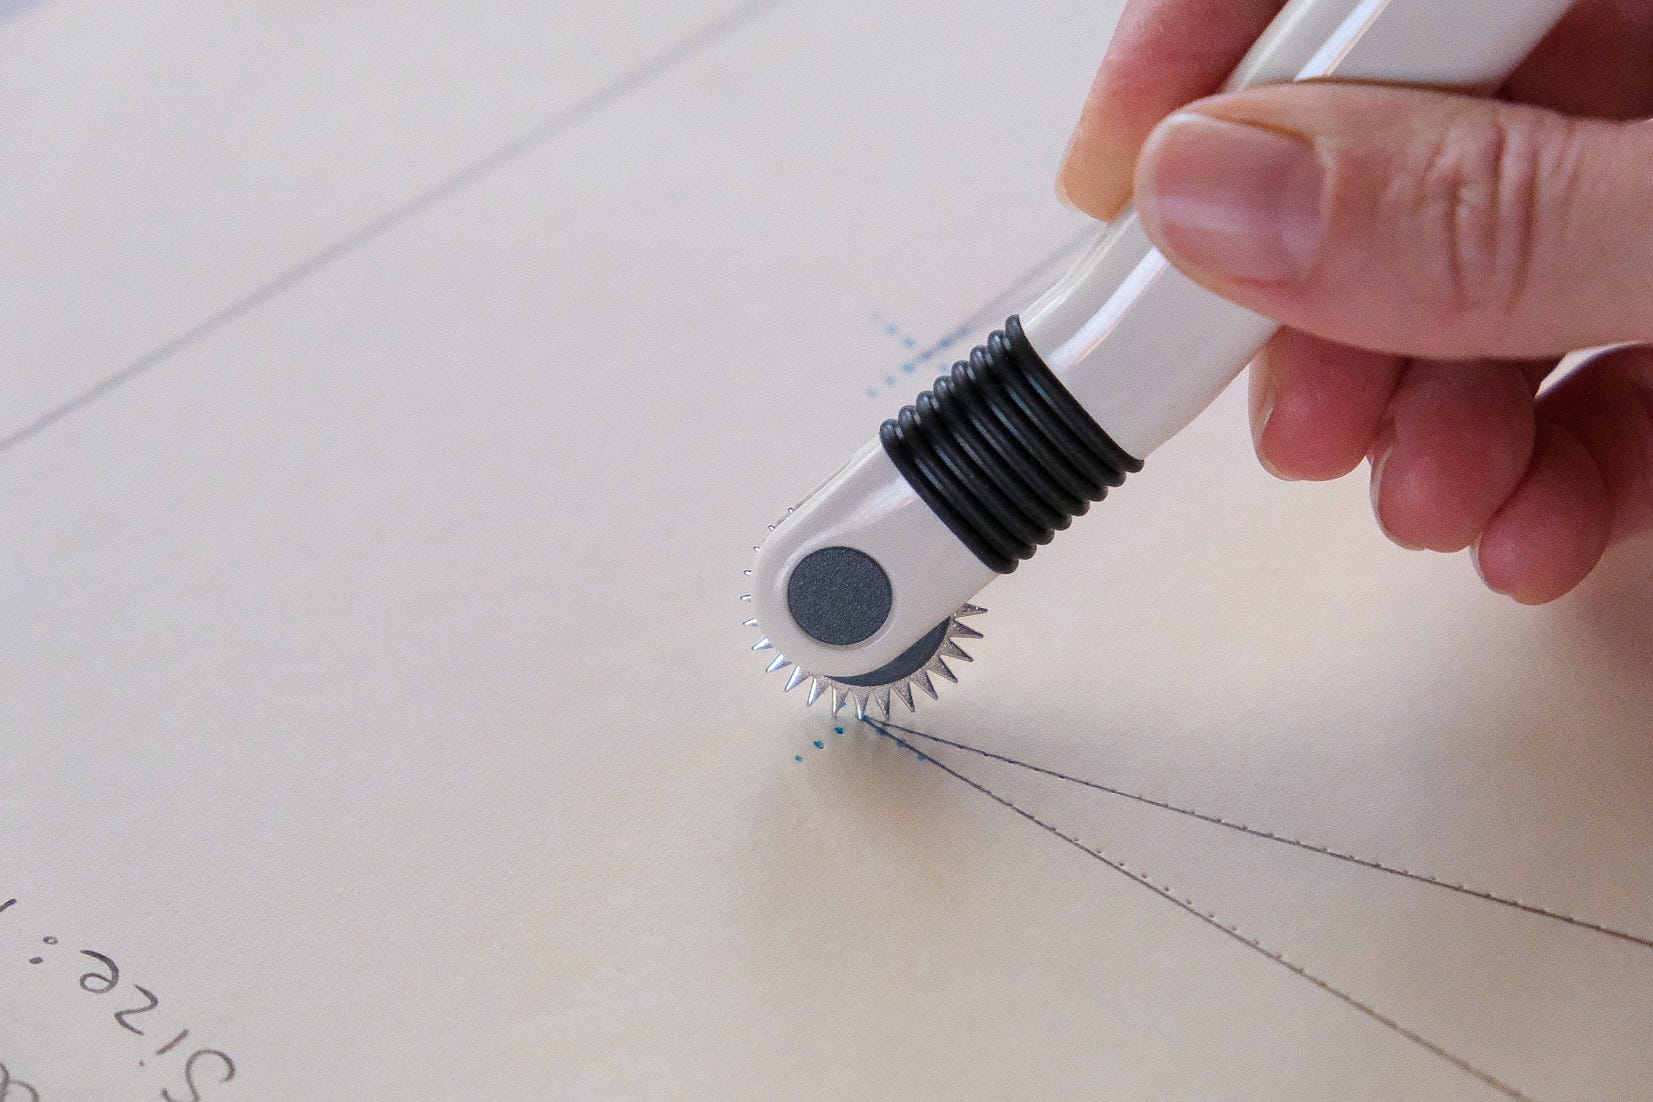
Use a tracing wheel and tracing paper to transfer dart points and grainlines. Then with a ruler draw the waist line, grainlines, and darts.
And there you have it! By the end… and perhaps after many fittings… you’ll have a functional pattern set that can be the design foundation for anything you dream up.
Freestyle Mending
Freestyle mending is what I call the art of repairing a garment using any method the sewer prefers. Just as in freestyle swimming, where athletes can use any stroke, or freestyle skating, where skaters blend technical skills with improvisation and artistry, freestyle mending allows for a freeform approach that combines technique with creativity.
I tore my jumpsuit while lifting my one-year-old out of the bathtub—whoops! Time for some freestyle mending. You can check out the video on my YouTube channel here.

Tools Used:
A tailor’s ham for pressing and applying interfacing.
Fusible cotton interfacing to add structure and stability to the patch.
Press cloth to protect fabric and iron.
Thank you for exploring the basics of creating the basic pattern set with me—I hope it sparked your interest in further pattern development. In upcoming newsletters, I’ll demonstrate slopers in action. If you have any questions or want to share what you're working on, I’d love to hear from you!
~ Jane