


The Dior Rose
Learn a 1950s Dior-inspired technique. Plus, draft your own custom fabric flower.

Not just a rose or a Dior rose, but the Dior rose.
I first learned this technique while studying fashion design at Massachusetts College of Art, and I remember thinking, Wow. I’m learning how to sew a Dior rose, inspired by Christian Dior, just as he made them in his atelier? In college?? I am in the right place.
Dior loved roses. His love for roses—and gardening—was instilled in him at a young age by his mother. This inspiration for not only flowers but also tending a garden he carried with him his entire life.
I adore this vision Marie-France Pochna, author of Christian Dior: The Biography, paints of Le Coudret—Dior’s French country estate and his first major purchase thanks to the success of the New Look.
“Dior would spend the morning in his garden, wearing rubber boots, a Russian peasant's hat, and a pullover if it was chilly. He and his Polish gardener Ivan would spend hours dreaming up some new layout. One spectacular idea was to plant dark red hollyhocks against the gray stone of the mill "with one heartbreaking pink rose blooming at their feet," as houseguest and Vogue editor Bettina Ballard recalls. It looked like an Impressionist painting.”
When we moved to the San Fernando Valley, we were lucky to find our house already graced with several established rose bush varieties, and I’ve come to appreciate their beauty. I clip them for bud vases and watch their shapes as they open. Ball gowns and rose petals, softly sculpted blooms tumbling down full-skirted silhouettes or accenting a nipped waist. It all makes sense when you observe the beauty of a flowering rose.
Below are two ways to make a Dior Rose. The first shows the traditional construction, and the second is a variation on the classic, which you can customize with your measurements.
Here’s the video tutorial to pair with this post.
Keep in mind that these tutorials are ultimately guidelines. Experiment with fabrics and color, textures and transparencies, scale and size—and have fun!
Recommended Materials
Fabric: You’ll need less than a ¼ yard or enough scraps to match to make one rose.
Sturdy Thread: Silk thread is a favorite for this project.
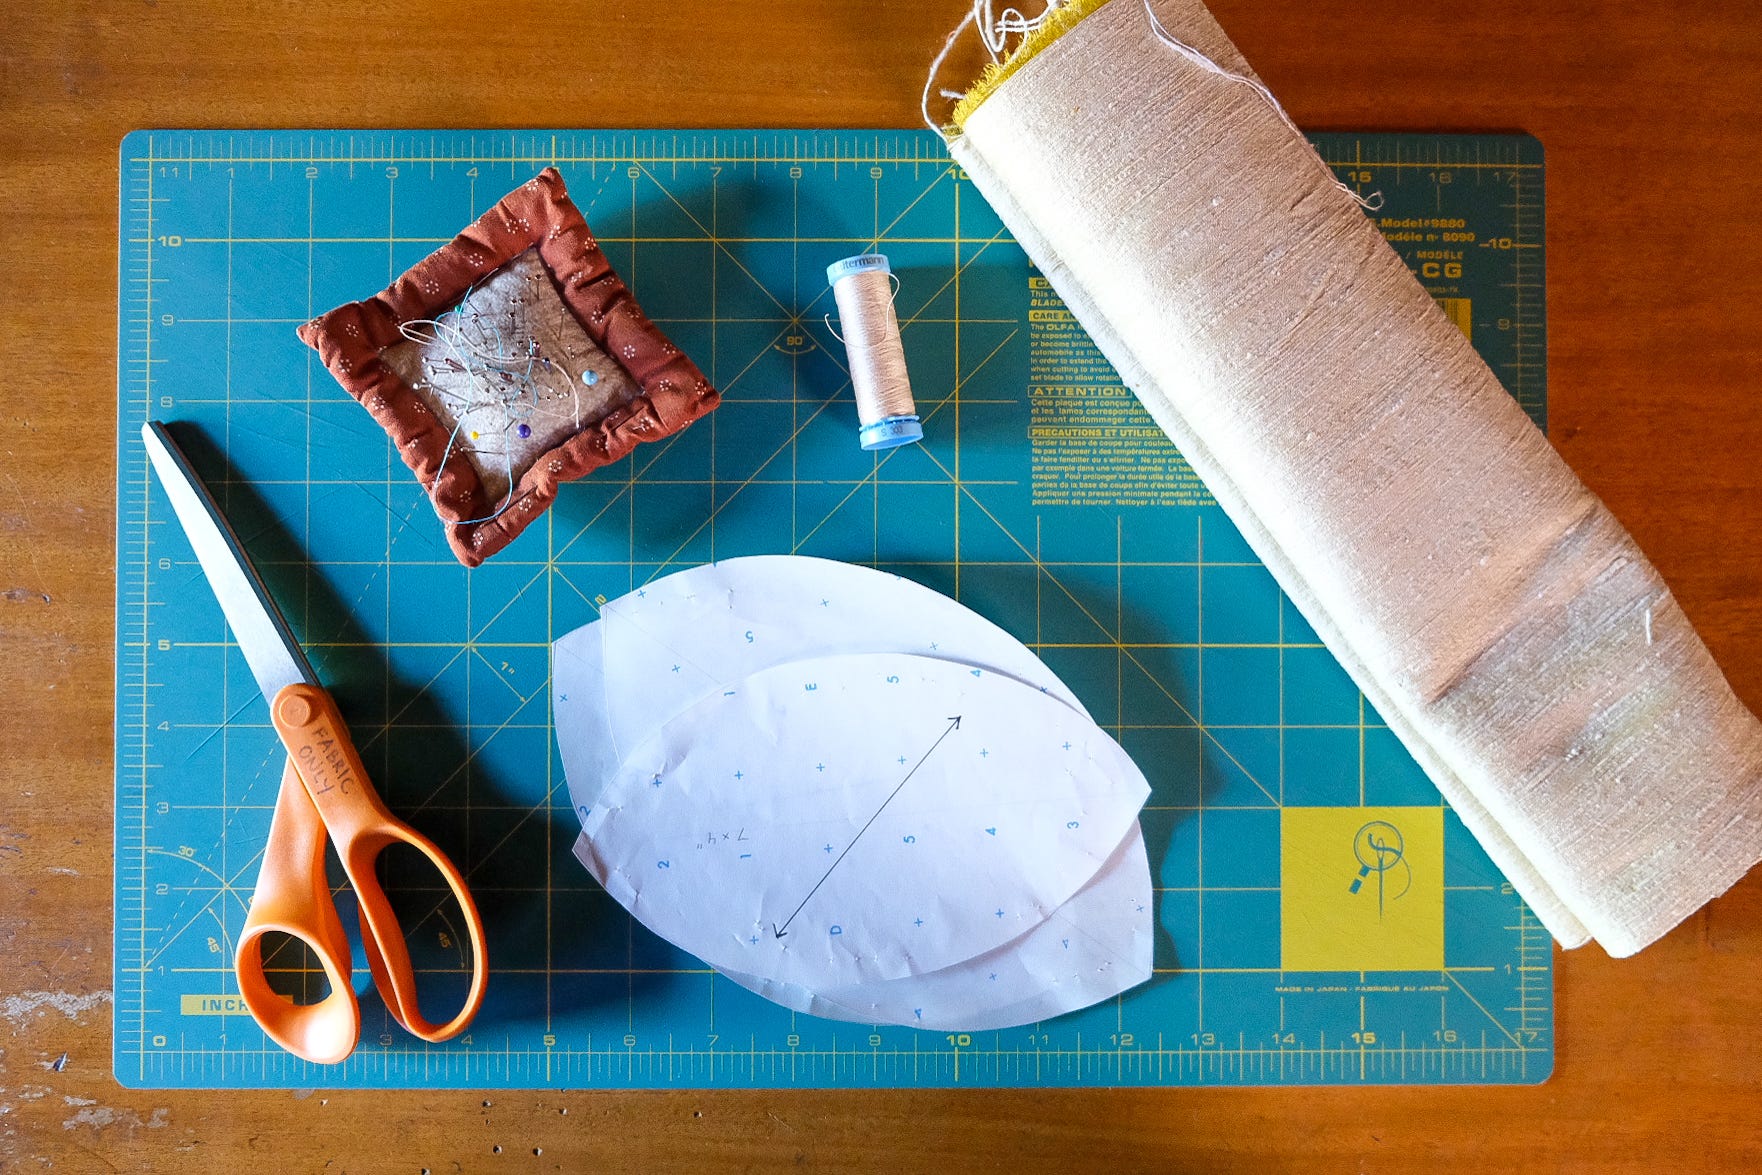
Scissors
Pins
Sewing Machine
Hand Sewing Needle
Transparent Drafting Ruler
Iron & Ironing Surface: optional
First, let’s talk materials.
Fabrics: Fabrics are your choice. Featherweight or transparent fabrics will have a different effect than stiffer or heavier fabrics. I opt for non-synthetic fabrics (silks, cottons, wools) because of how they shape and feel.
Fabrics affect drape and structure as well. Sprays of chiffon roses dripping down a skirt will look much different than stiffer roses cut in duchesse satin.
Thread: Select a sturdy thread. You don’t want the thread to break while gathering. My favorite is silk thread. Quilting, denim, or the like are also all acceptable.
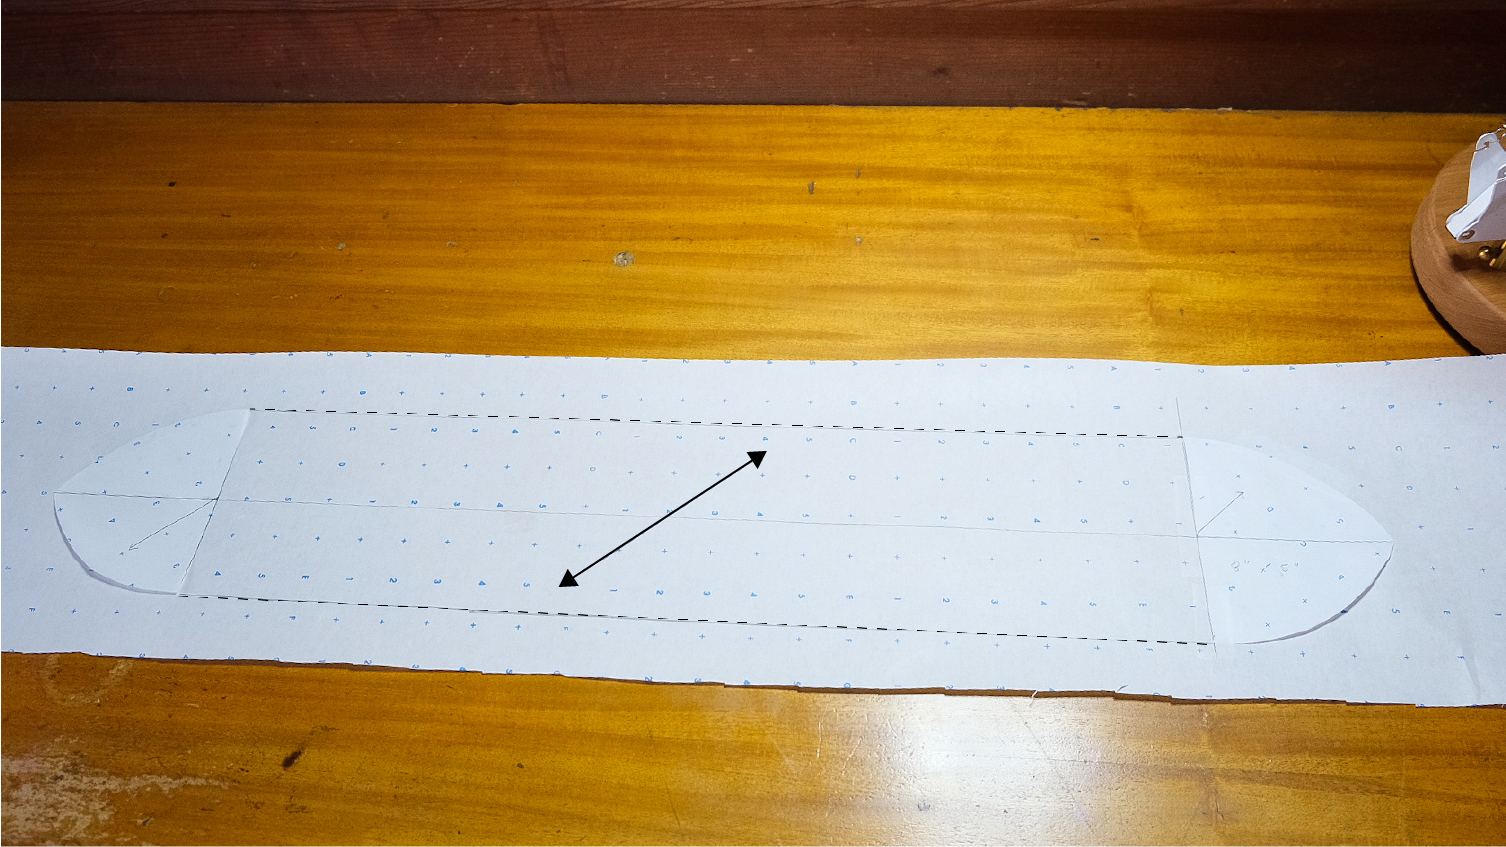
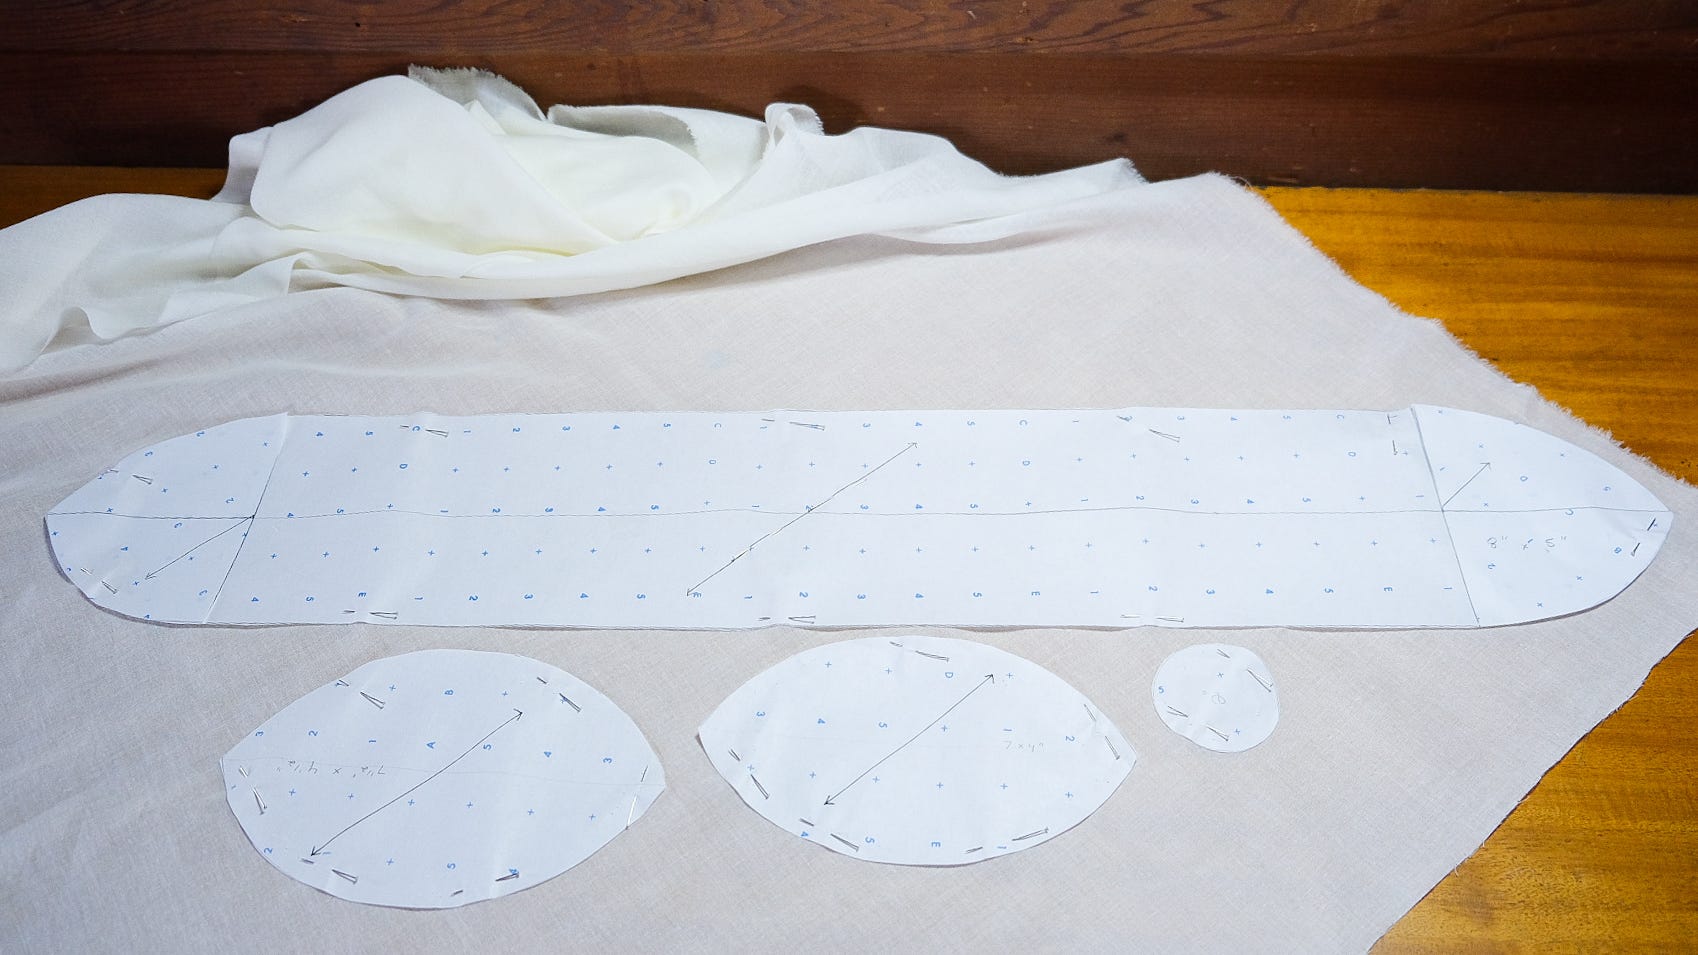
Pattern: The standard Dior rose petal measures 8 inches x 5 inches, with the two remaining petals each ½ inch smaller. (8 inches x 5 inches, 7 ½ inches x 4 ½ inches, and 7 inches x 4 inches.) Plus, a 2-inch circle to finish the raw edged-bottom. I’ve also included a 3-inch circle. More details on this further on.
You can draft your own or download this printable pattern.
Let’s begin!
Lay out your pattern on your fabric. This pattern is cut on the bias, so make sure to align the grainline parallel with the selvage. If using scraps without selvage, align the grainline on the fabric’s warp.
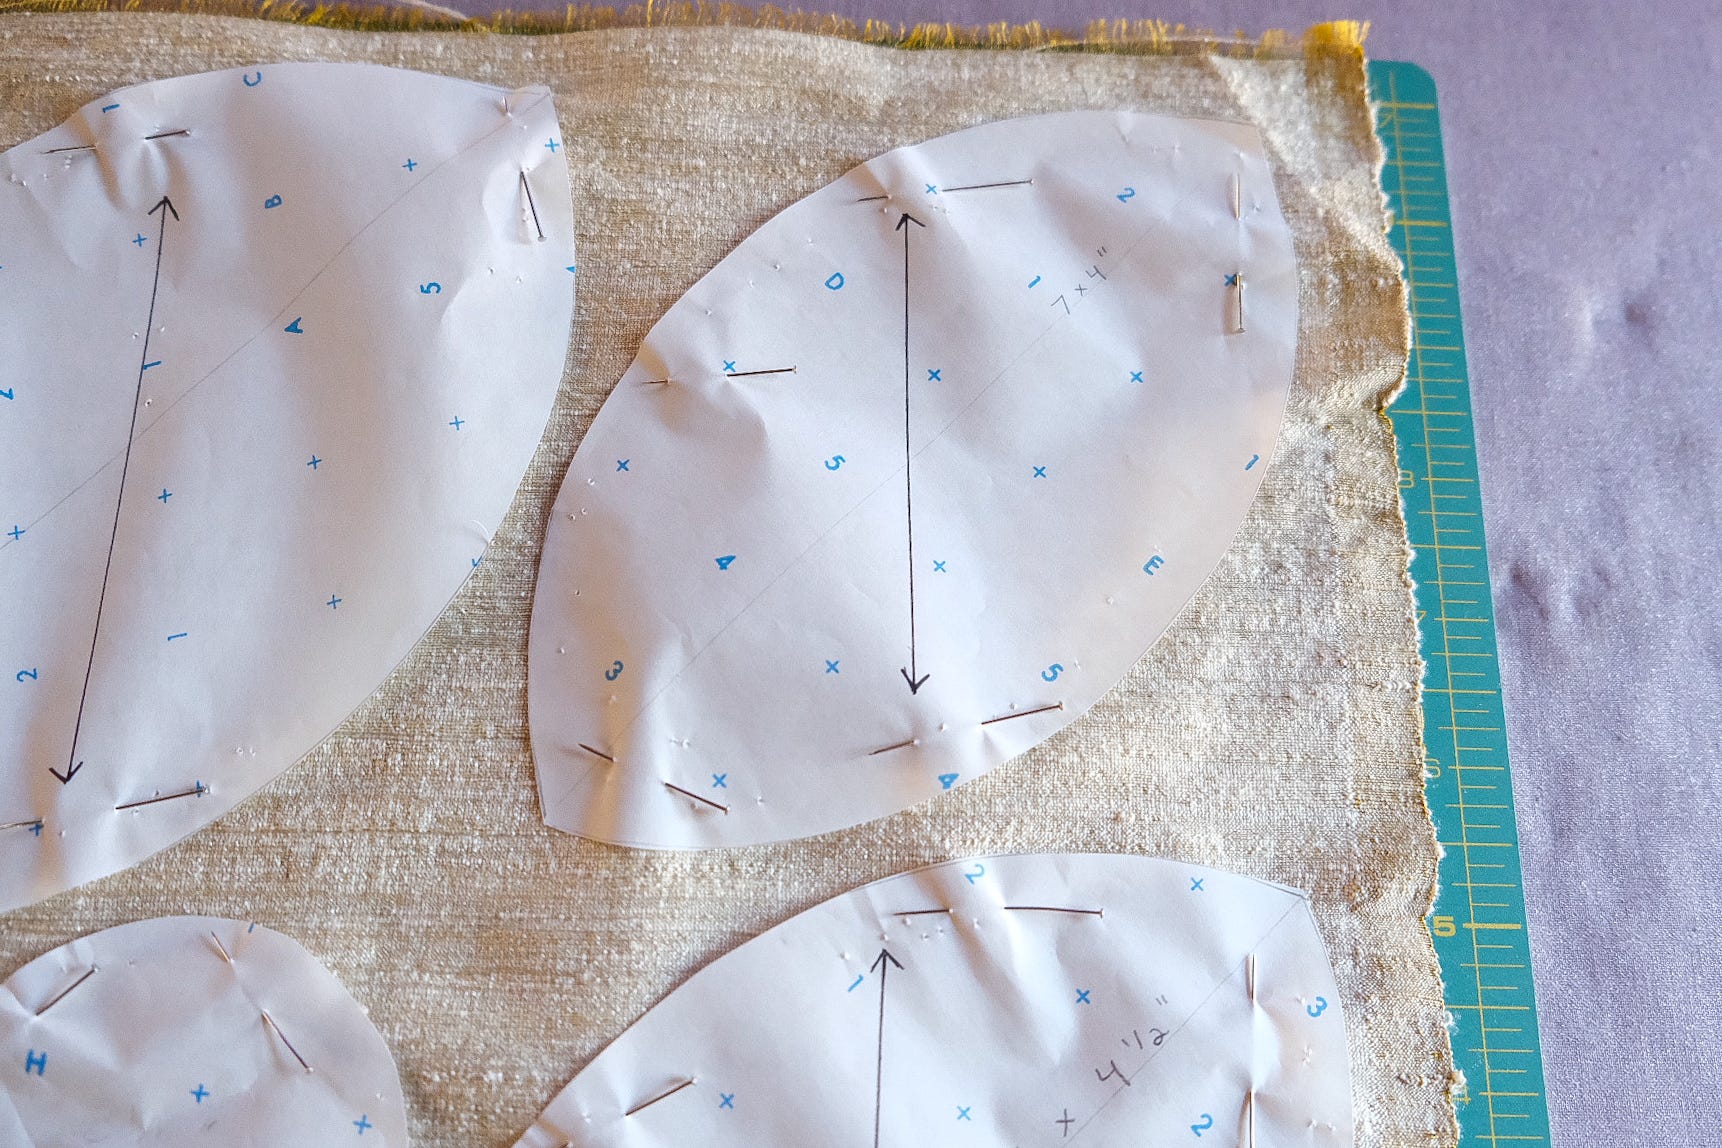
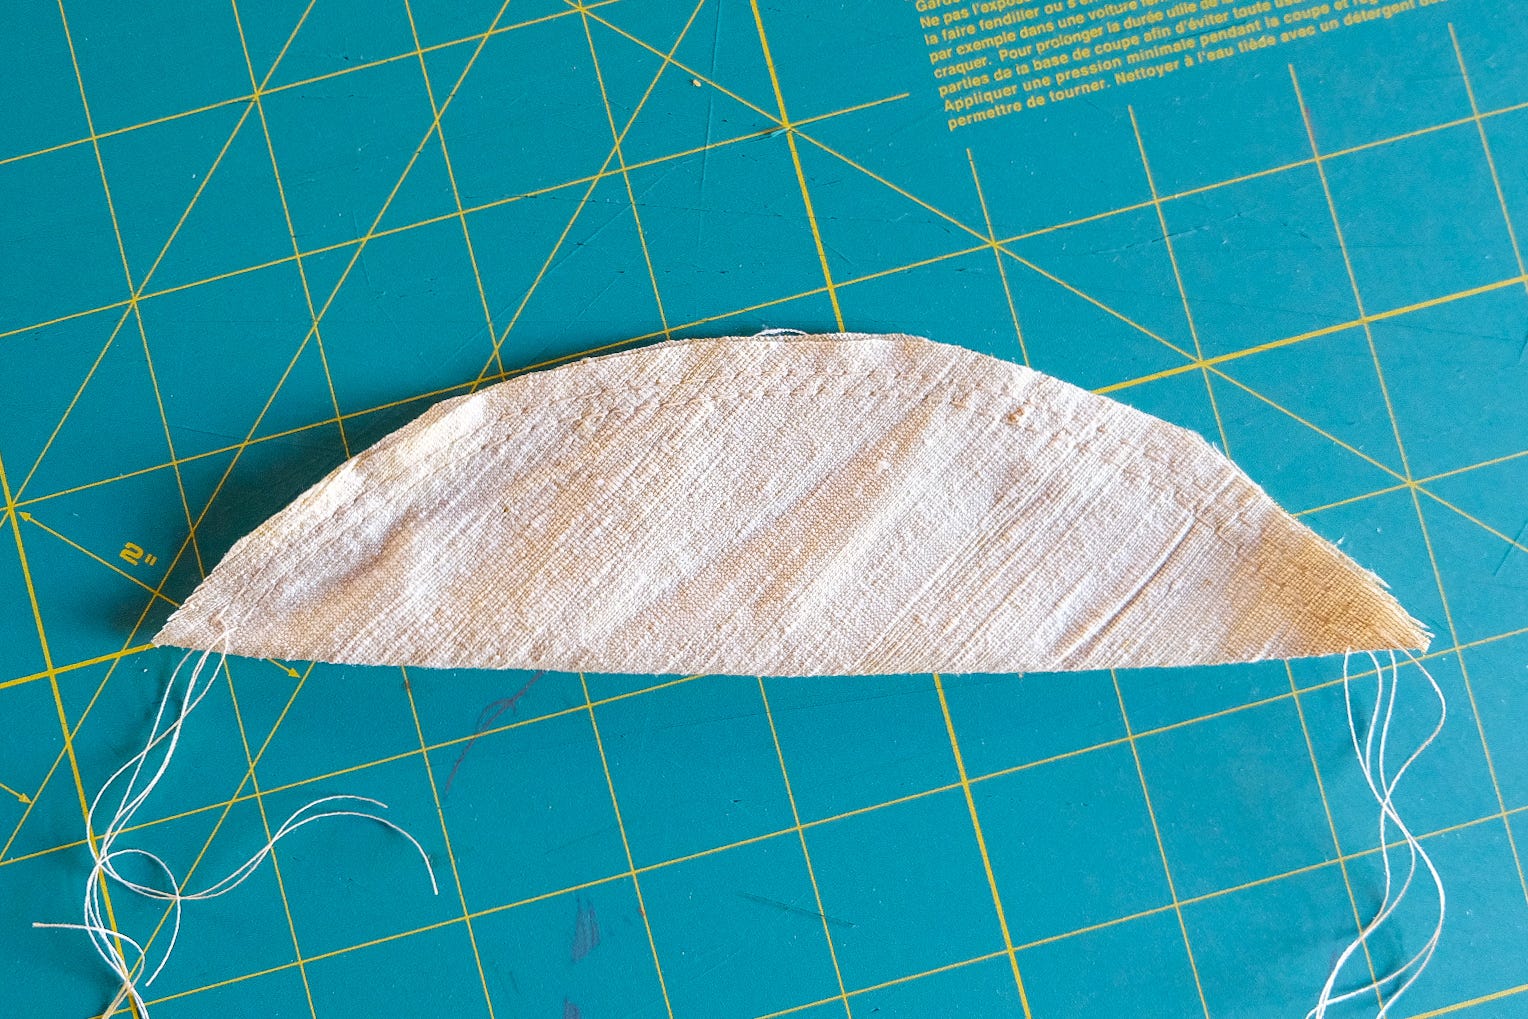
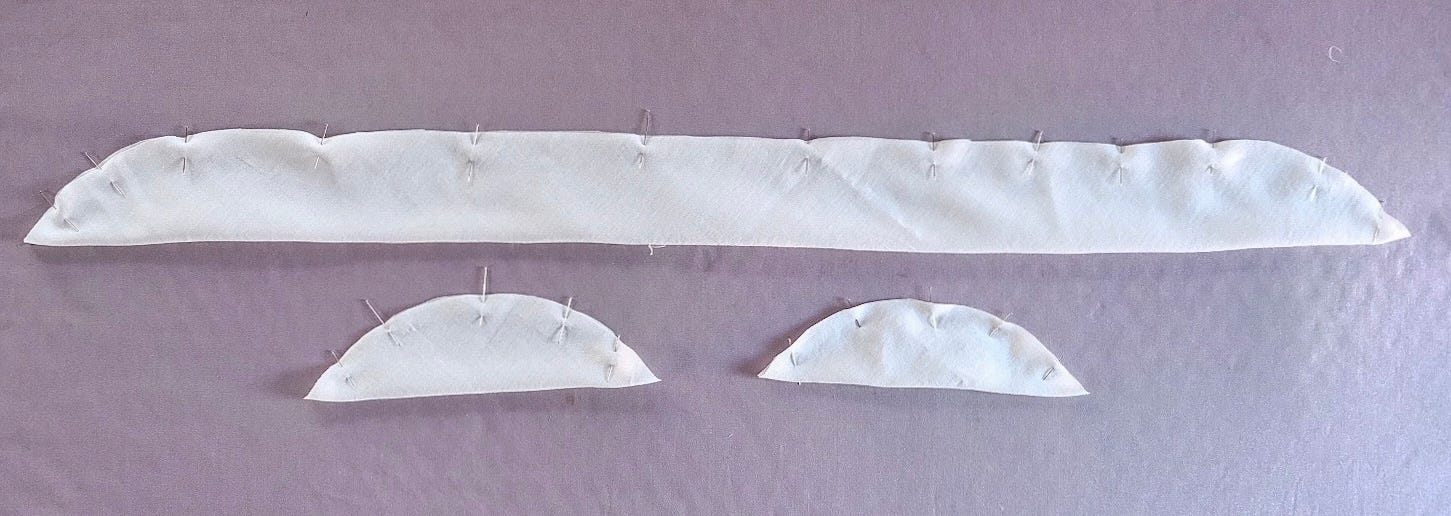
After cutting out your patterns, fold lengthwise and pin.
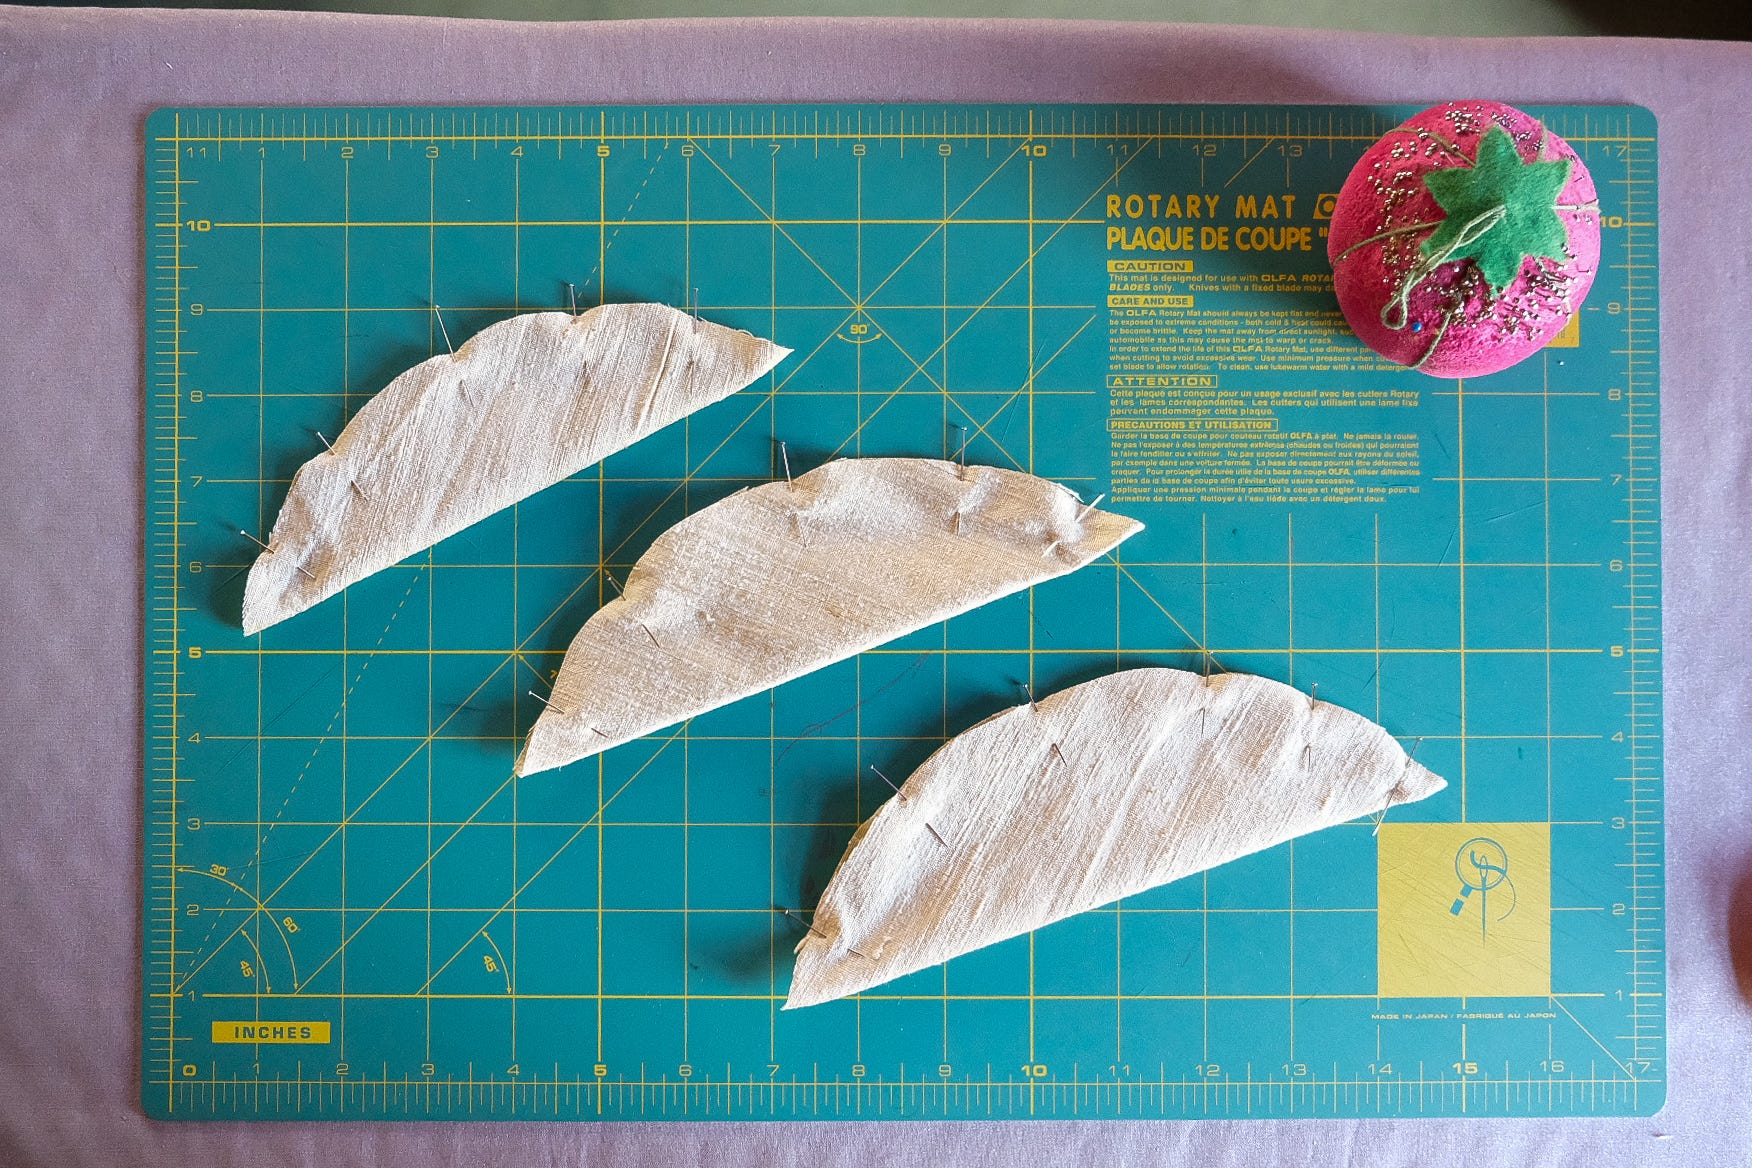
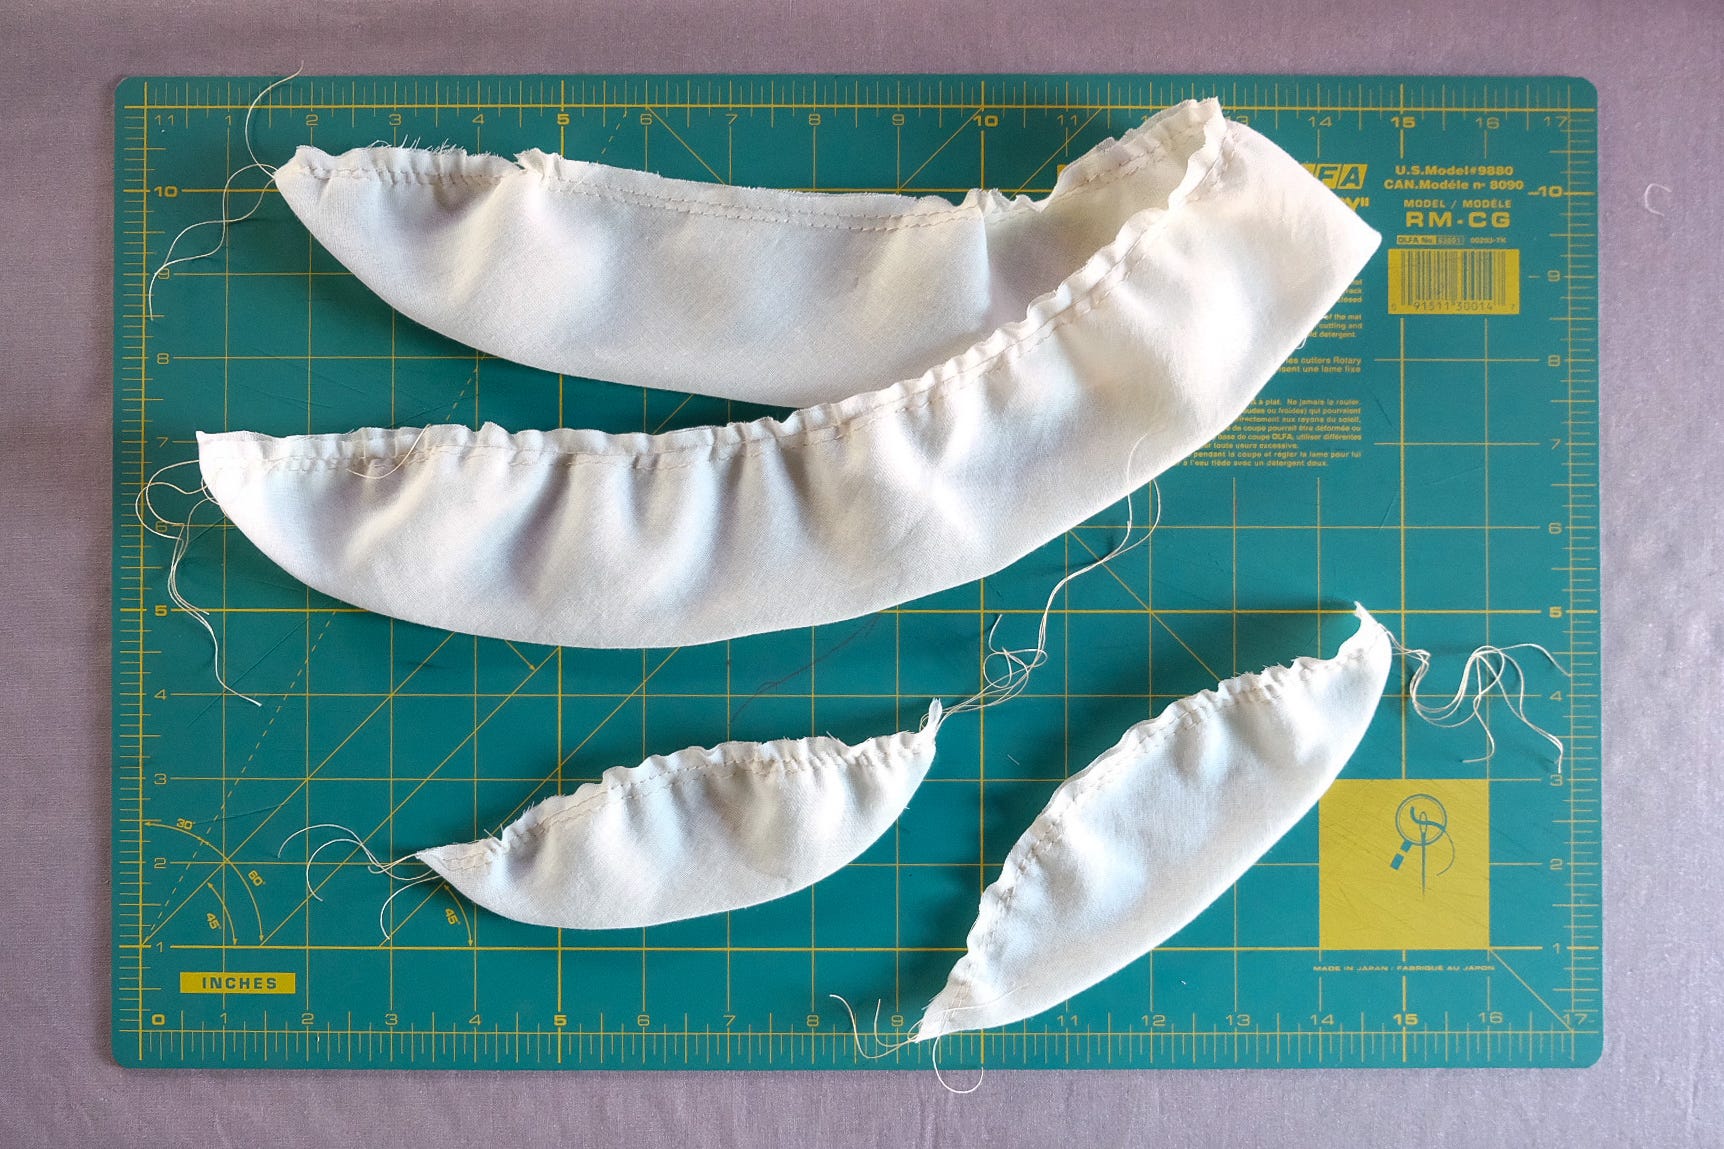
Sew two rows of gathering stitches on each petal. The first row is ¼ inch away from the edge. The second is 1/8 inch away from the edge. Two rows of gathering stitches? Yes, two rows will give you more control when pulling the threads.
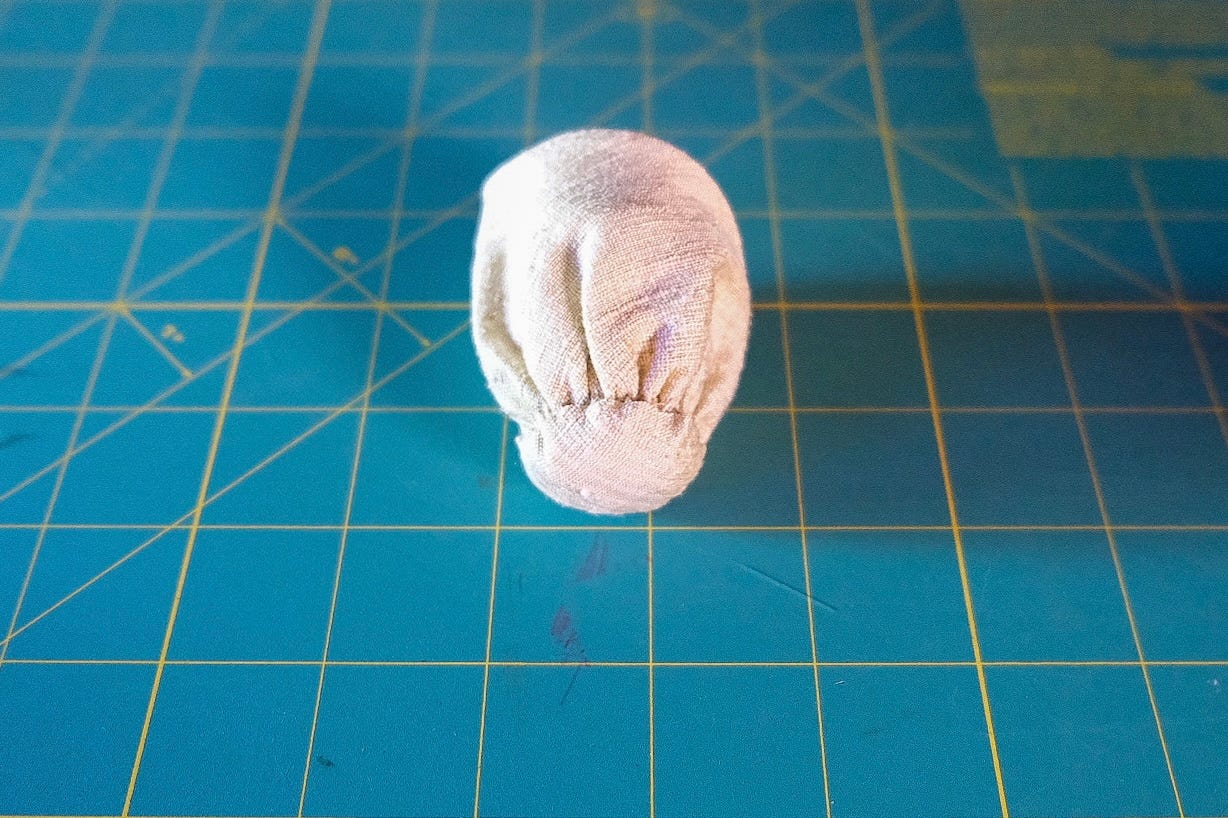
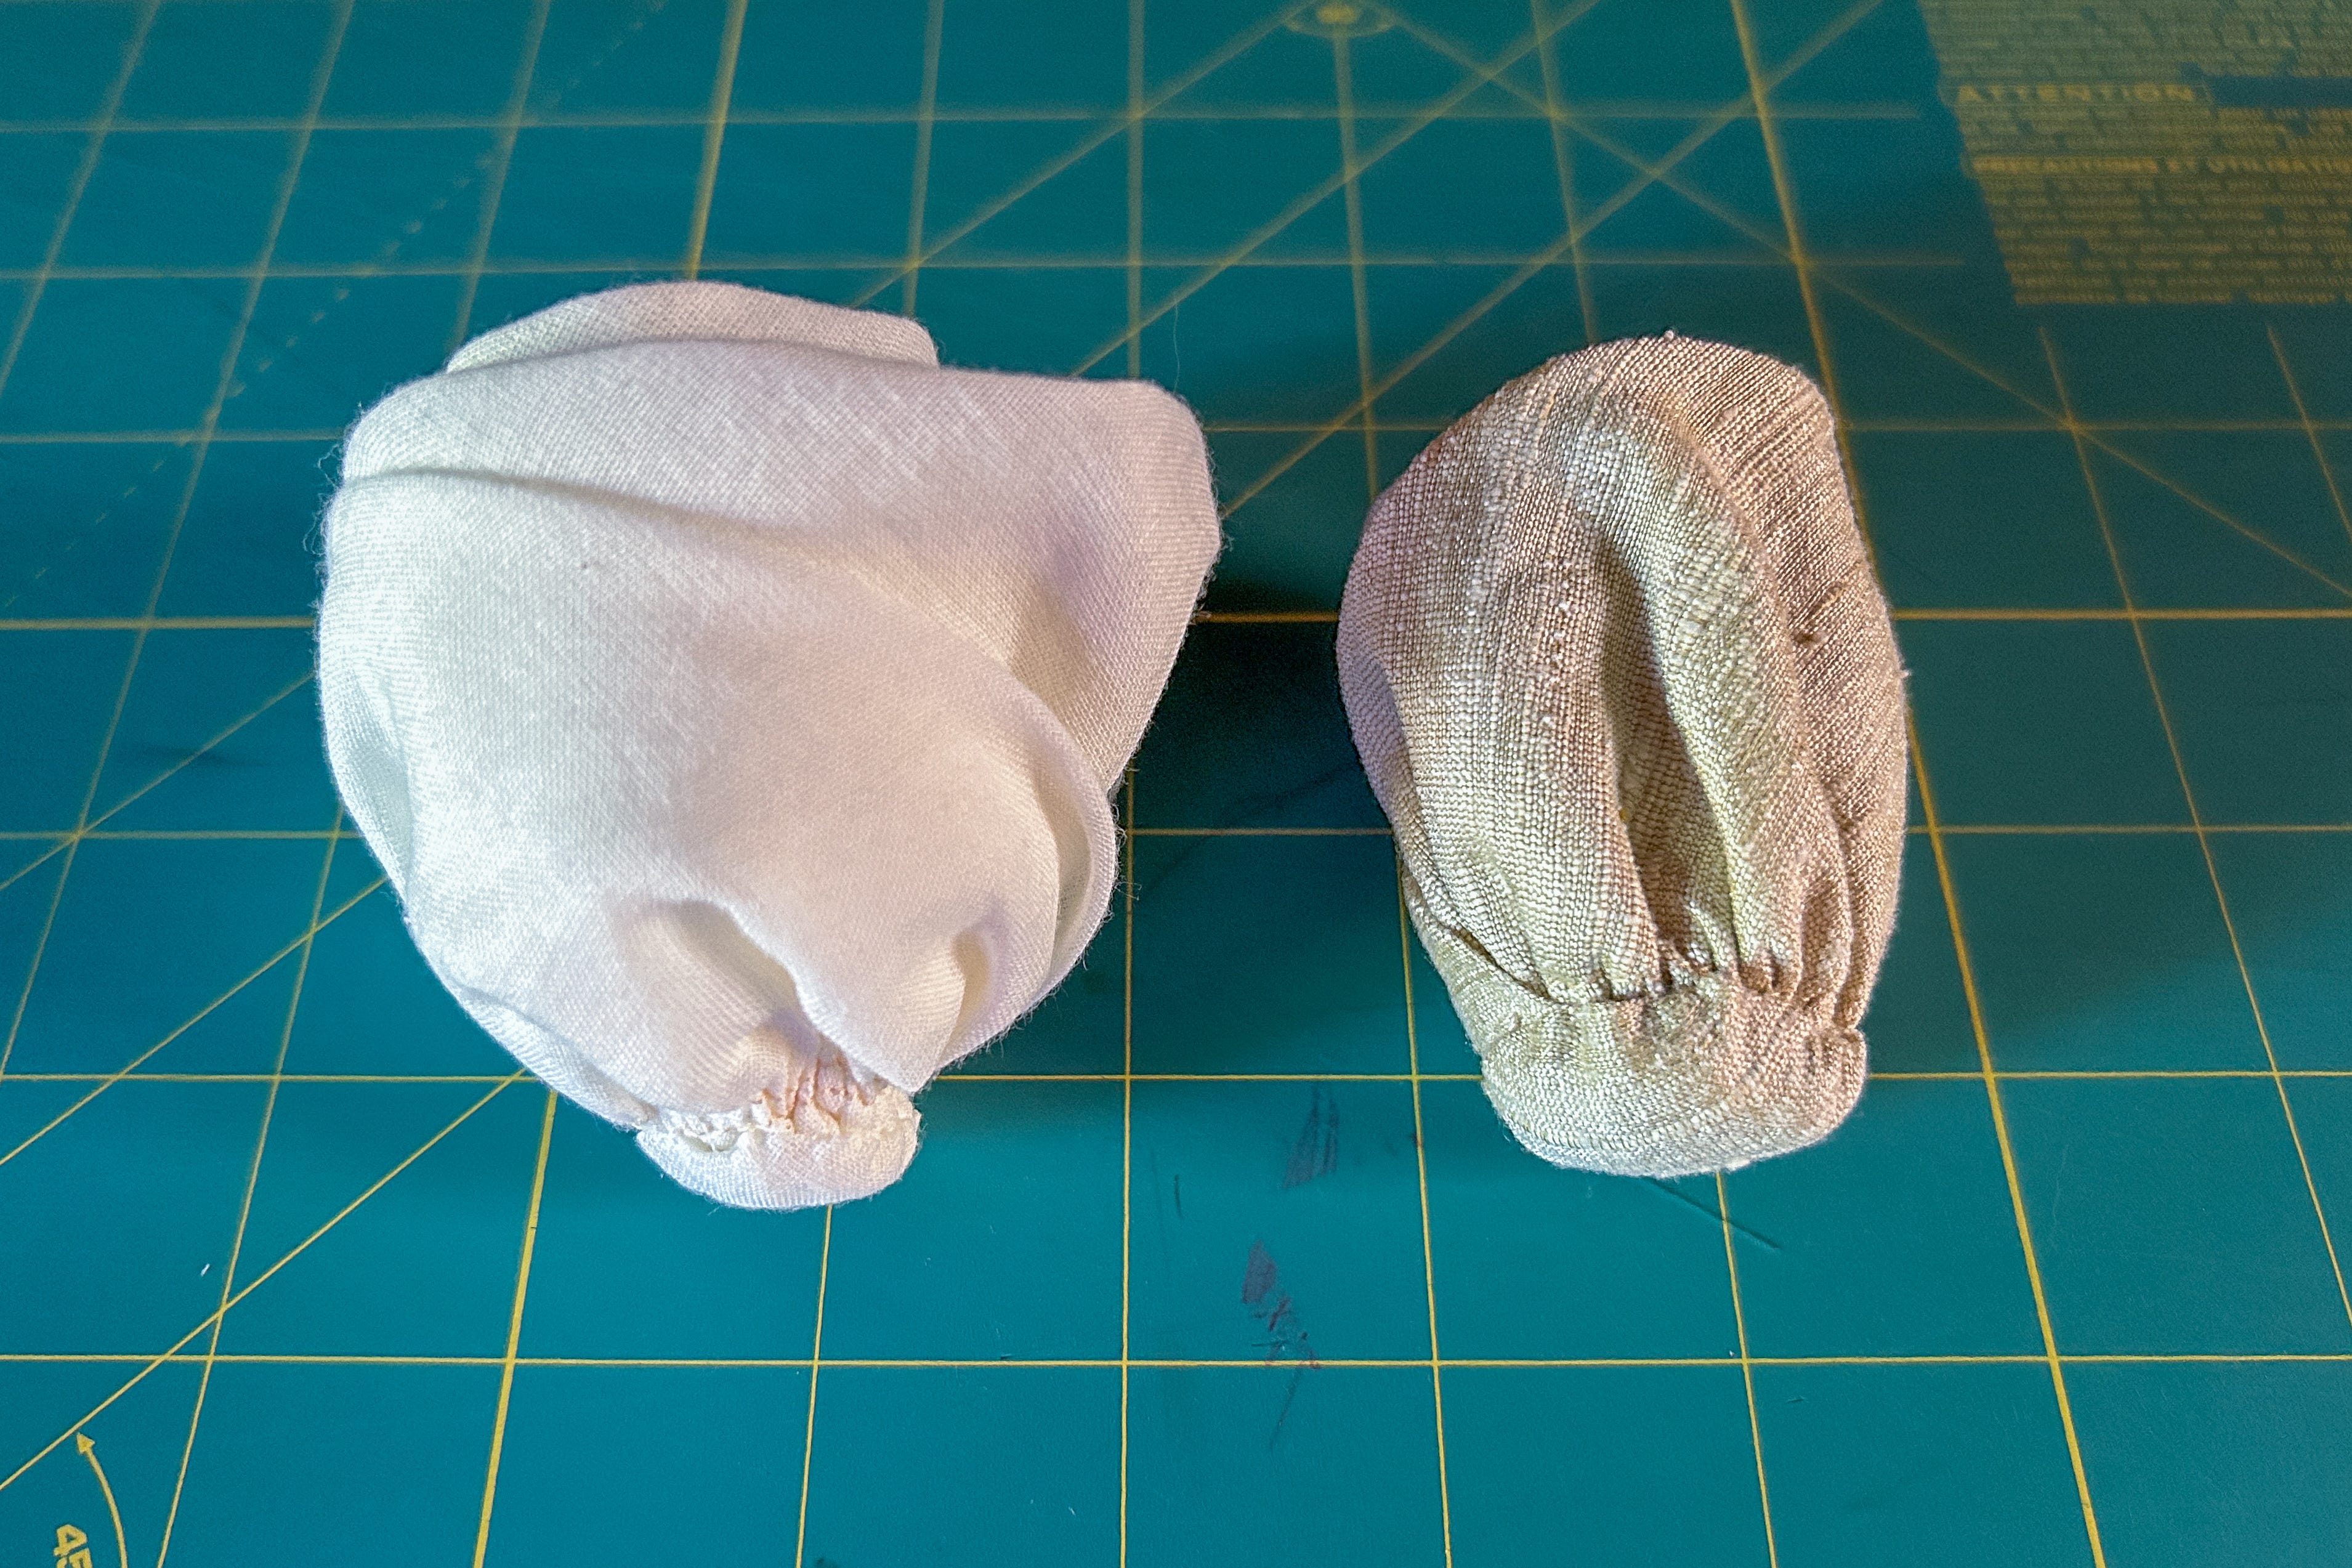
Starting with the smallest petal, pull up the gathering threads and gently roll to make a bud.
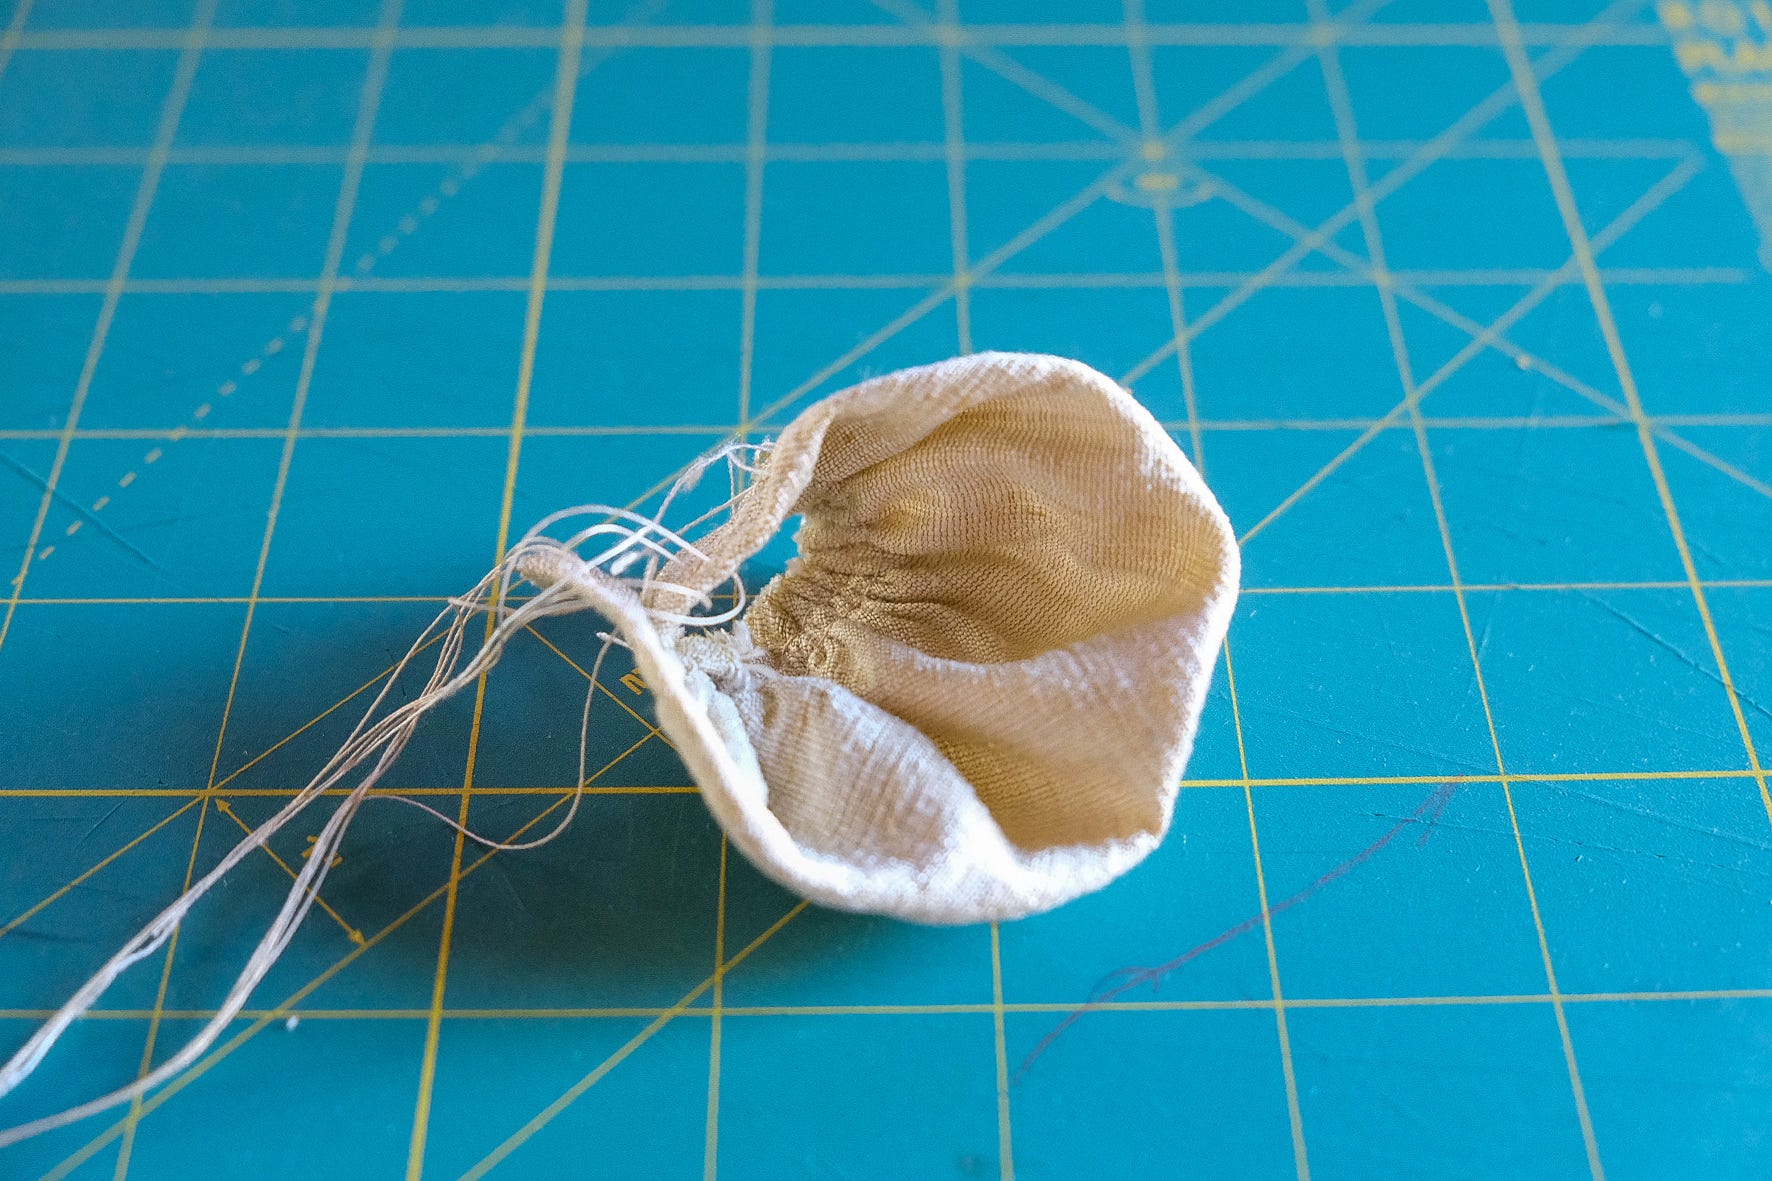
Push a pin into it to hold its shape.
Take the middle-sized petal, pull up the gathering threads, gently wrap it around the bud, and push a pin through the center to hold its shape.
Tip: If you're using a heavier-weight fabric, stitch the bud and petal together. This helps anchor the bud in the middle and prevent it from popping out.
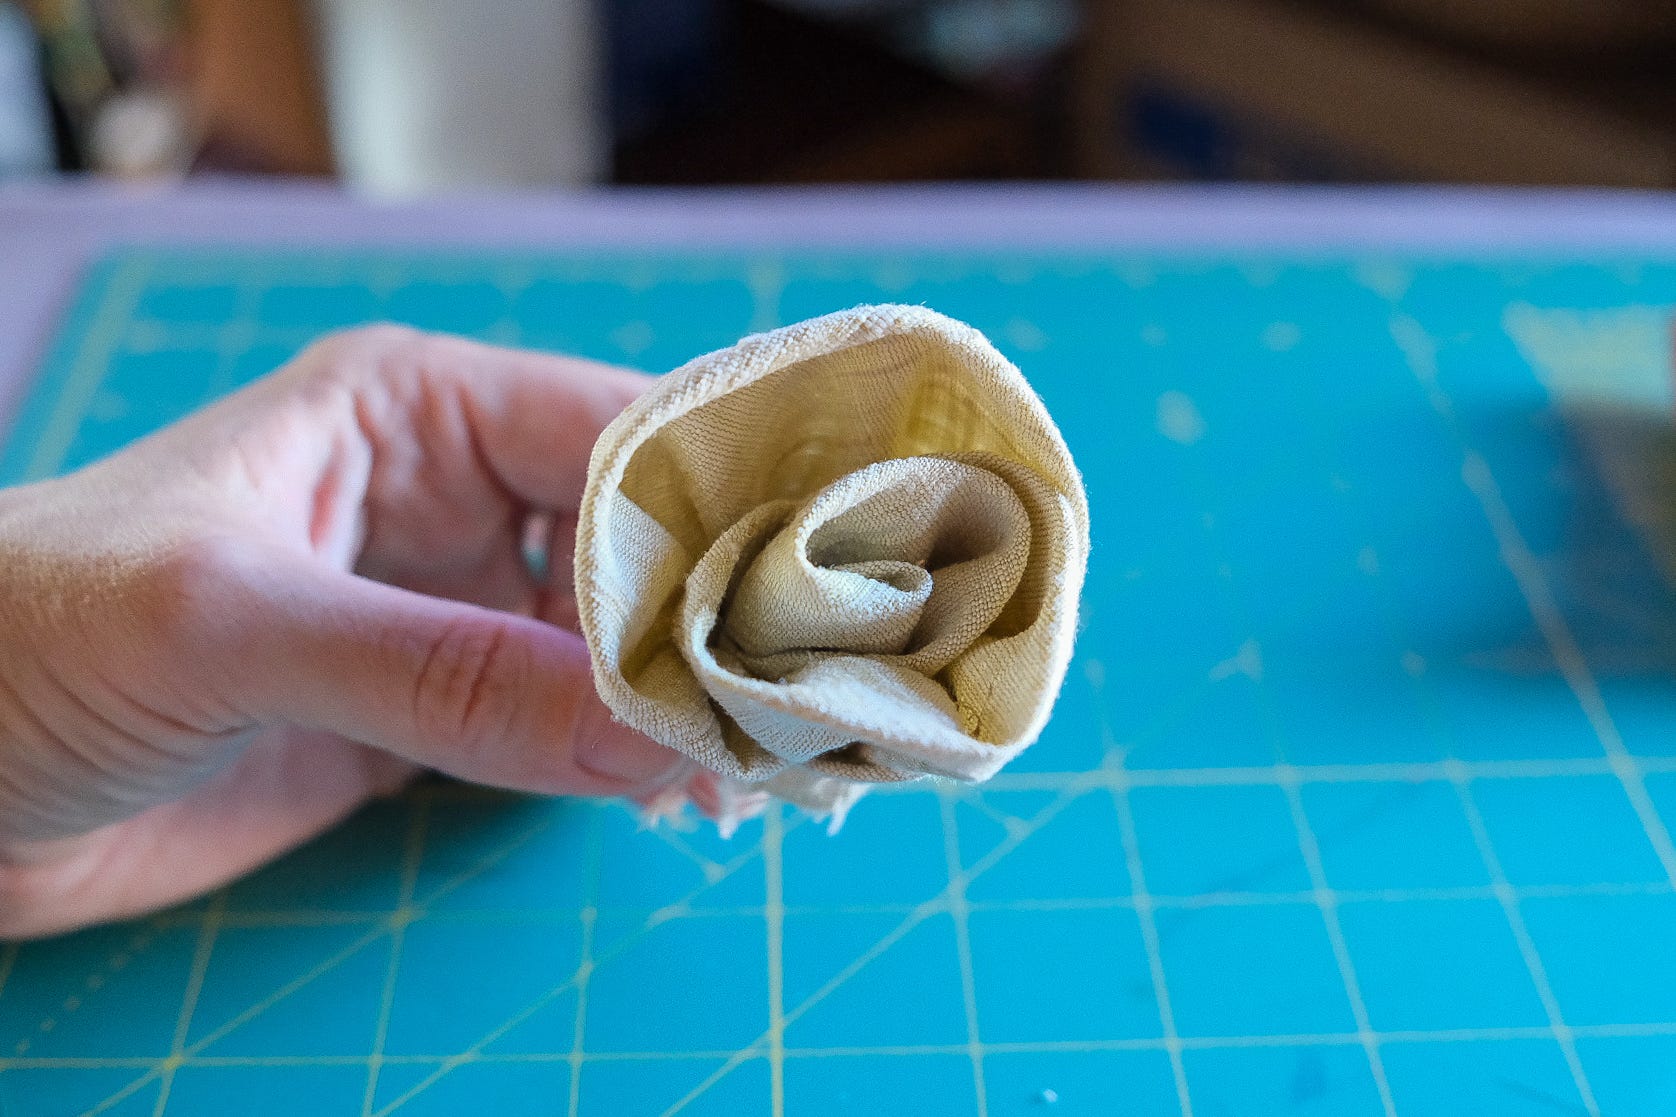
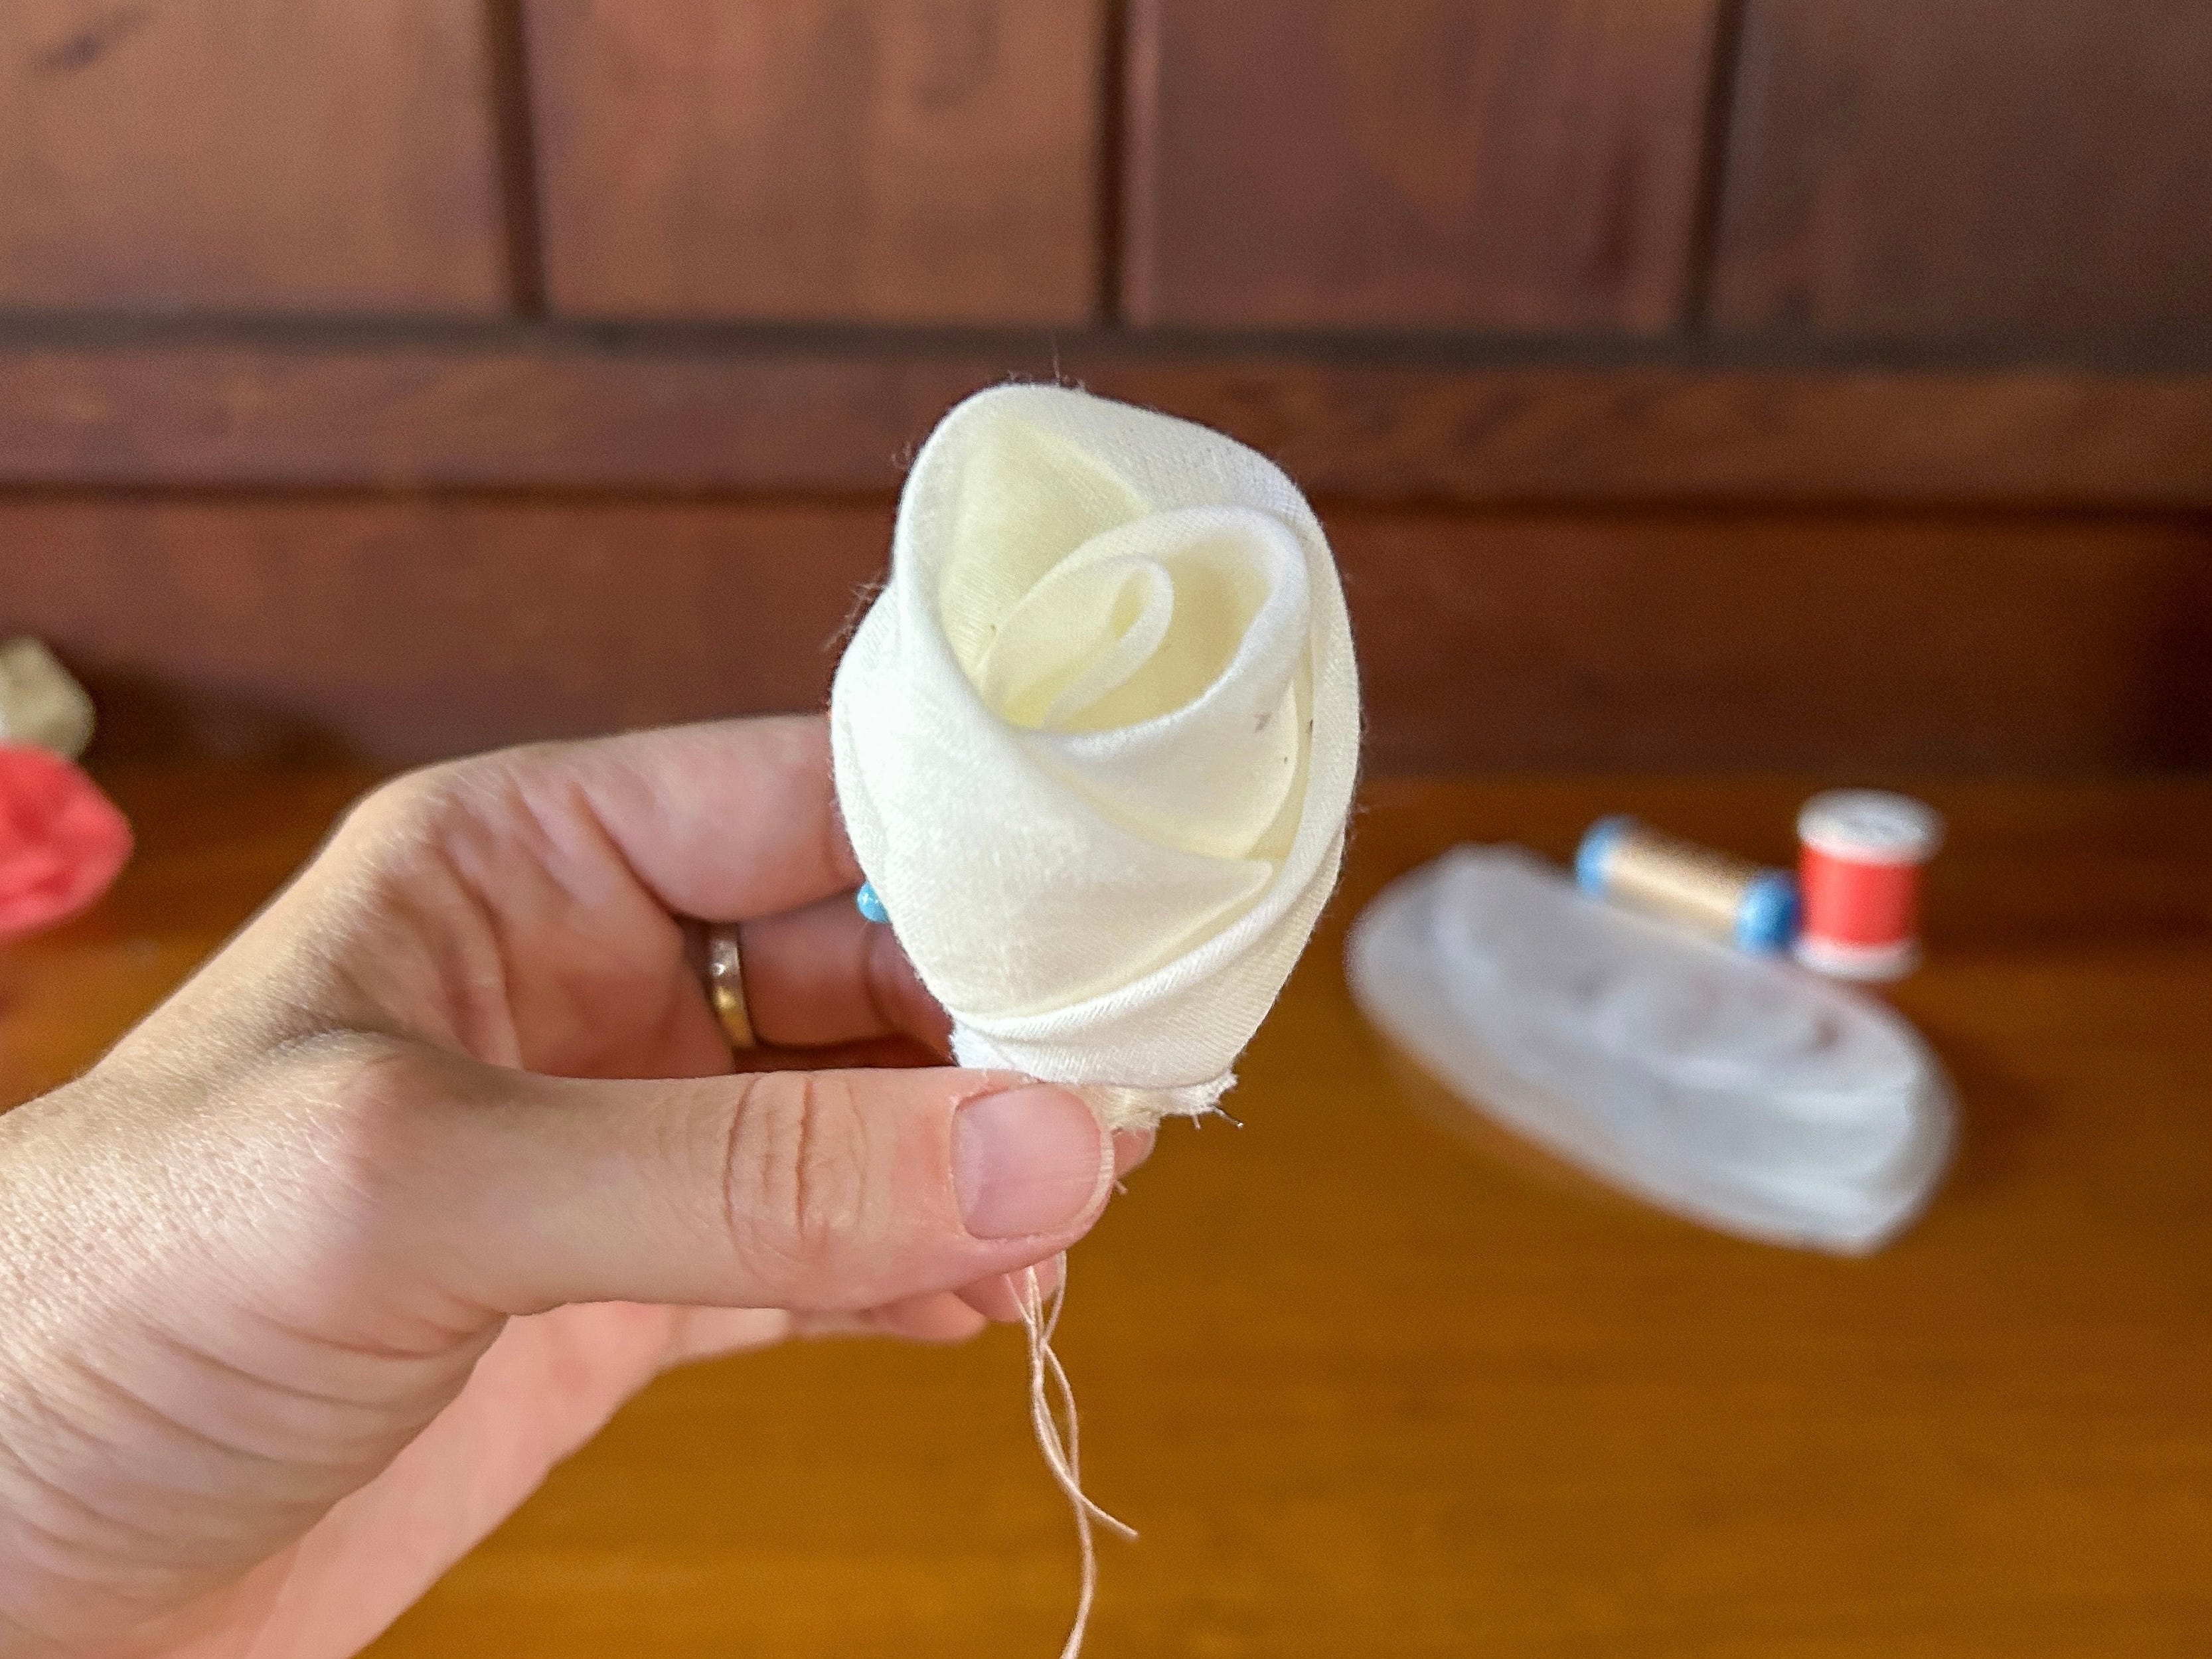
Take the largest-sized petal, pull up the gathering threads, and gently wrap it around the flower. Again, pushing a pin through the center to hold its shape. Thread your needle and whip stitch all the layers together, whipstitching from center to edge (or edge to center) around the flower's base.
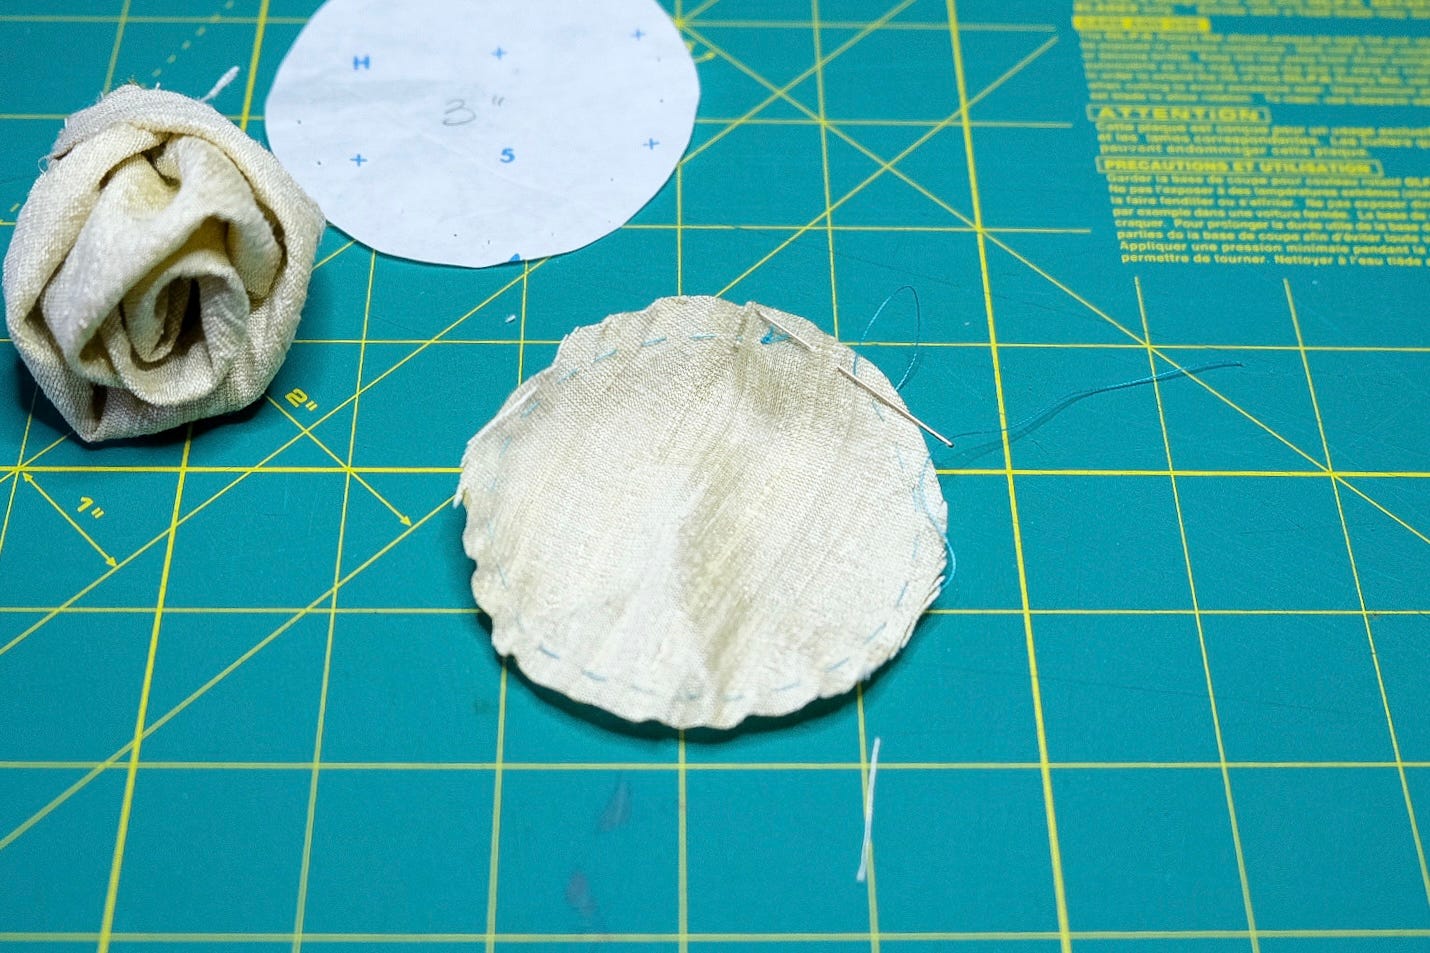
Hand sew a gathering stitch ¼ inch around the edge of your cutout circle. Pull up around the edges and press flat. Slipstitch onto the rose's base, covering the raw edges.
To Note: Because I'm using silk dupioni, I've used the 3 inch circle to accommodate the fabric's thickness. For thinner fabrics like voile or organza, try the 2 inch circle. There is no wrong or right way here. It's personal preference. If you like the raw edge look or will attach roses to a surface where the raw edges will not show, you can skip this step.
Pull up around the edges and press flat.
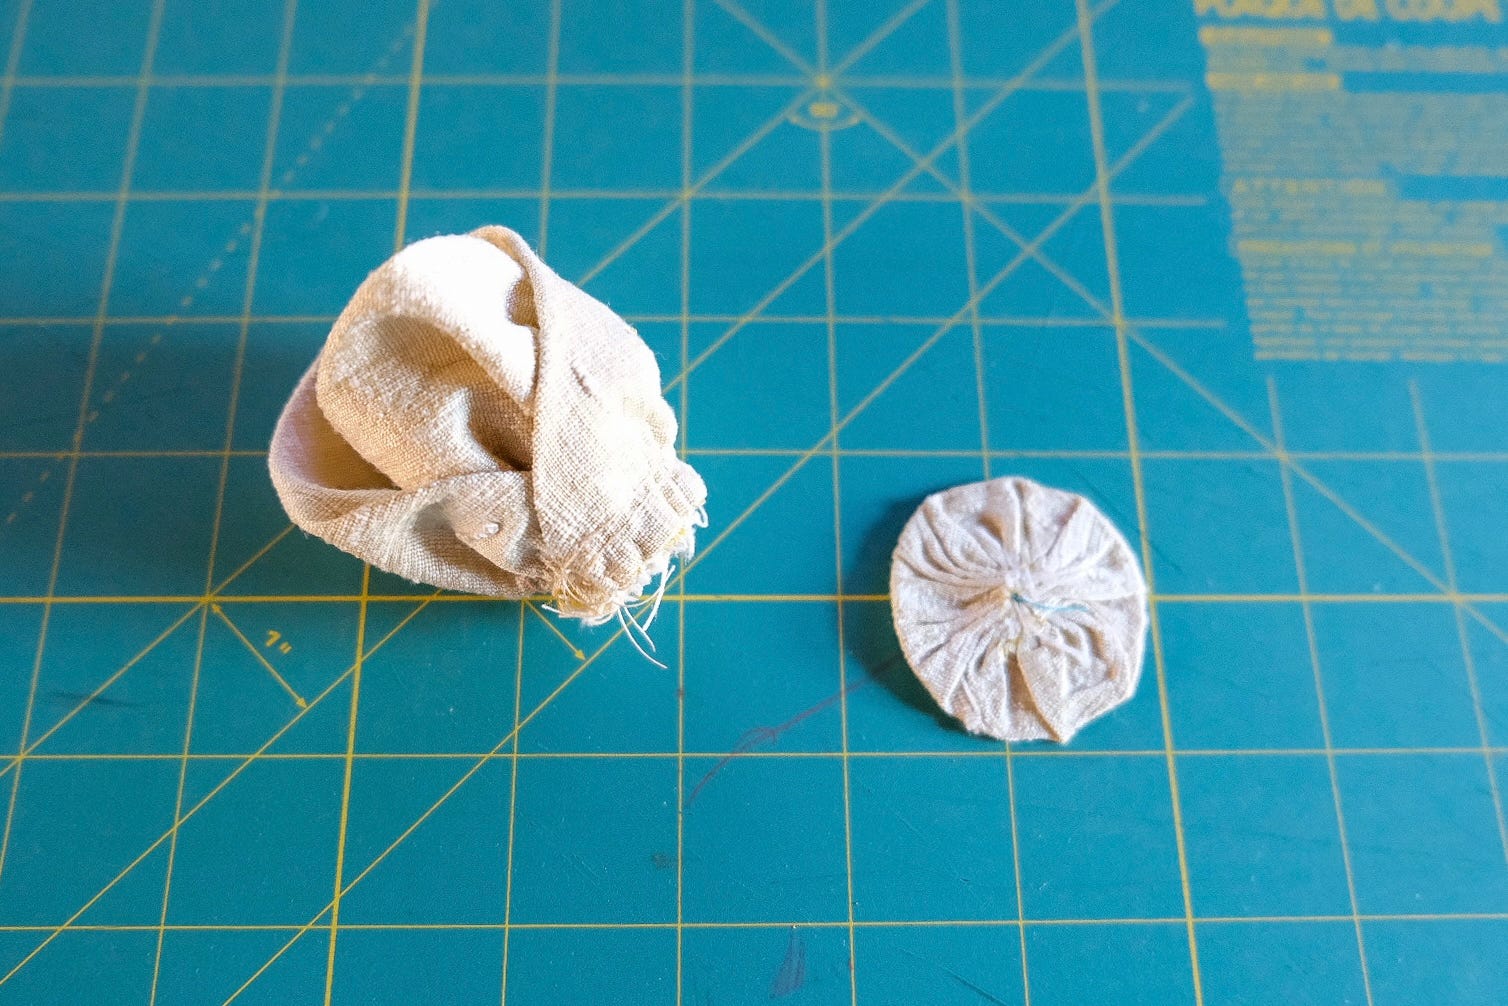
Slipstitch onto the rose’s bottom, covering the raw edges.
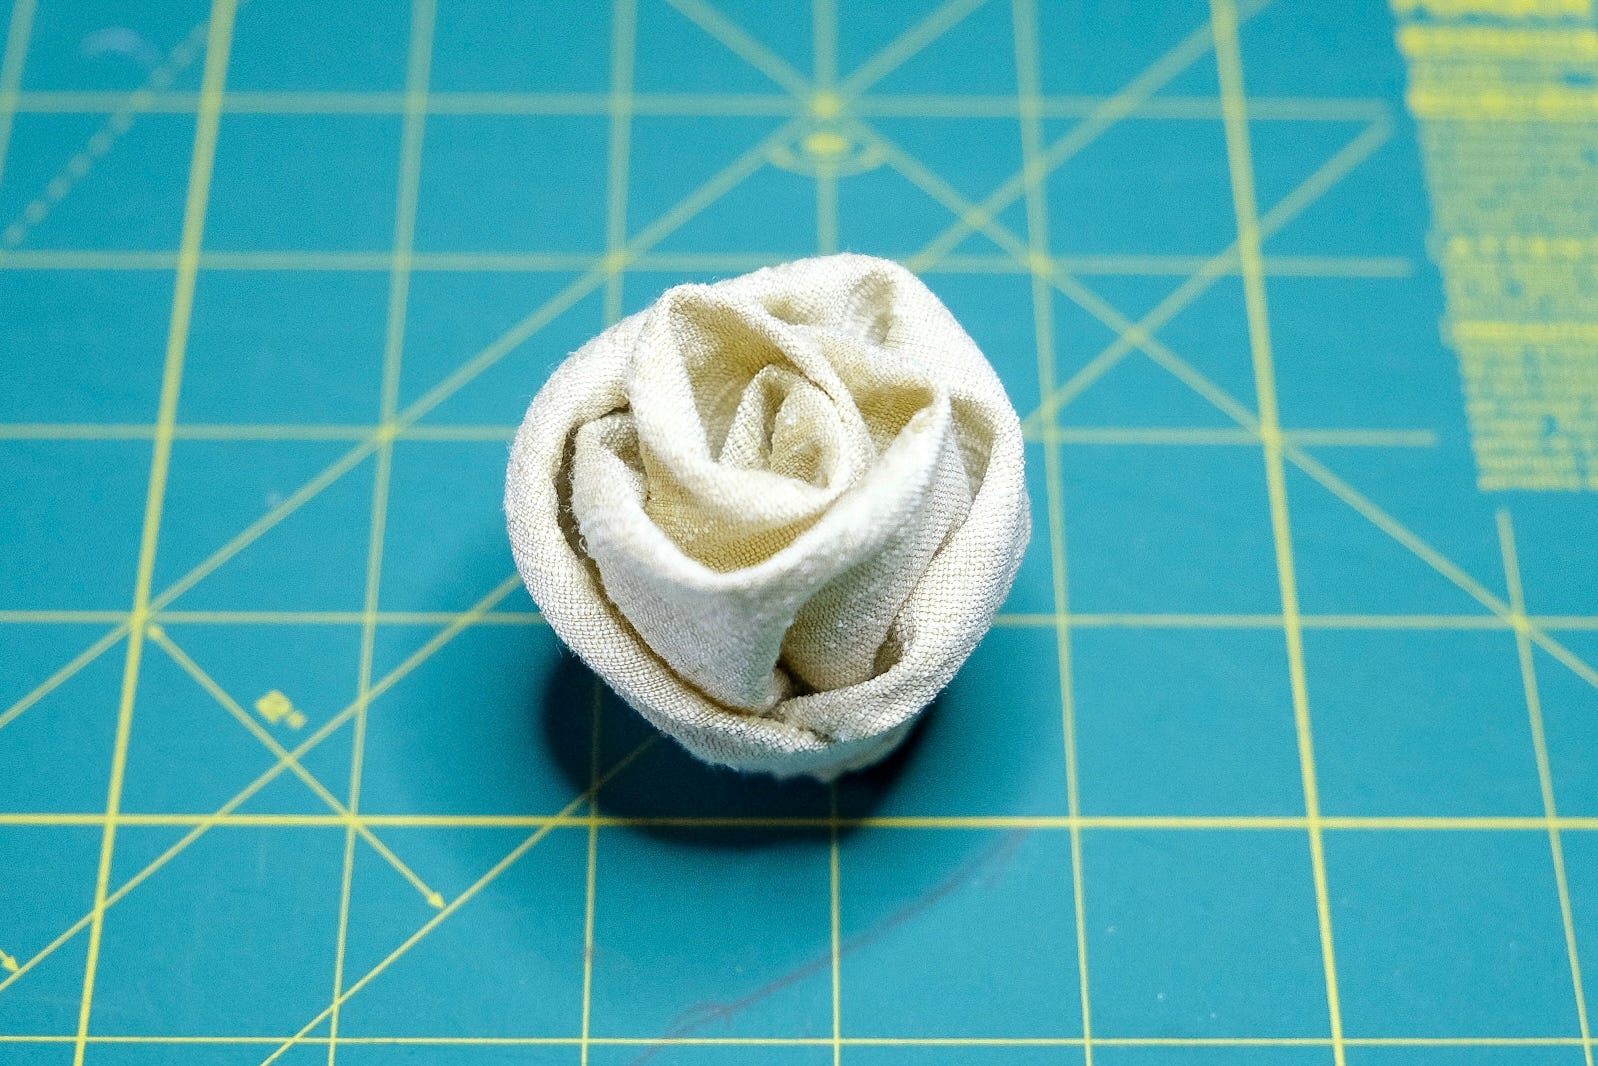
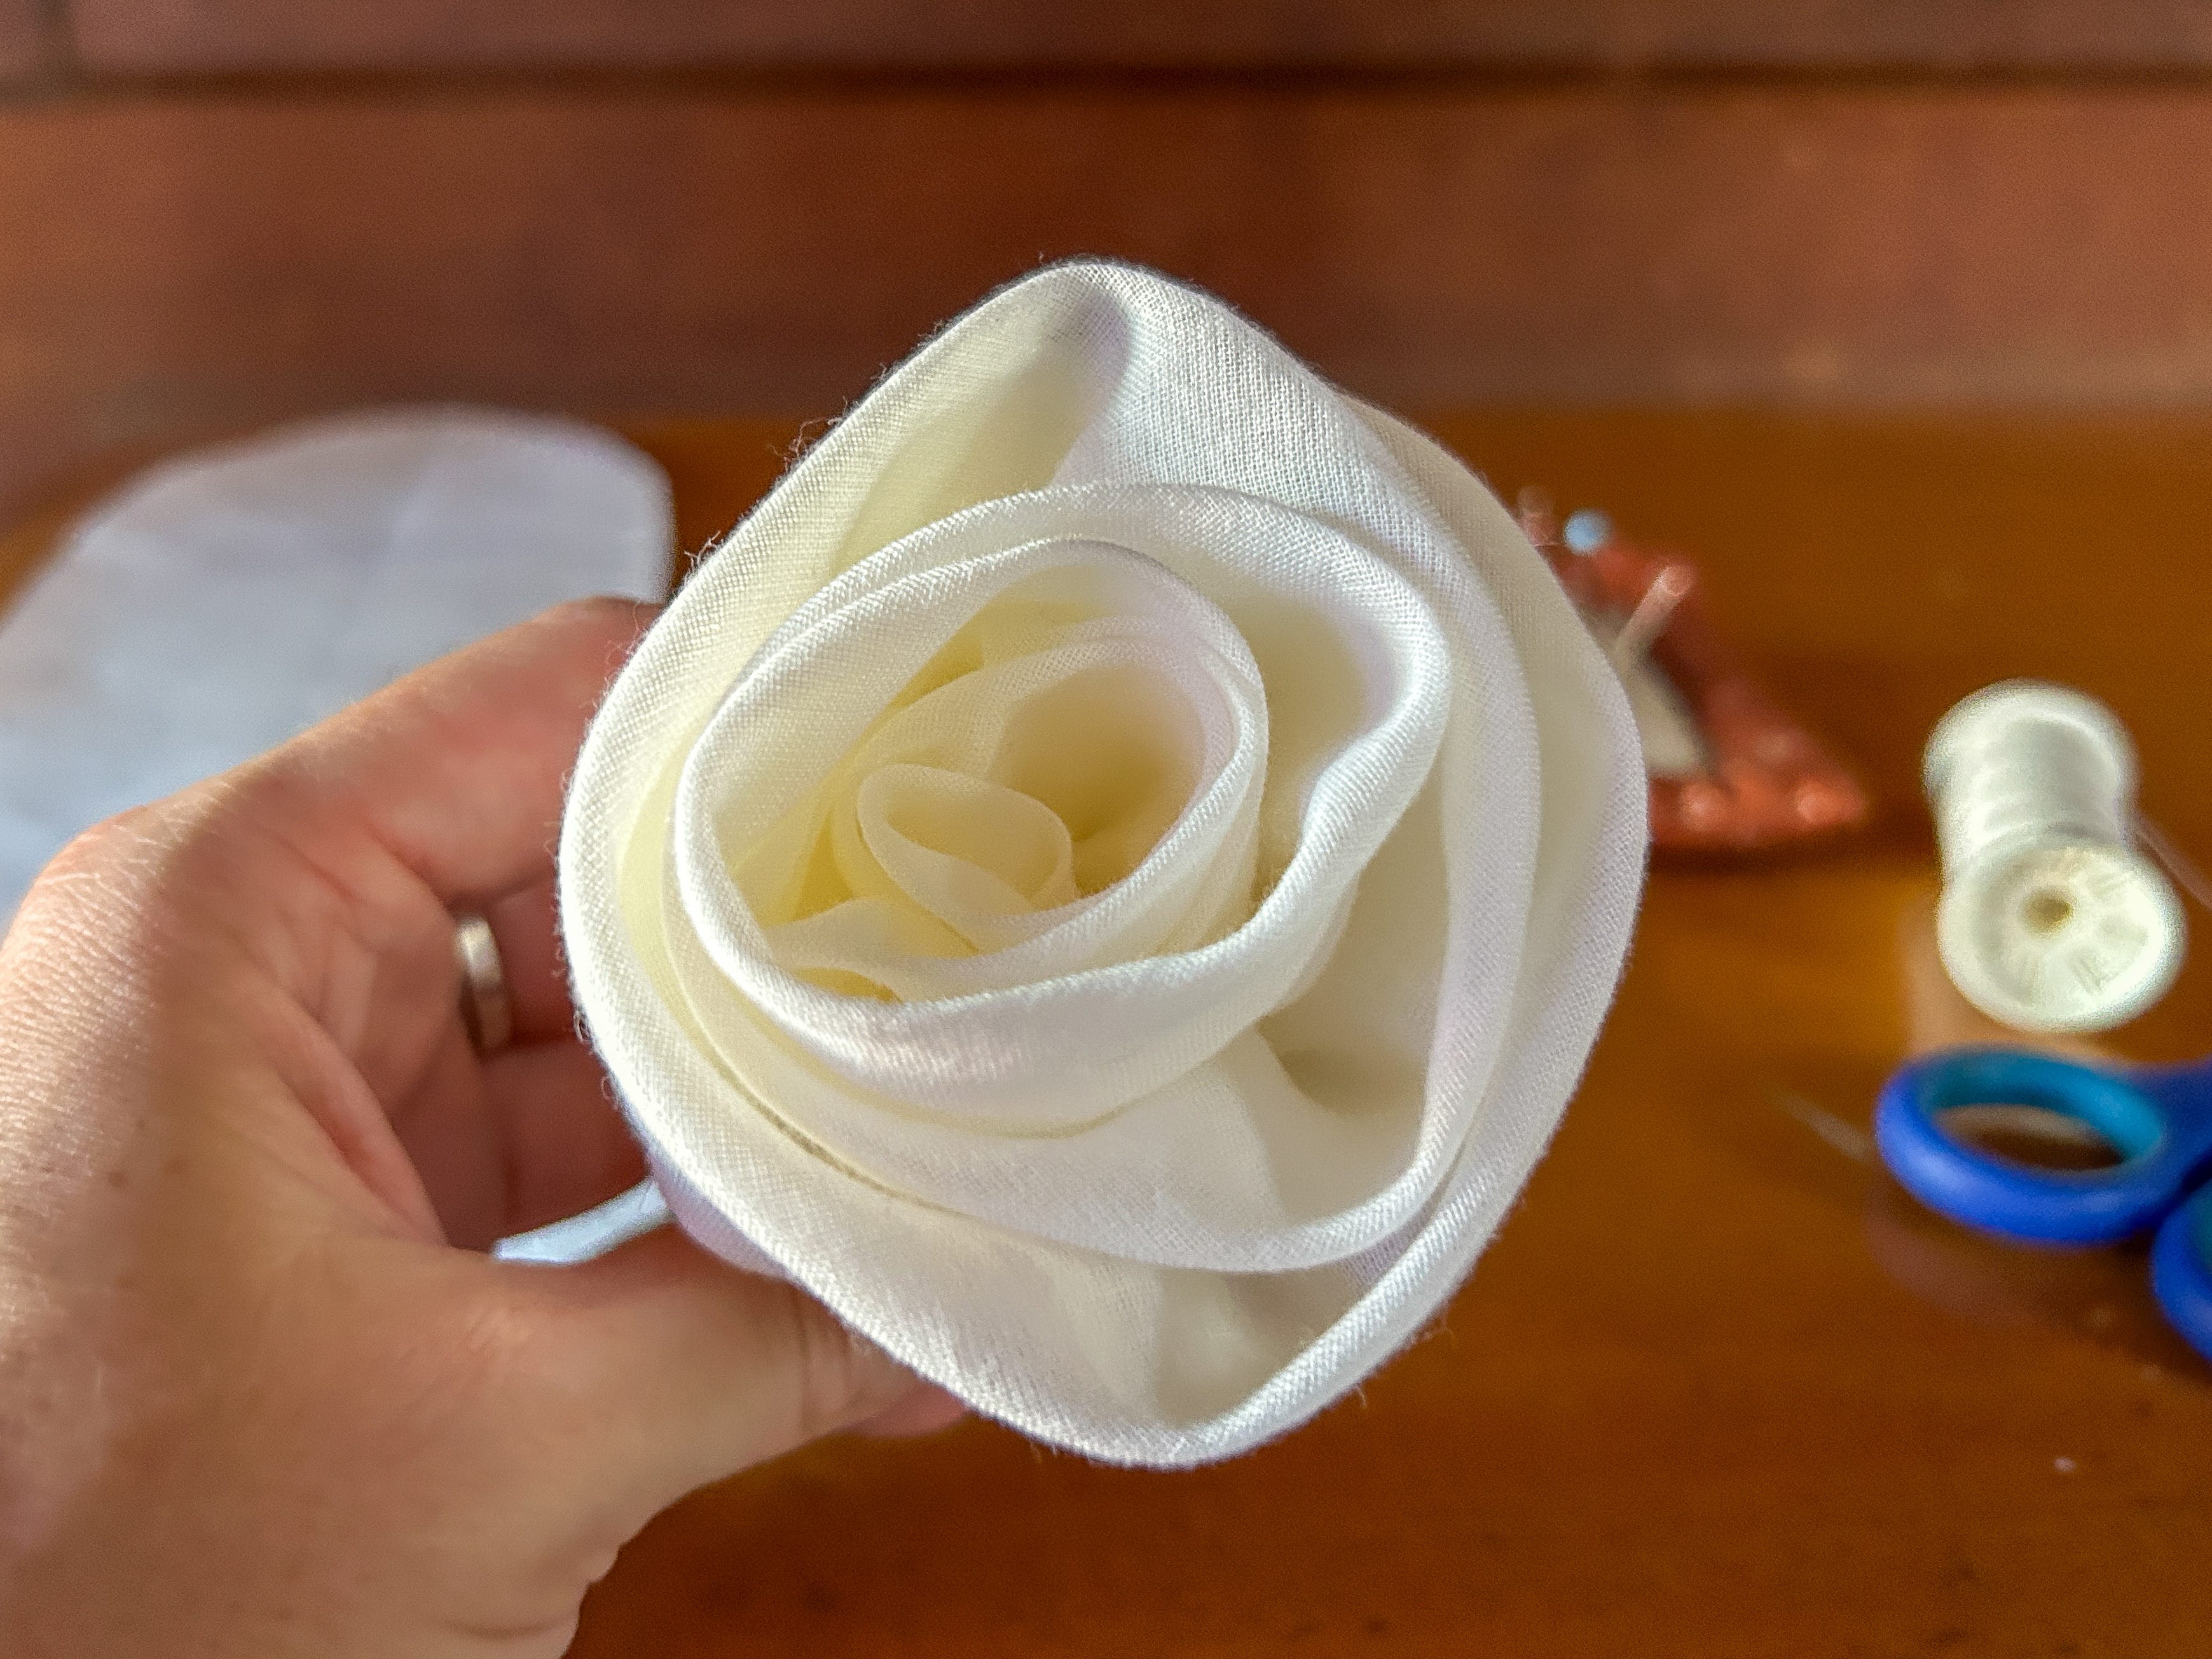
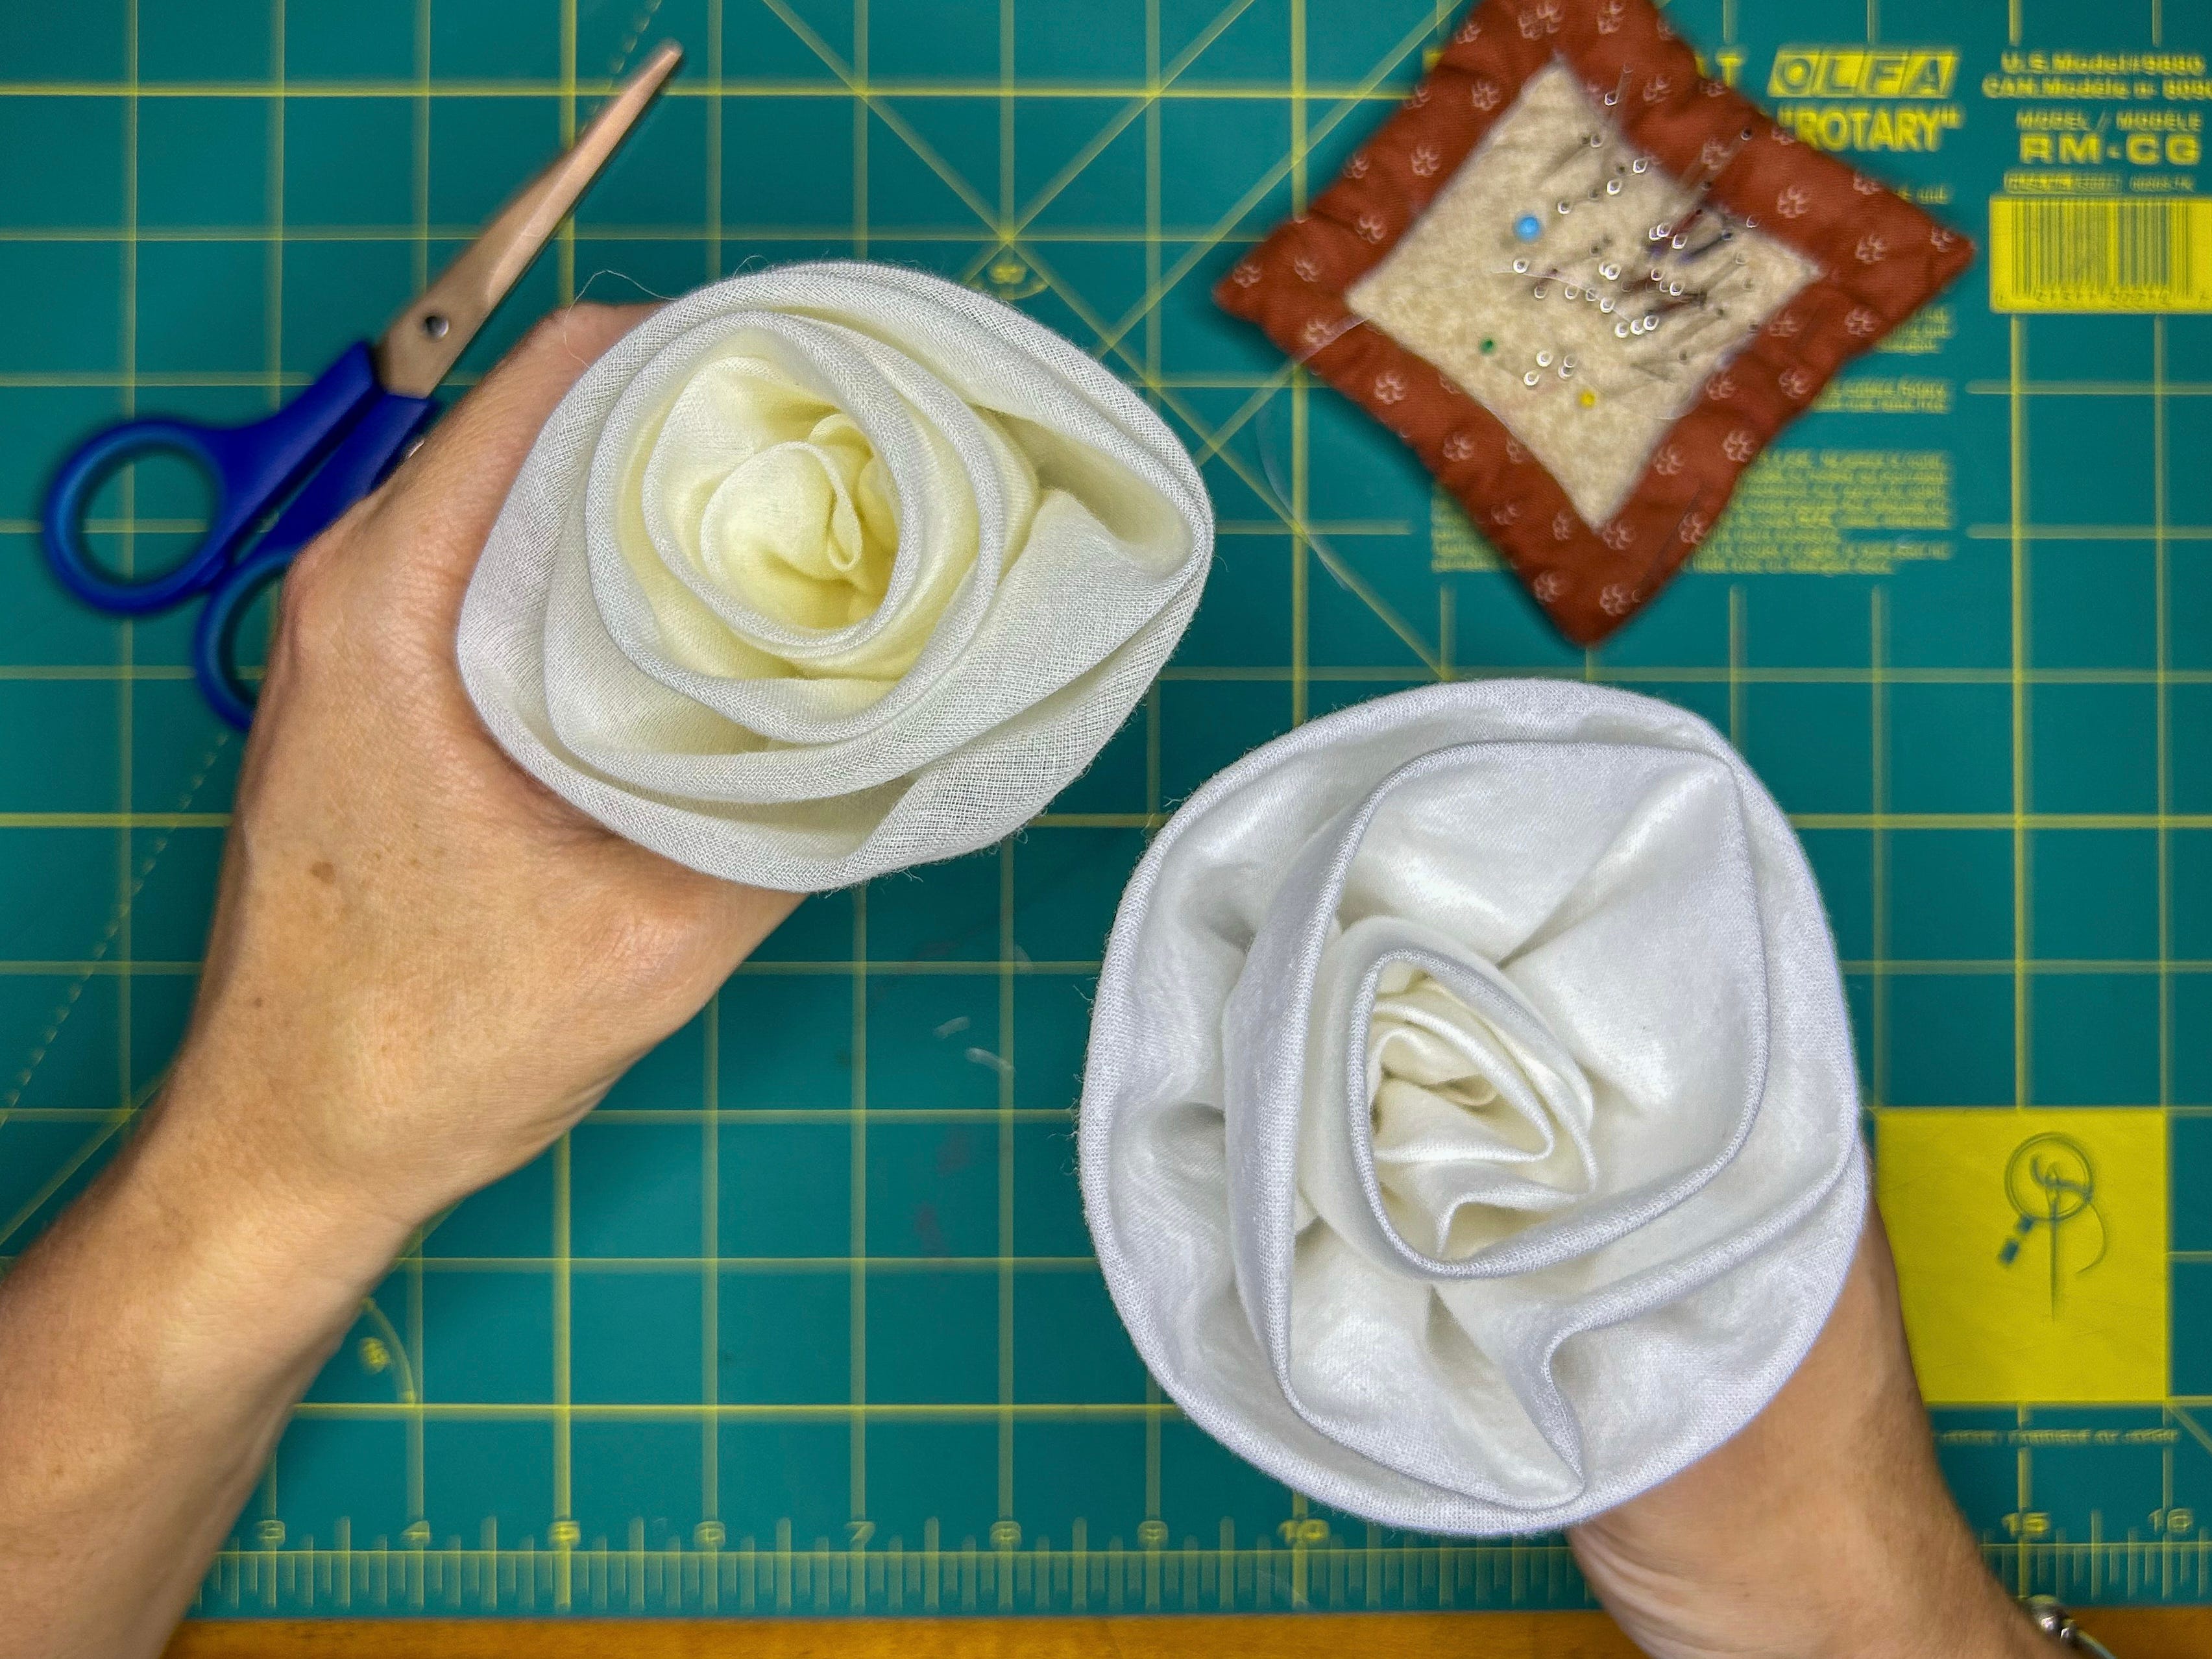
And voila! You have completed a Dior Rose.
I also love the quiet simplicity of a Dior rose cut in cotton voile.
Here’s a fun one-minute short showing how to construct a Dior rose.

A Variation on the Original
You can create this custom fabric flower using the Dior Rose pattern as a foundation. Jump to this part of the video tutorial here.

Start with your Dior rose pattern. Select the largest petal (8 inches x 5 inches). Mark a line down the center and cut it in half.

Spread the two pieces as long as you’d like. For this petal, I added 22 inches from straight edge to straight edge, creating a total length of 30 inches. Don’t forget to mark your bias grainline.
Cut out your modified petal pattern, plus the two smaller petals and circle. I’m using a cotton voile and the 2” circle pattern for this flower.
Fold lengthwise and pin.
Sew two rows of gathering stitches on each petal. The first row is 1/4 inch away from the edge. The second is 1/8 inch away from the edge.
Following the steps outlined in making the Dior rose, start with the smallest petal. Pull up the gathering threads and gently roll to make a bud. Push a pin into it to hold its shape. Take the middle-sized petal, pull up the gathering threads, gently wrap it around the bud, and push a pin through the center to hold its shape.
Now, here’s where this flower’s construction is slightly different than the Dior Rose. With your newly lengthened petal, pull up the gathering threads to shorten to approximately 12 inches. *This measurement along with your total length is up to you.* The tighter you gather, the more your petal will flare out or “bloom.”

Gently wrap this petal around the bud. Again, push a pin through the center to hold its shape. Thread your needle and sew the layers together, whipstitching from center to edge (or edge to center) around the flower's base.
Run a gathering stitch ¼ inch around the edge of your cutout circle just like we did with a Dior rose. Pull up around the edges and press flat, then slipstitch this onto the rose’s bottom, covering the raw edges.
And that’s it! Group your Dior roses together in sprays, create a cluster of three, or make a single rose. The sky is your limit.
Thank you for reading! I hope this newsletter sparks inspiration for your sewing projects. With Halloween just around the corner, I have lots of exciting projects lined up. Until next time!
~ Jane