


3 Simple Tips for Sewing a Lapped Zipper
Plus, the finished Marimekko slipcover and a brief look at color in film costumes.

In this week’s letter, I’m wrapping up my Marimekko slipcover project (you can find the first part here) and sharing how to sew a lapped zipper. This type of application is favored for slipcovers made with coil zippers since it hides the zipper better than a slot seam.
To start, here are three simple tips to make sewing a lapped zipper easier.
1. Go BIG with seam allowances.
If you can, give yourself generous seam allowances. You can always trim them. That way you don’t run the risk of not having enough seam allowance to work with.
2. Work bottom to top for both sides.
Always working from bottom stop to top stop (slider) helps ensure that the lap goes in the proper direction. It also means you’ll need to move the needle position to the left and right of your zipper foot, depending on the side you're stitching.
3. Use chalk, hand basting, or both to mark your topstitching guide.
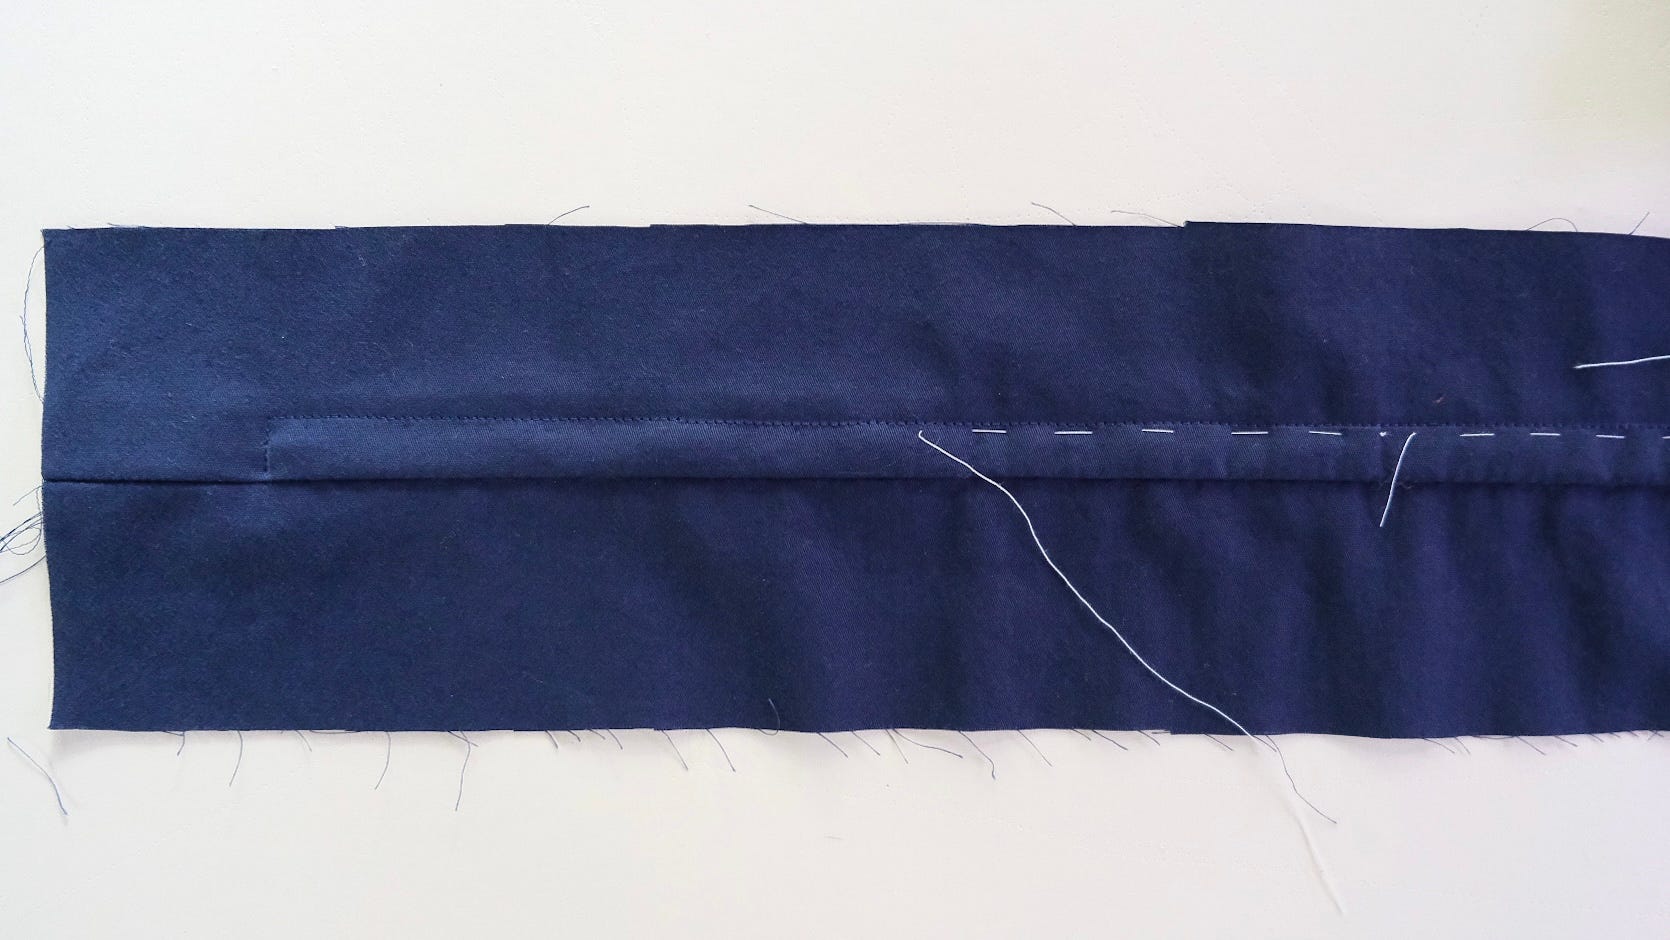
I marked a generous 1/2-inch guide with tailor’s chalk, then hand basted just inside the chalk line, both as a second marker and to keep the fabric layers and zipper tape from shifting during topstitching.
I’ll share how these tips come together in the steps to sew a lapped zipper.
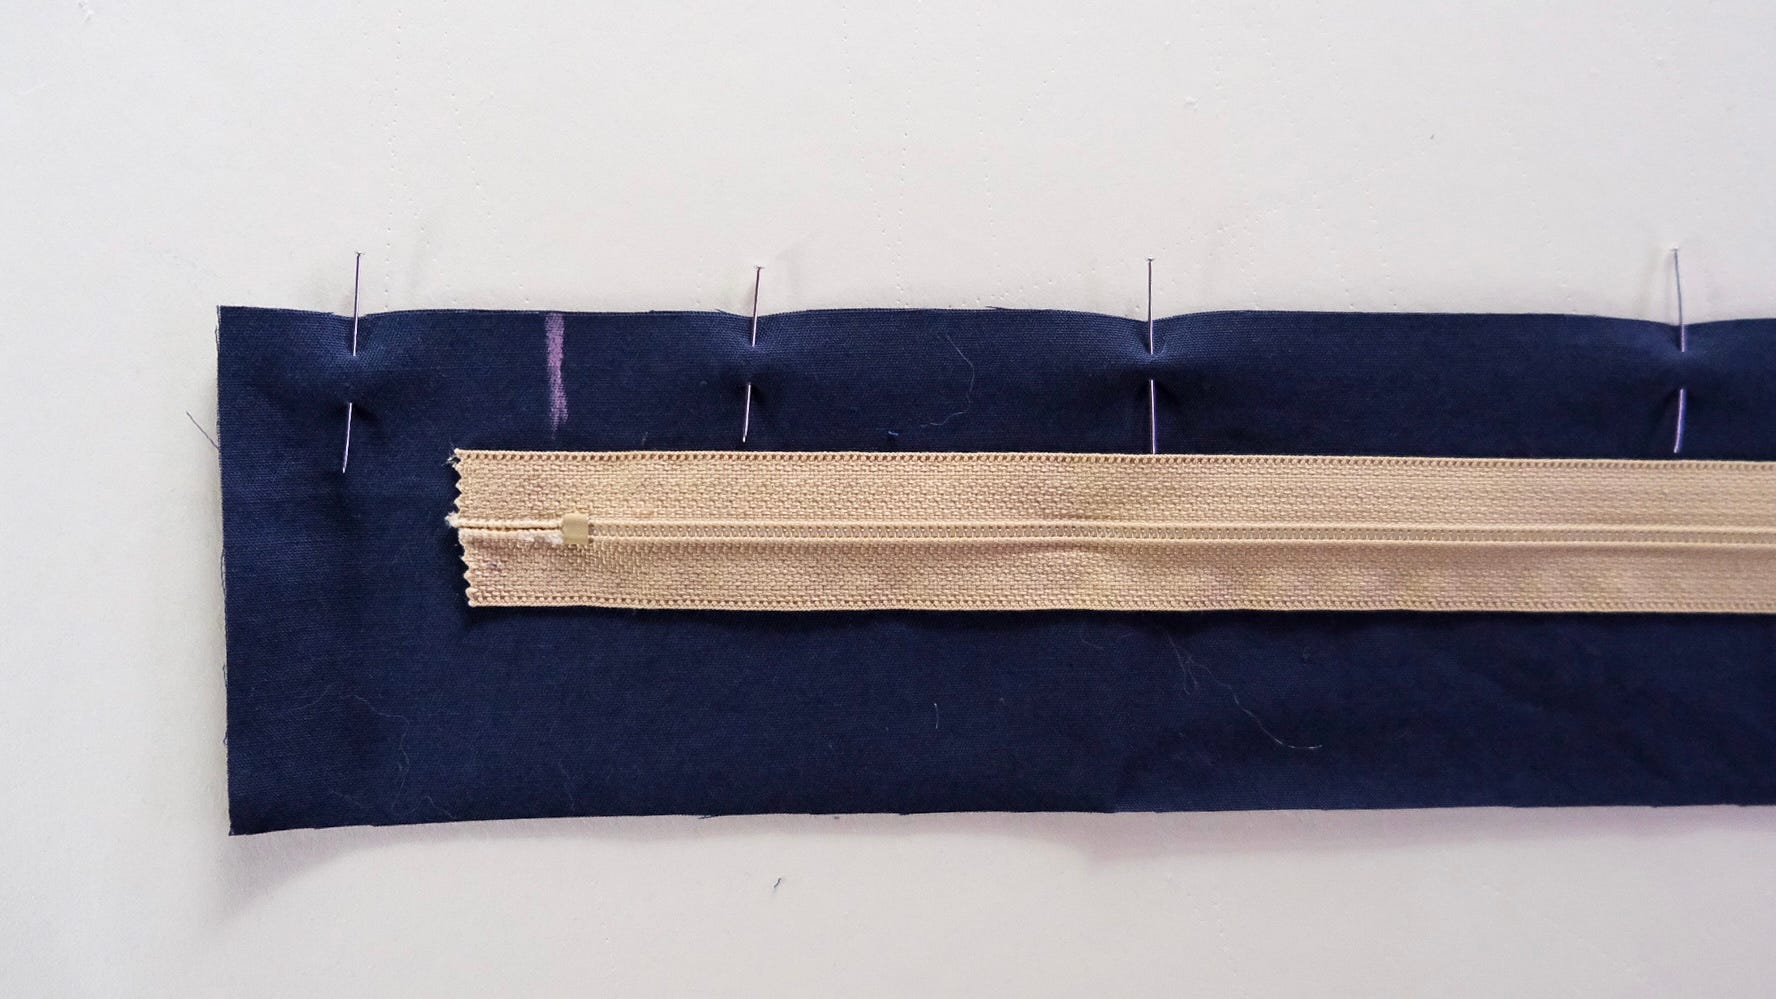
Mark the zipper opening using the zipper as a guide. (I like to mark the length with chalk marks.)
Stitch the seam up to the bottom of zipper placket with a regular stitch length, backstitch, then change to machine basting for the zipper opening, and press seam open.
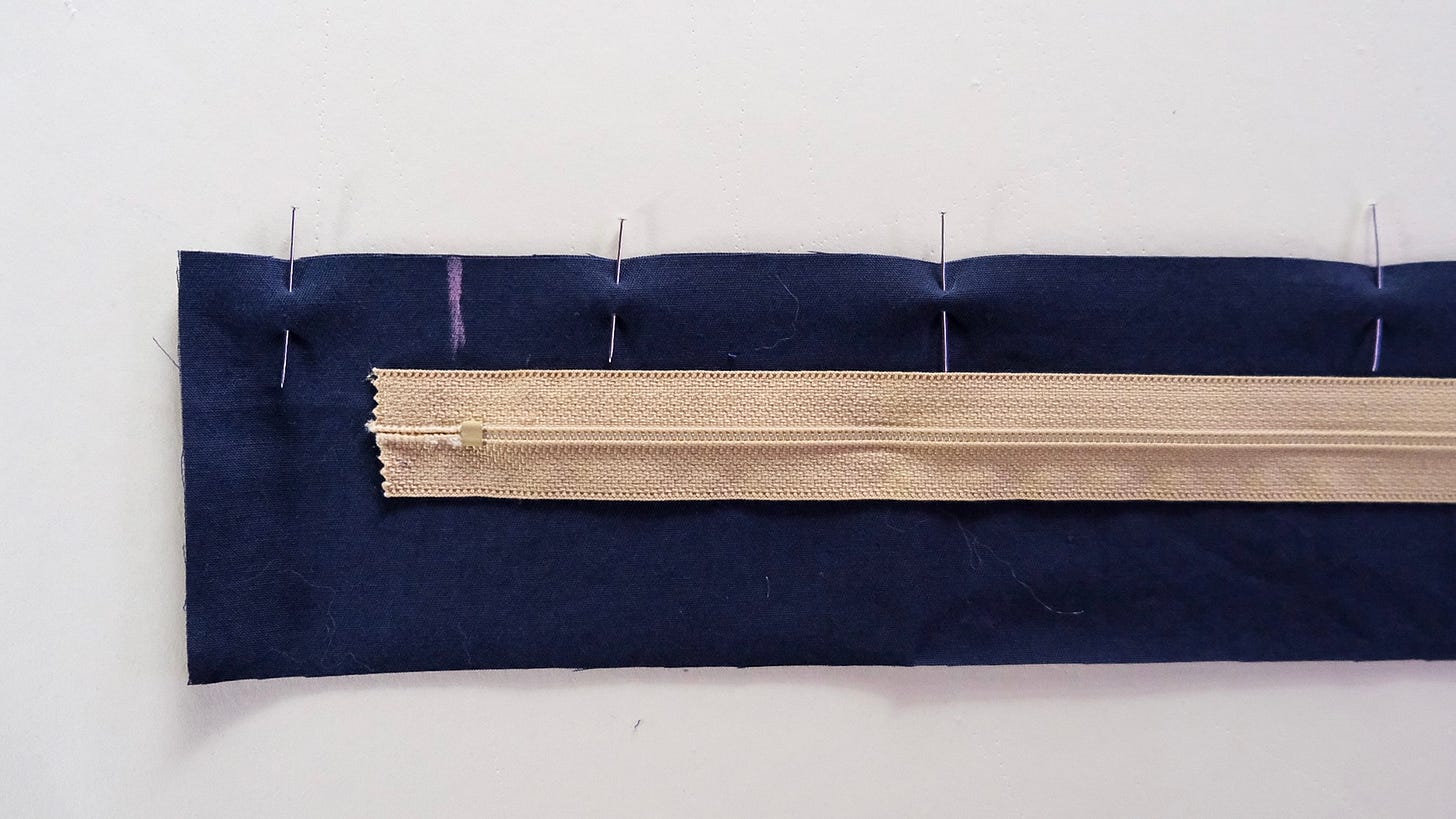
Extend one seam allowance and place the zipper face down on it. Align the stops with your marks, and position the zipper teeth along the seamline.
Working from bottom to top, use a zipper foot positioned to needle’s right and machine baste the zipper to the seam allowance.

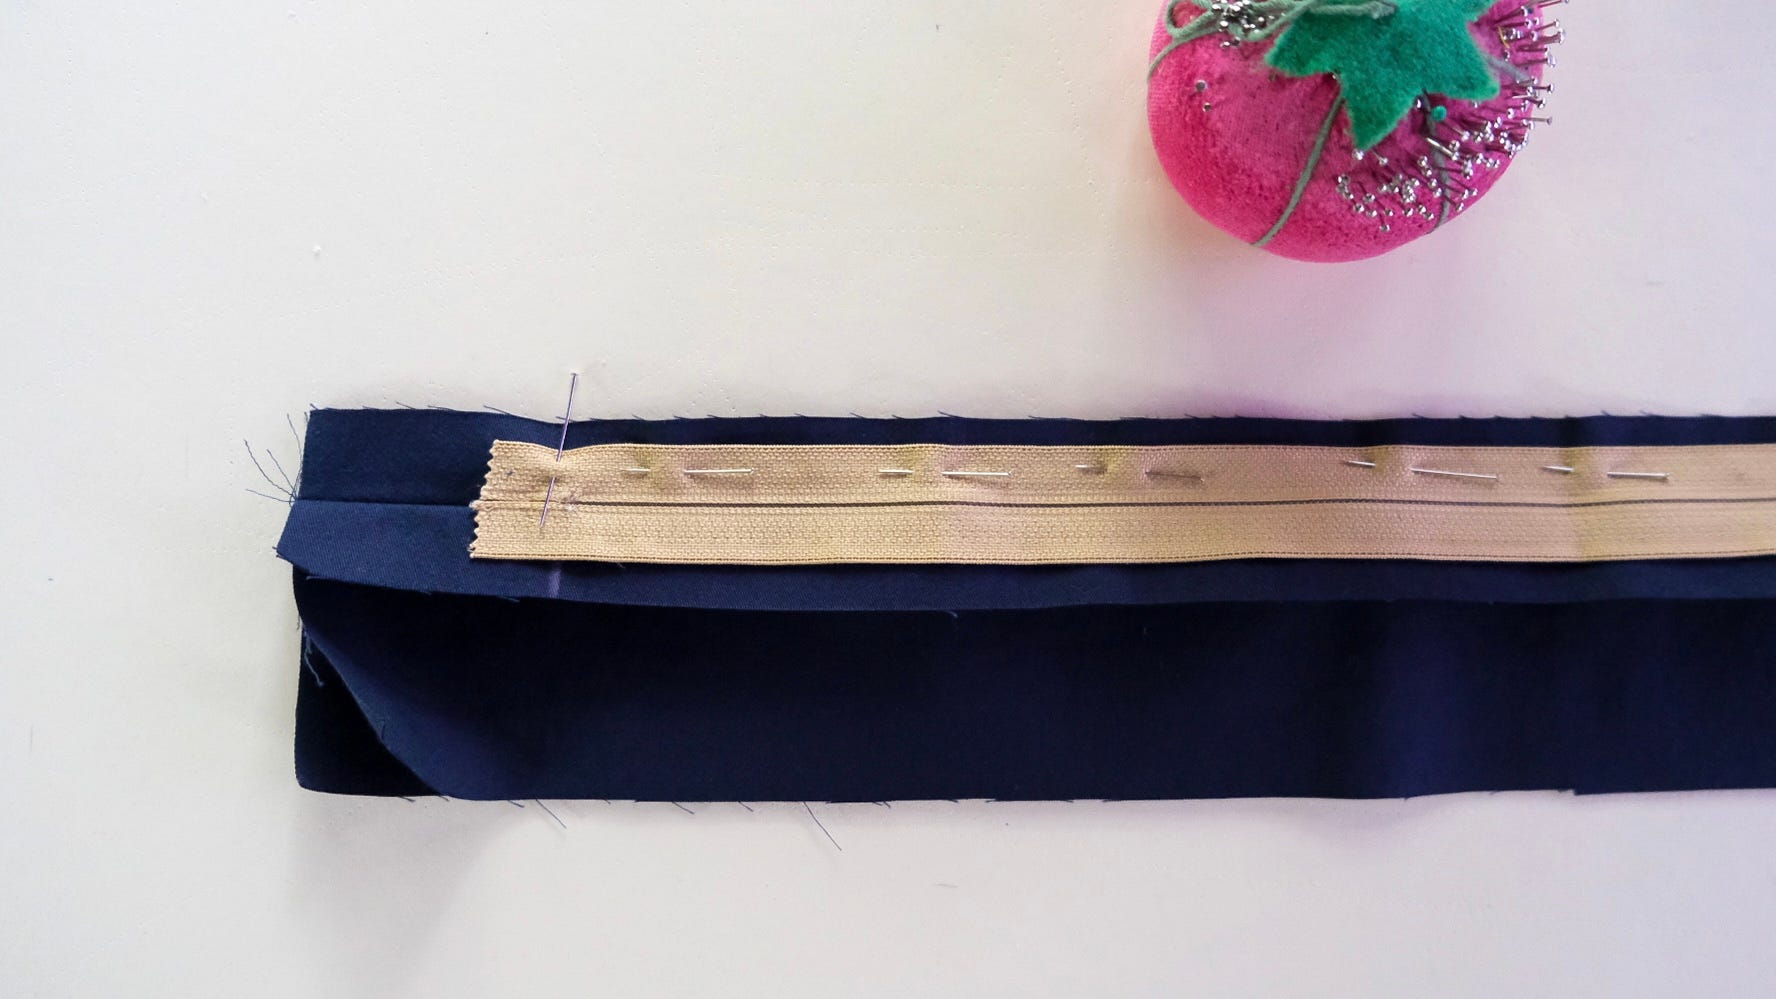
Turn the zipper face up, making a fold in the seam allowance. Bring the fold close to, but not over, the zipper teeth, and pin. (Closer is better than farther away. You can go right up to the teeth, just don’t cover them.)
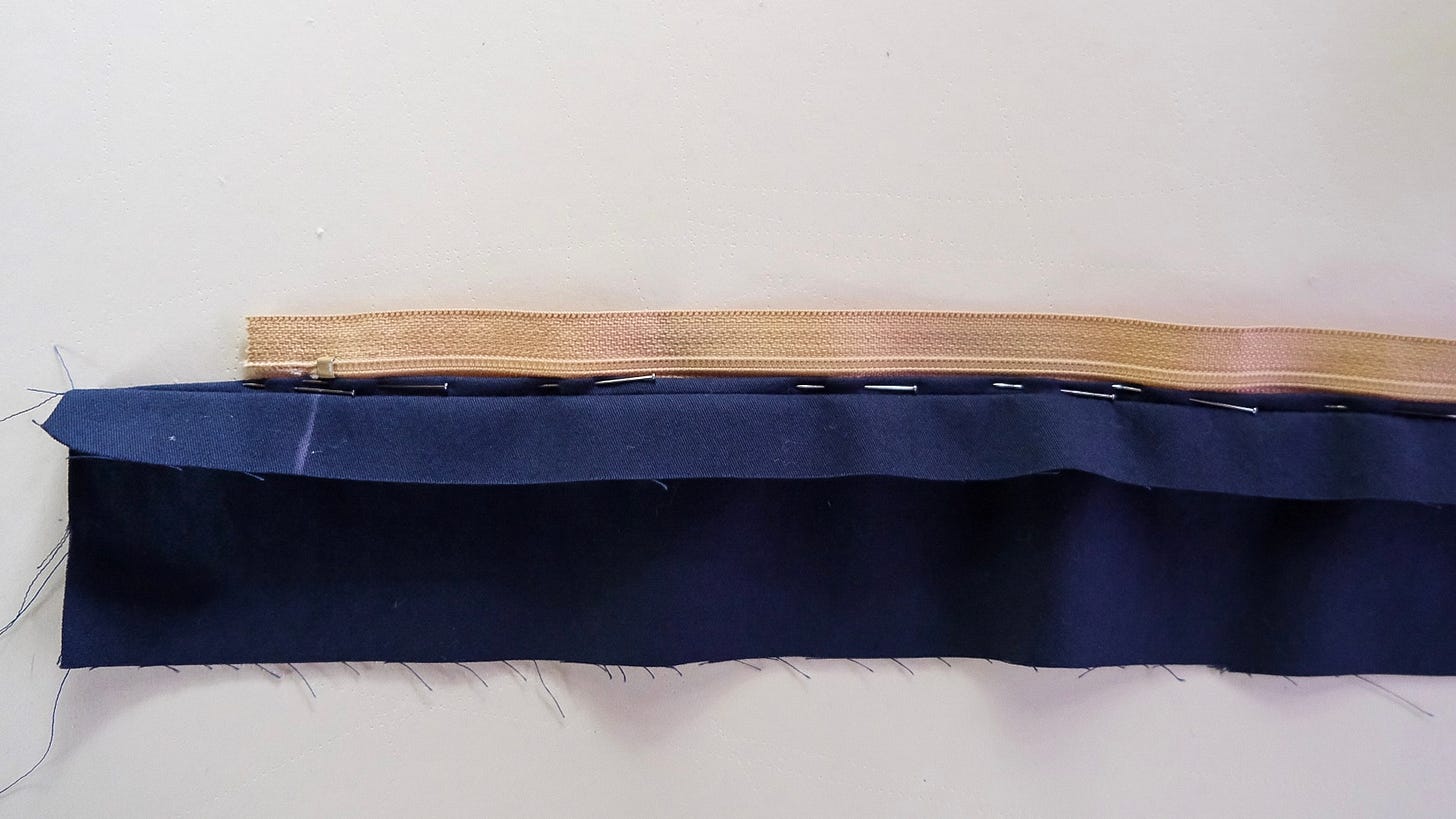
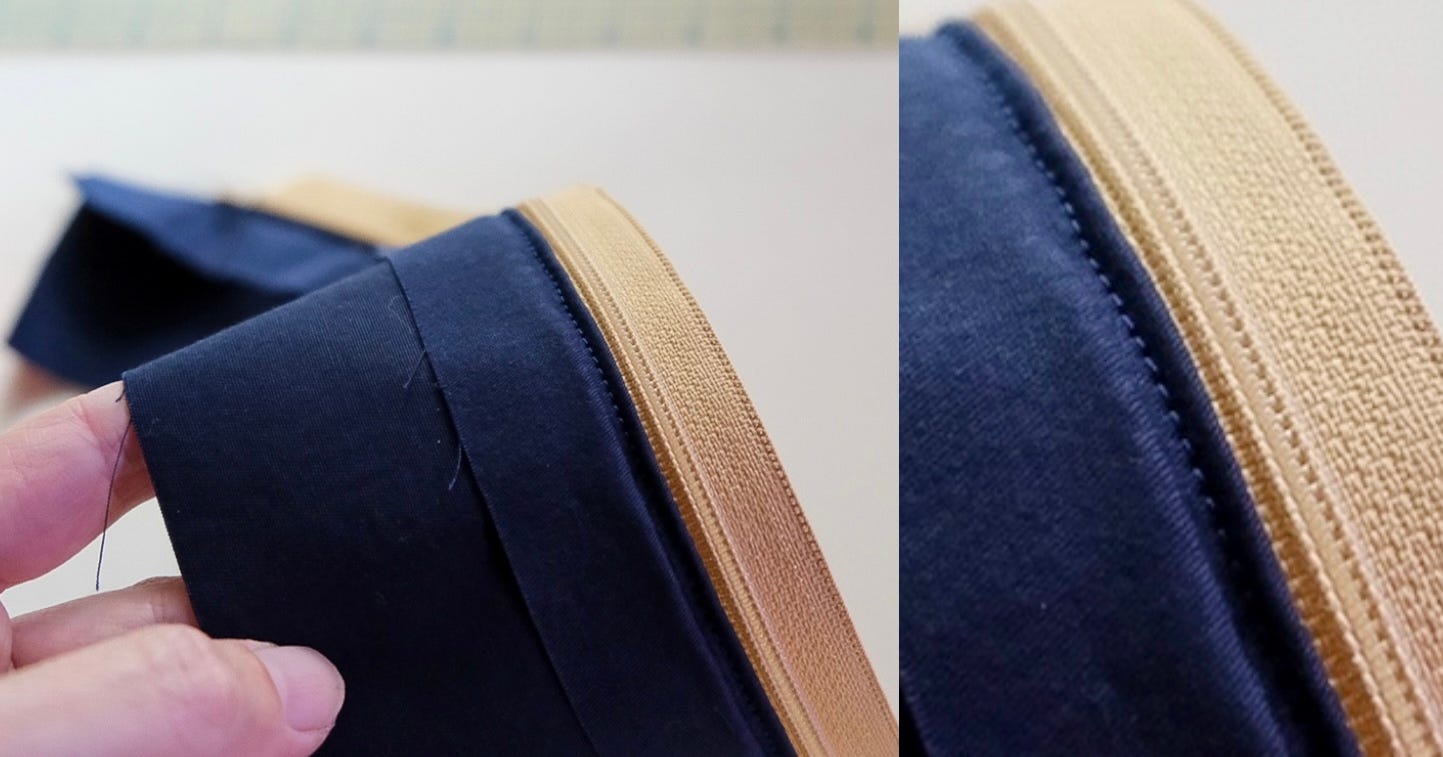
Now, position your zipper foot to the needle’s left. Stitch along the edge of the fold through all thicknesses.

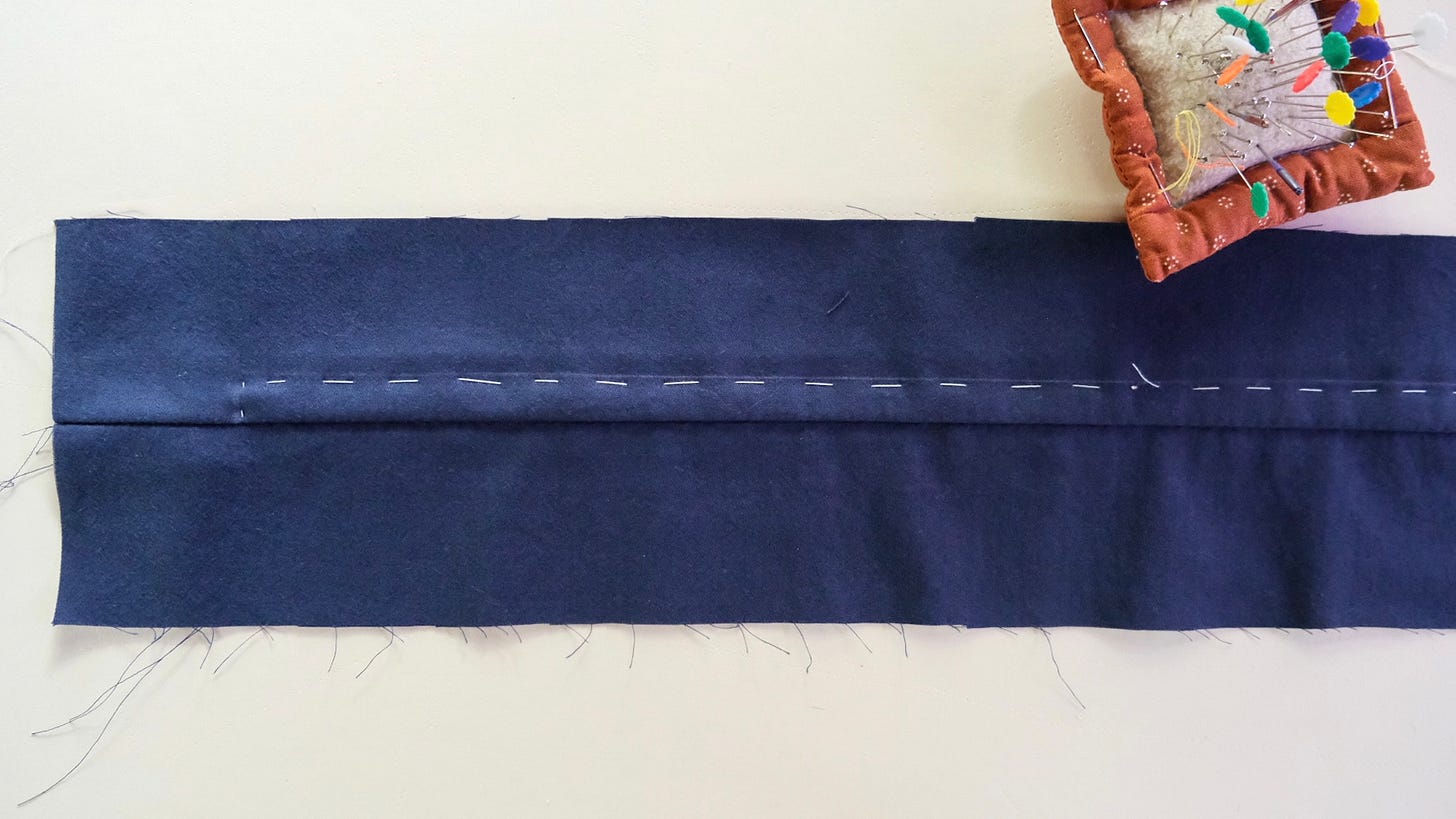
Turn your project right side up and spread the fabric as flat as possible over unstitched zipper tape.
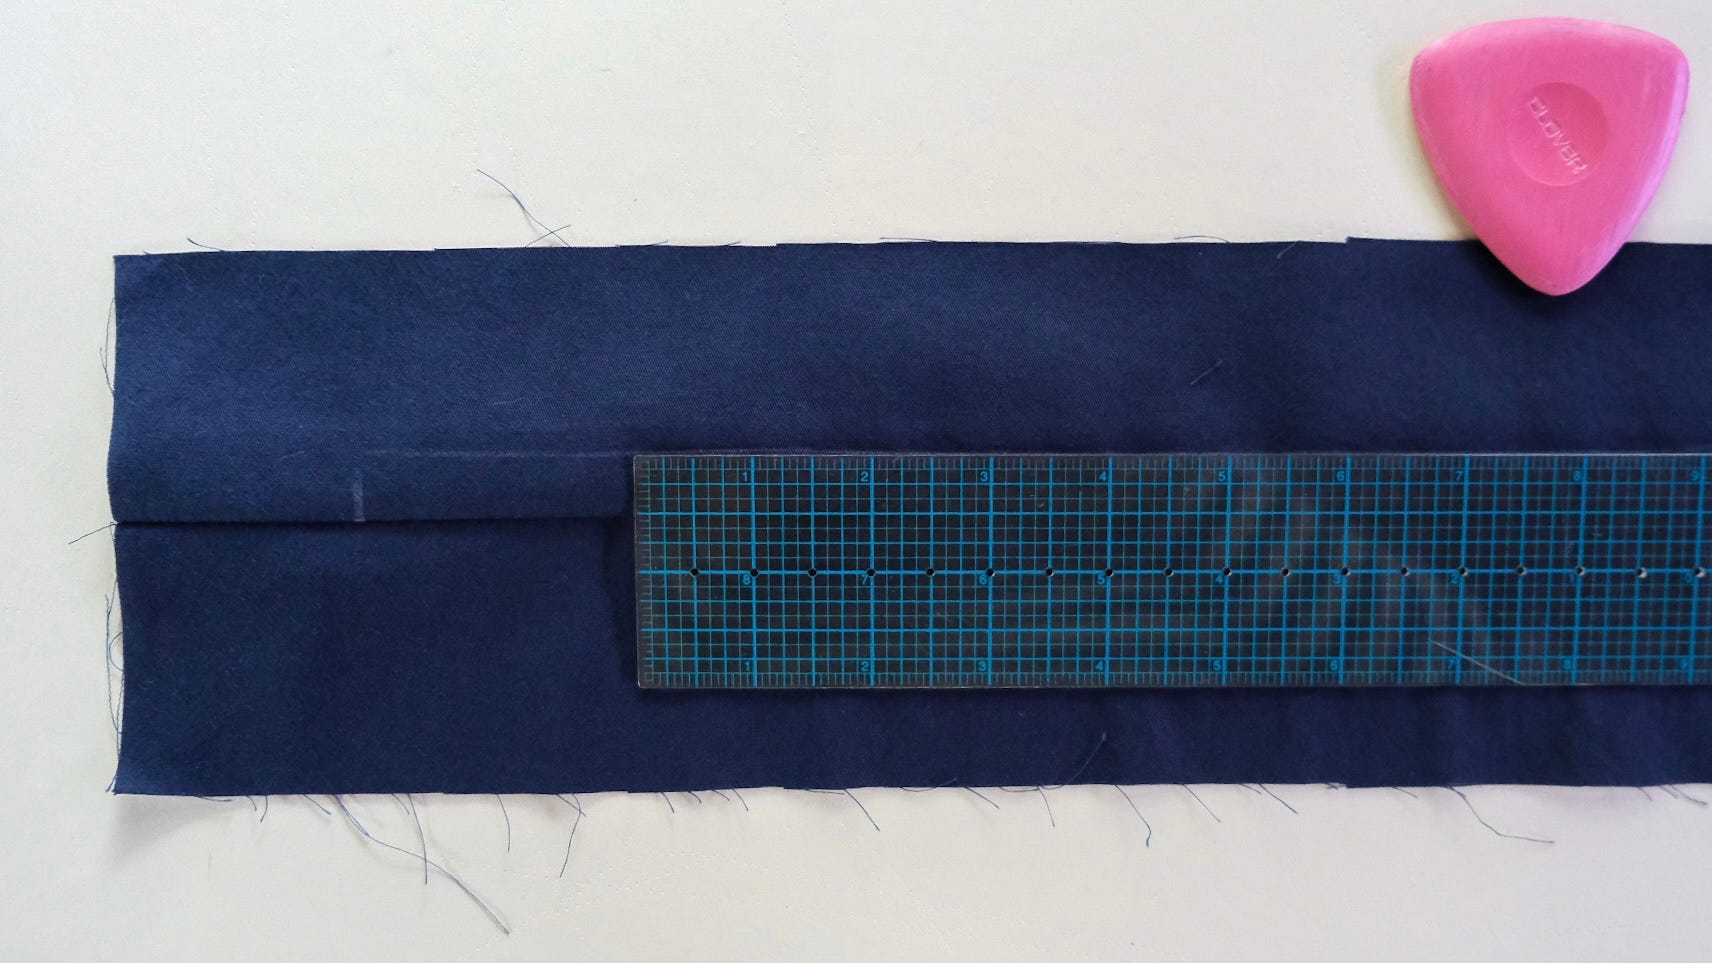
Chalk mark, hand baste, or both to mark a topstitching guide about a 1/2 inch from the seamline. Make sure to catch the zipper tape and unstitched seam allowance underneath.

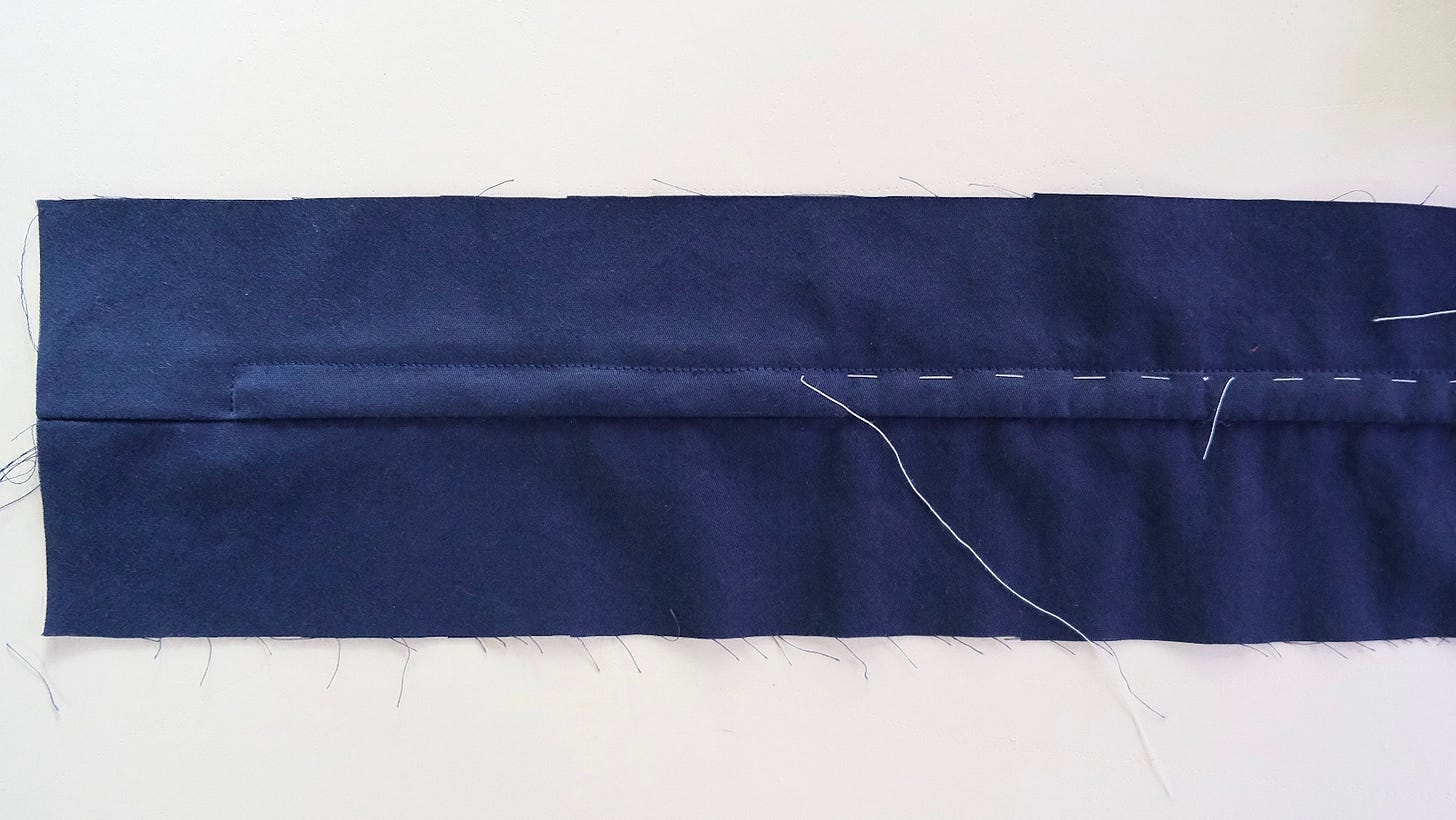
Return your zipper foot to the right of the needle and topstitch close to your guide. Take care not to stitch over the basting. Then bring the thread ends to the underside to tie off.
Finally, remove the basting stitches and open the placket by taking out the machine basting along the seam.
A seam ripper makes quick work of the machine basting.


First time reading Classic Cool Sewing? 🧵 Subscribe for tutorials, classic methods, and pattern inspiration—straight to your inbox twice a month.
On Finishing the Slipcover
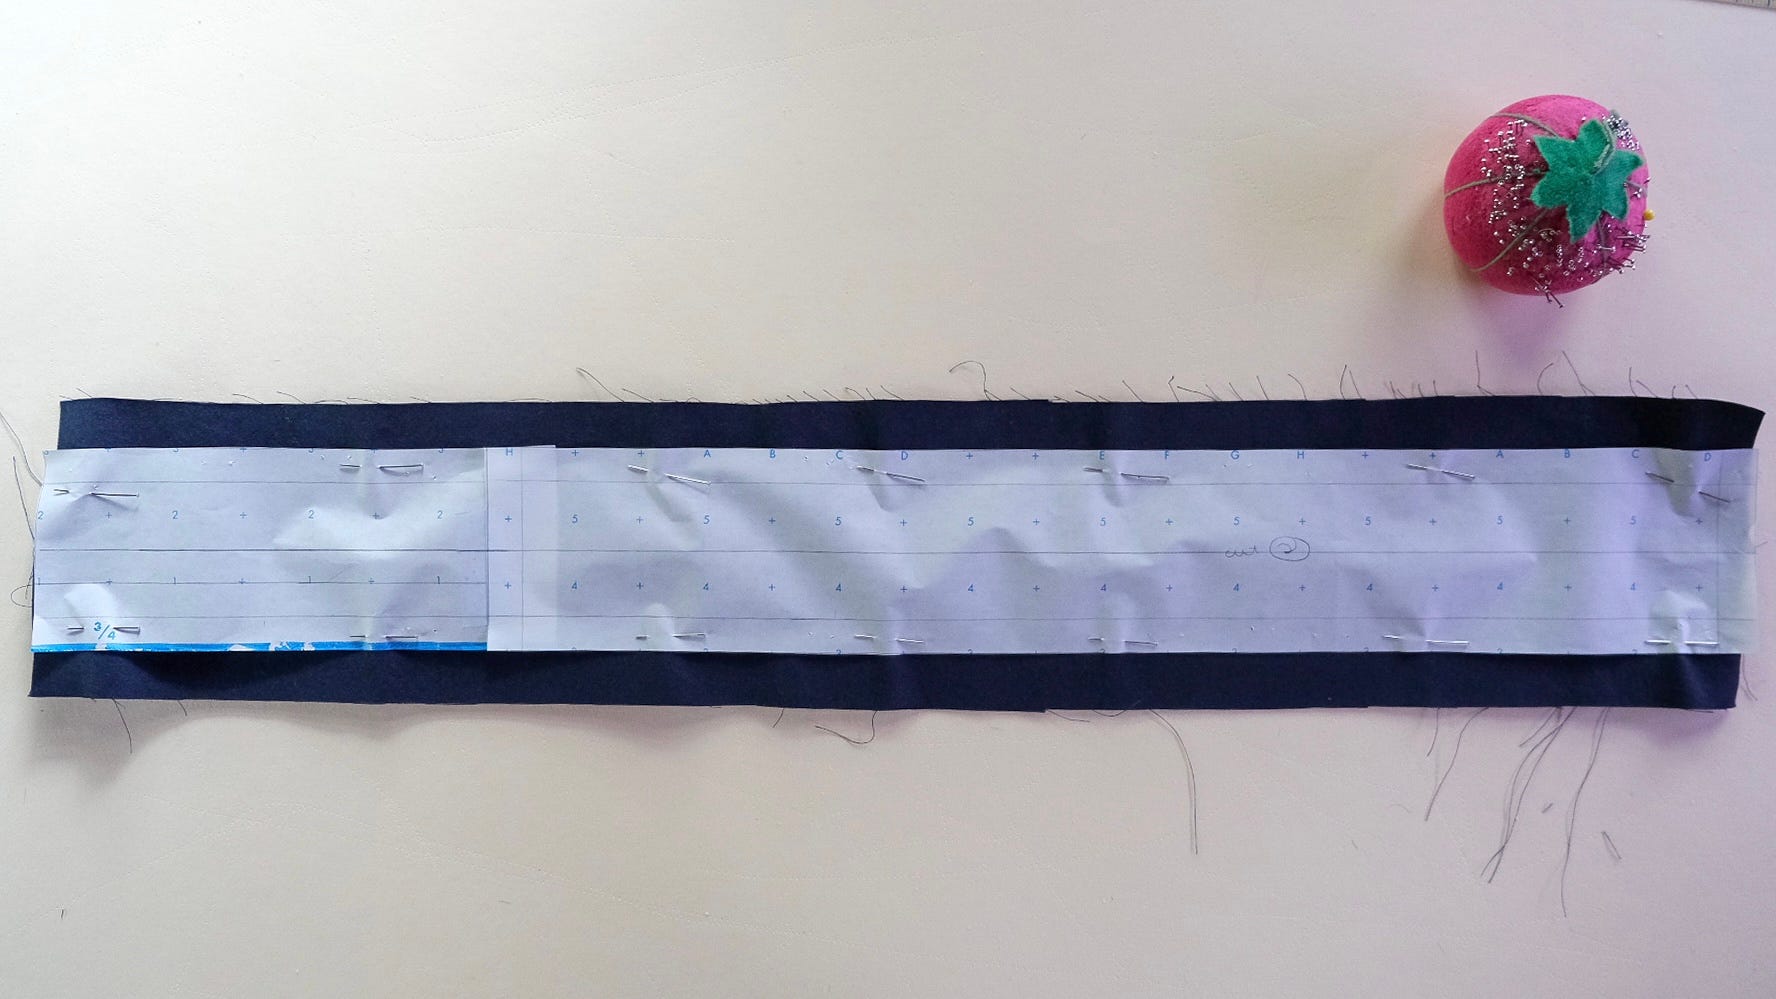
I cut the zipper pieces a bit oversized to give myself some leeway, then trimmed the band down once the zipper was installed.
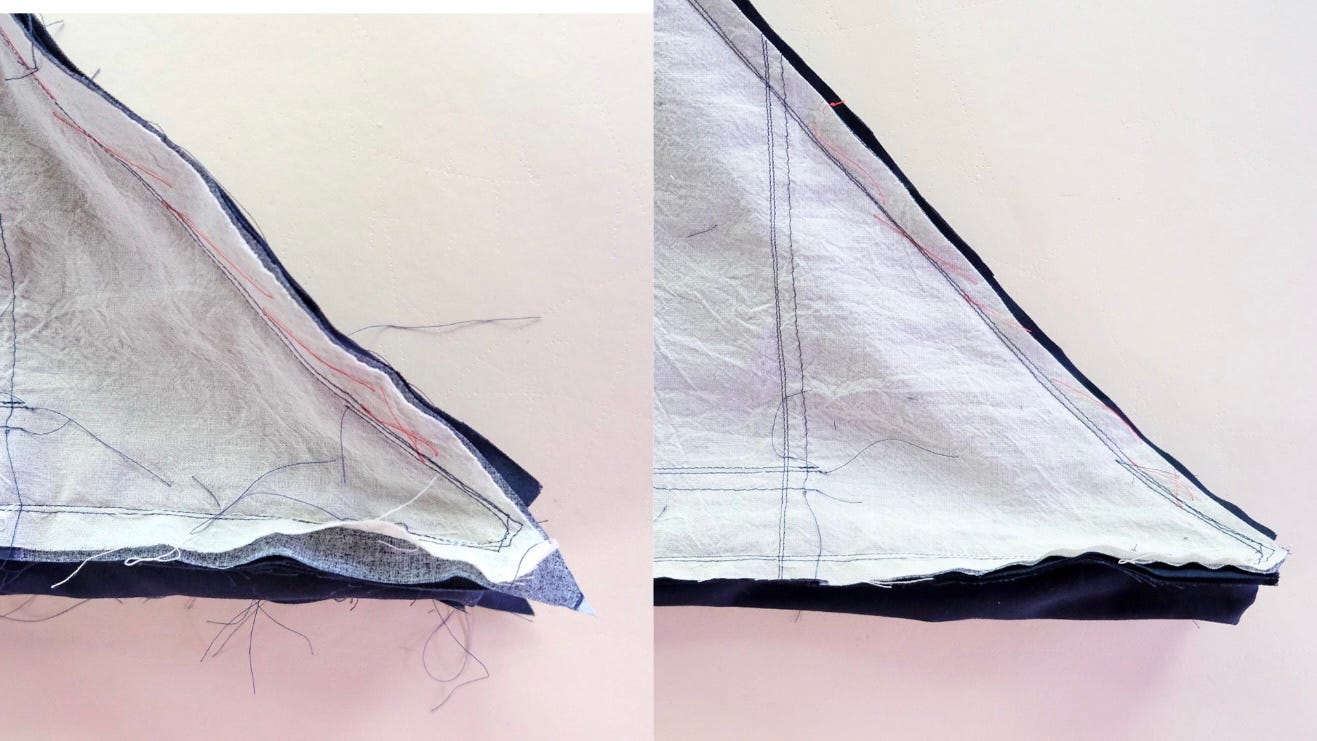
Don’t forget to trim and/or grade the seam allowances if seams or corners are bulky.
And lastly, I centered the pattern on the zipper seamline, but next time, I’d center it on the zipper instead.

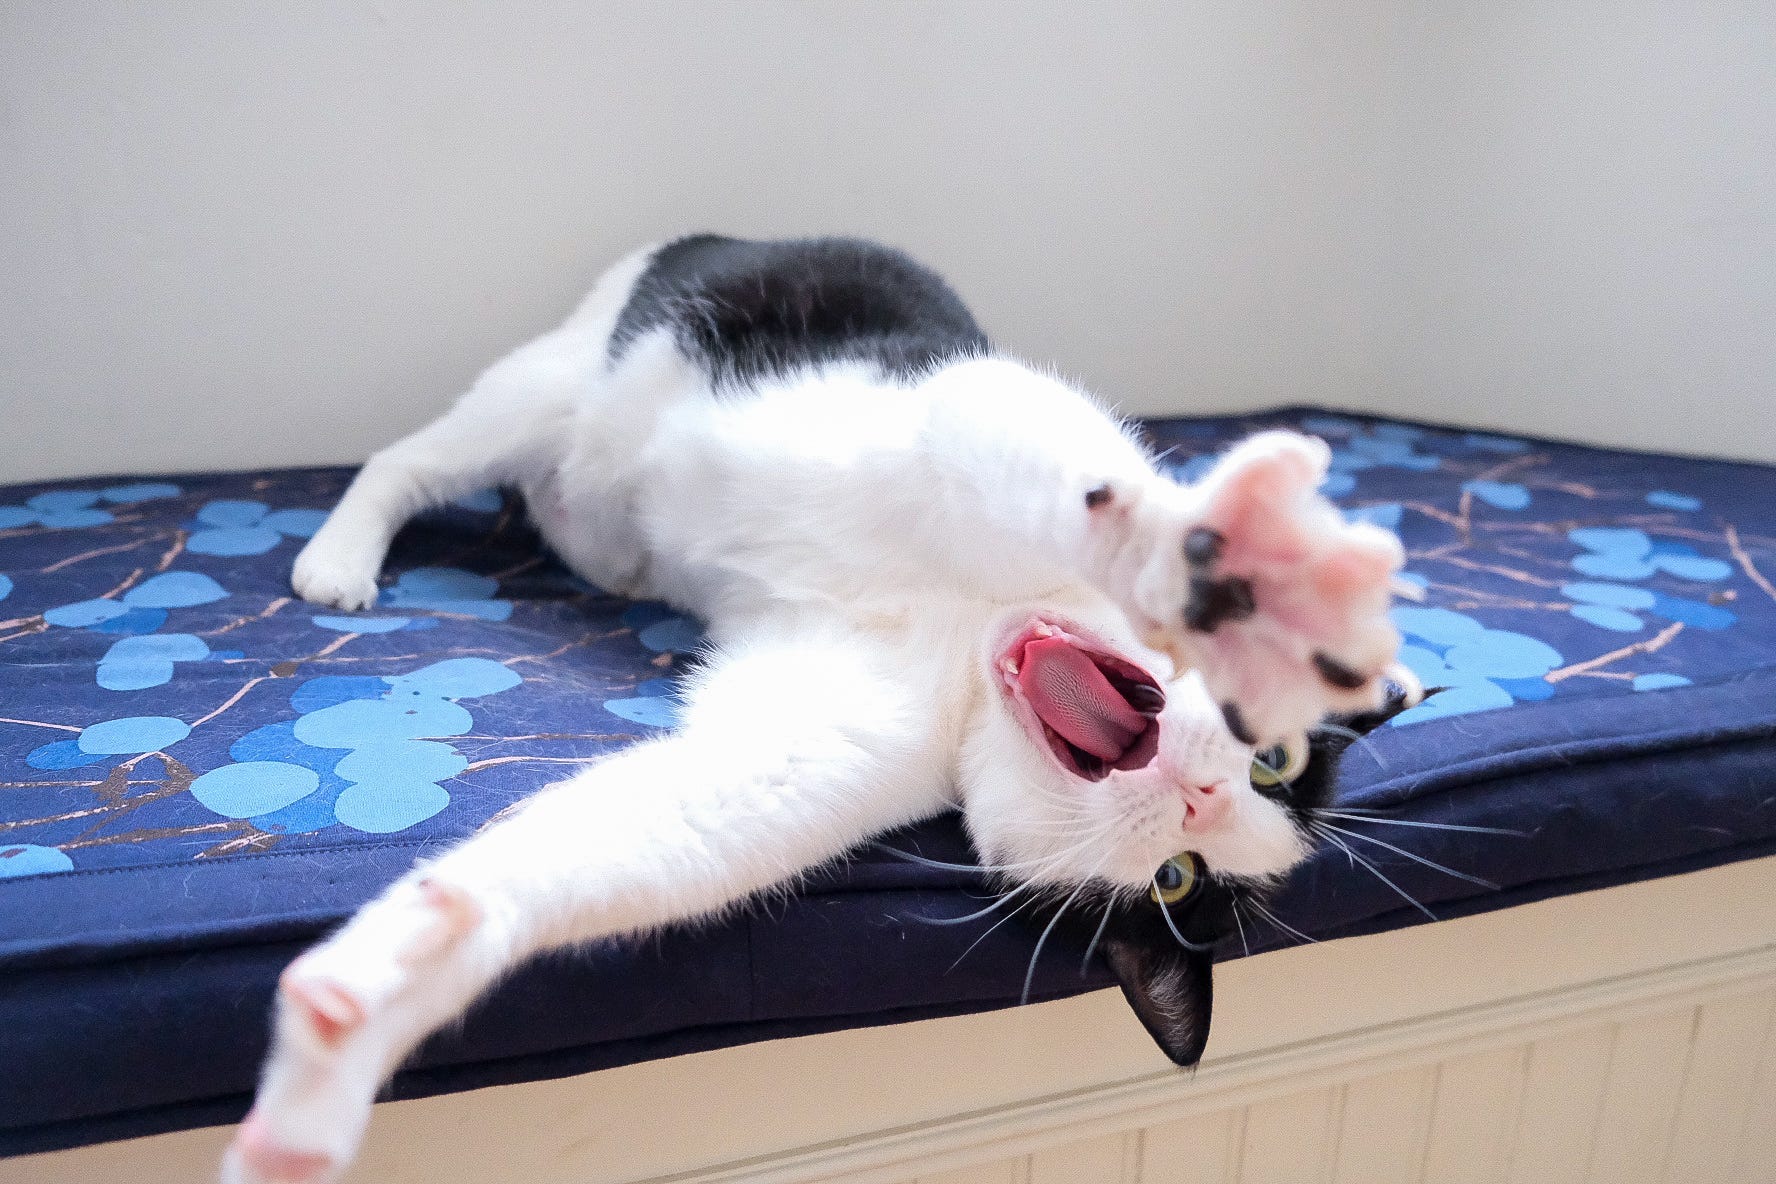
The slipcover’s finished—and a critic approves!
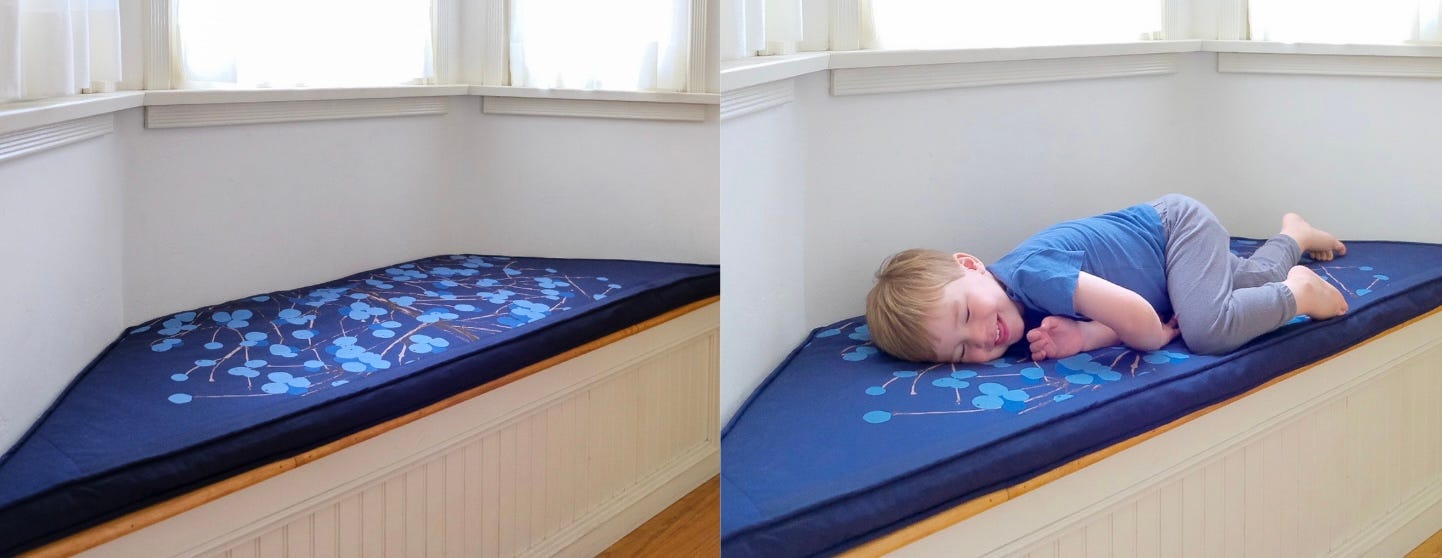
Meanwhile, another has claimed her stake.
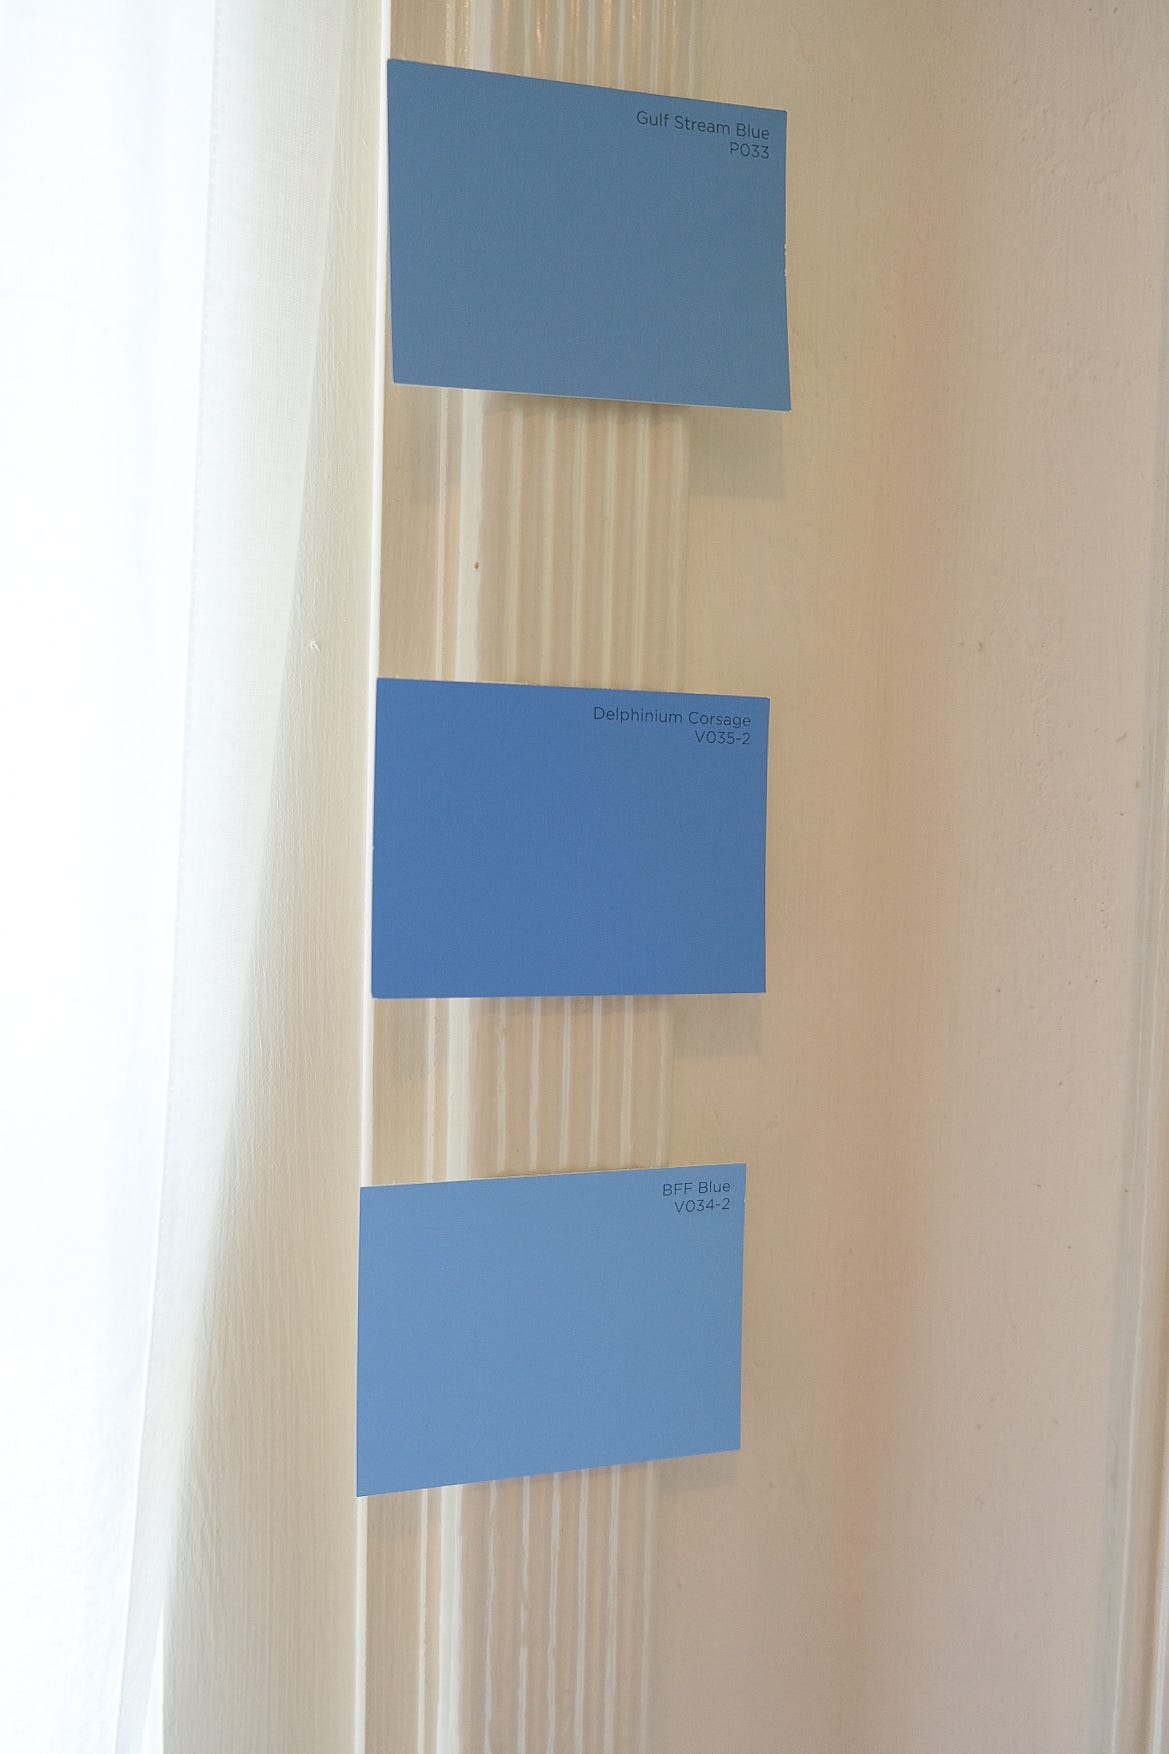
Now it’s time to add a little paint to make the space pop, but I won’t get ahead of myself. ☺️
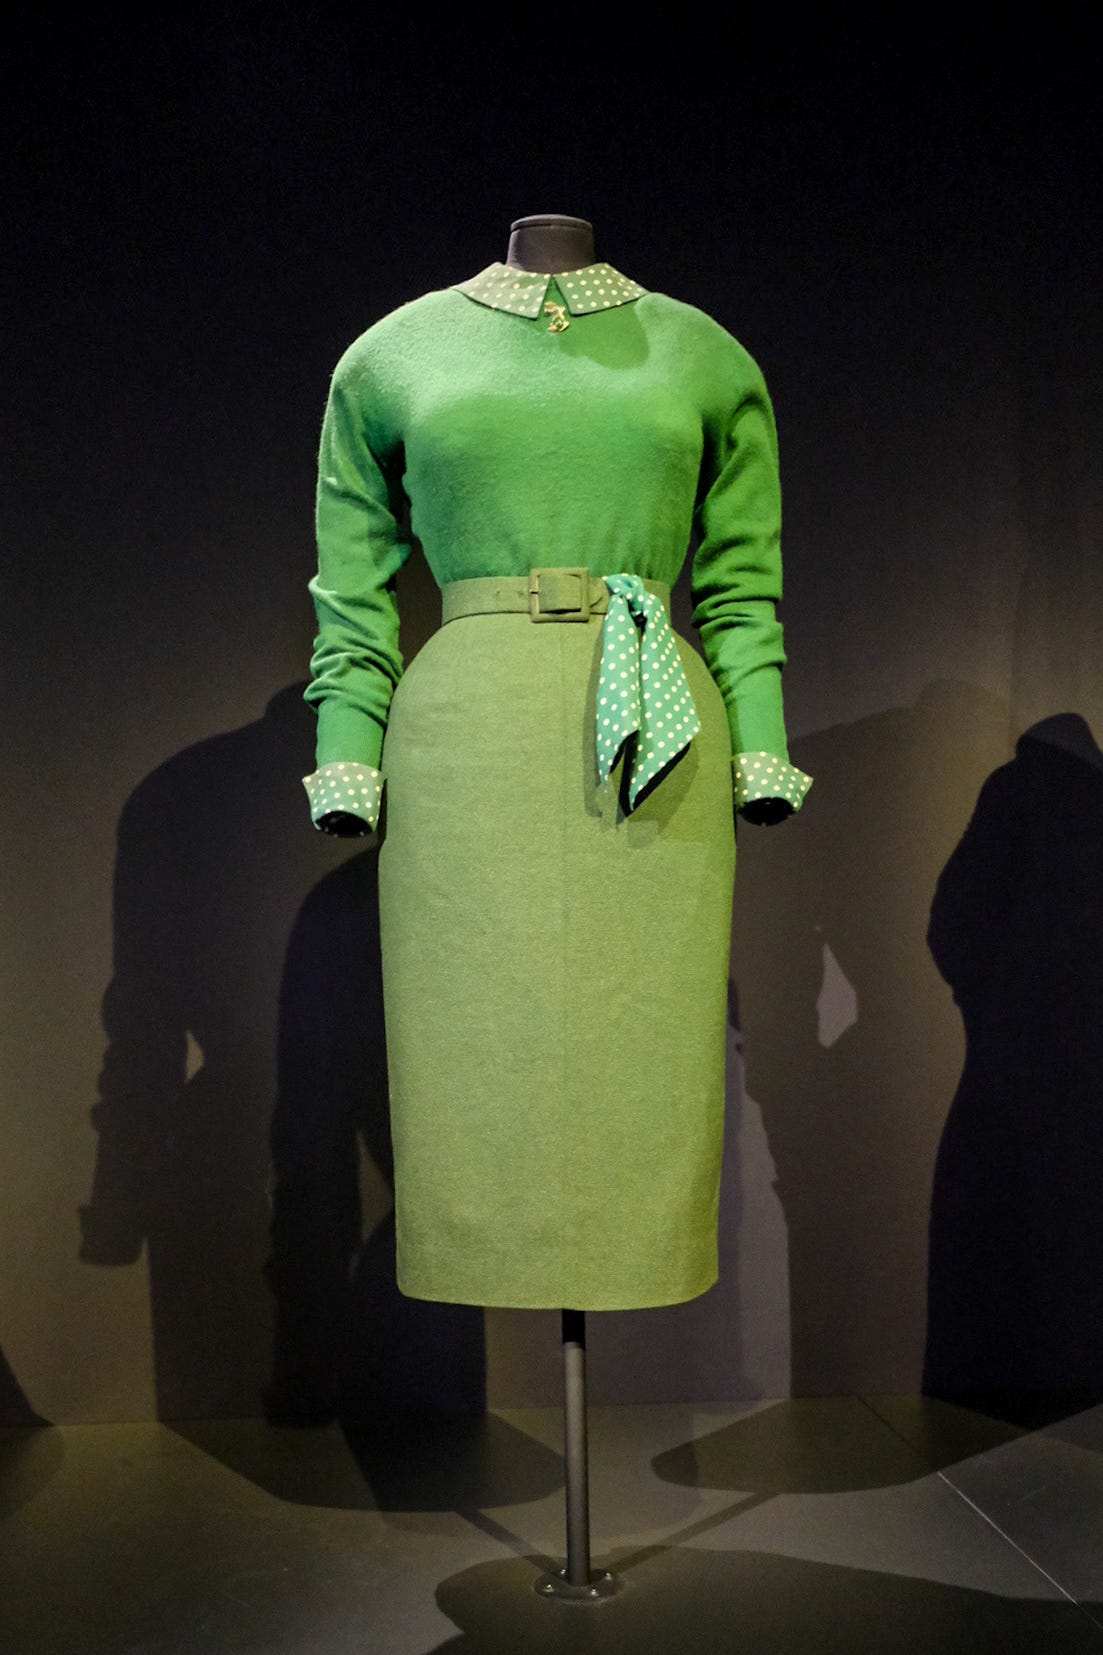
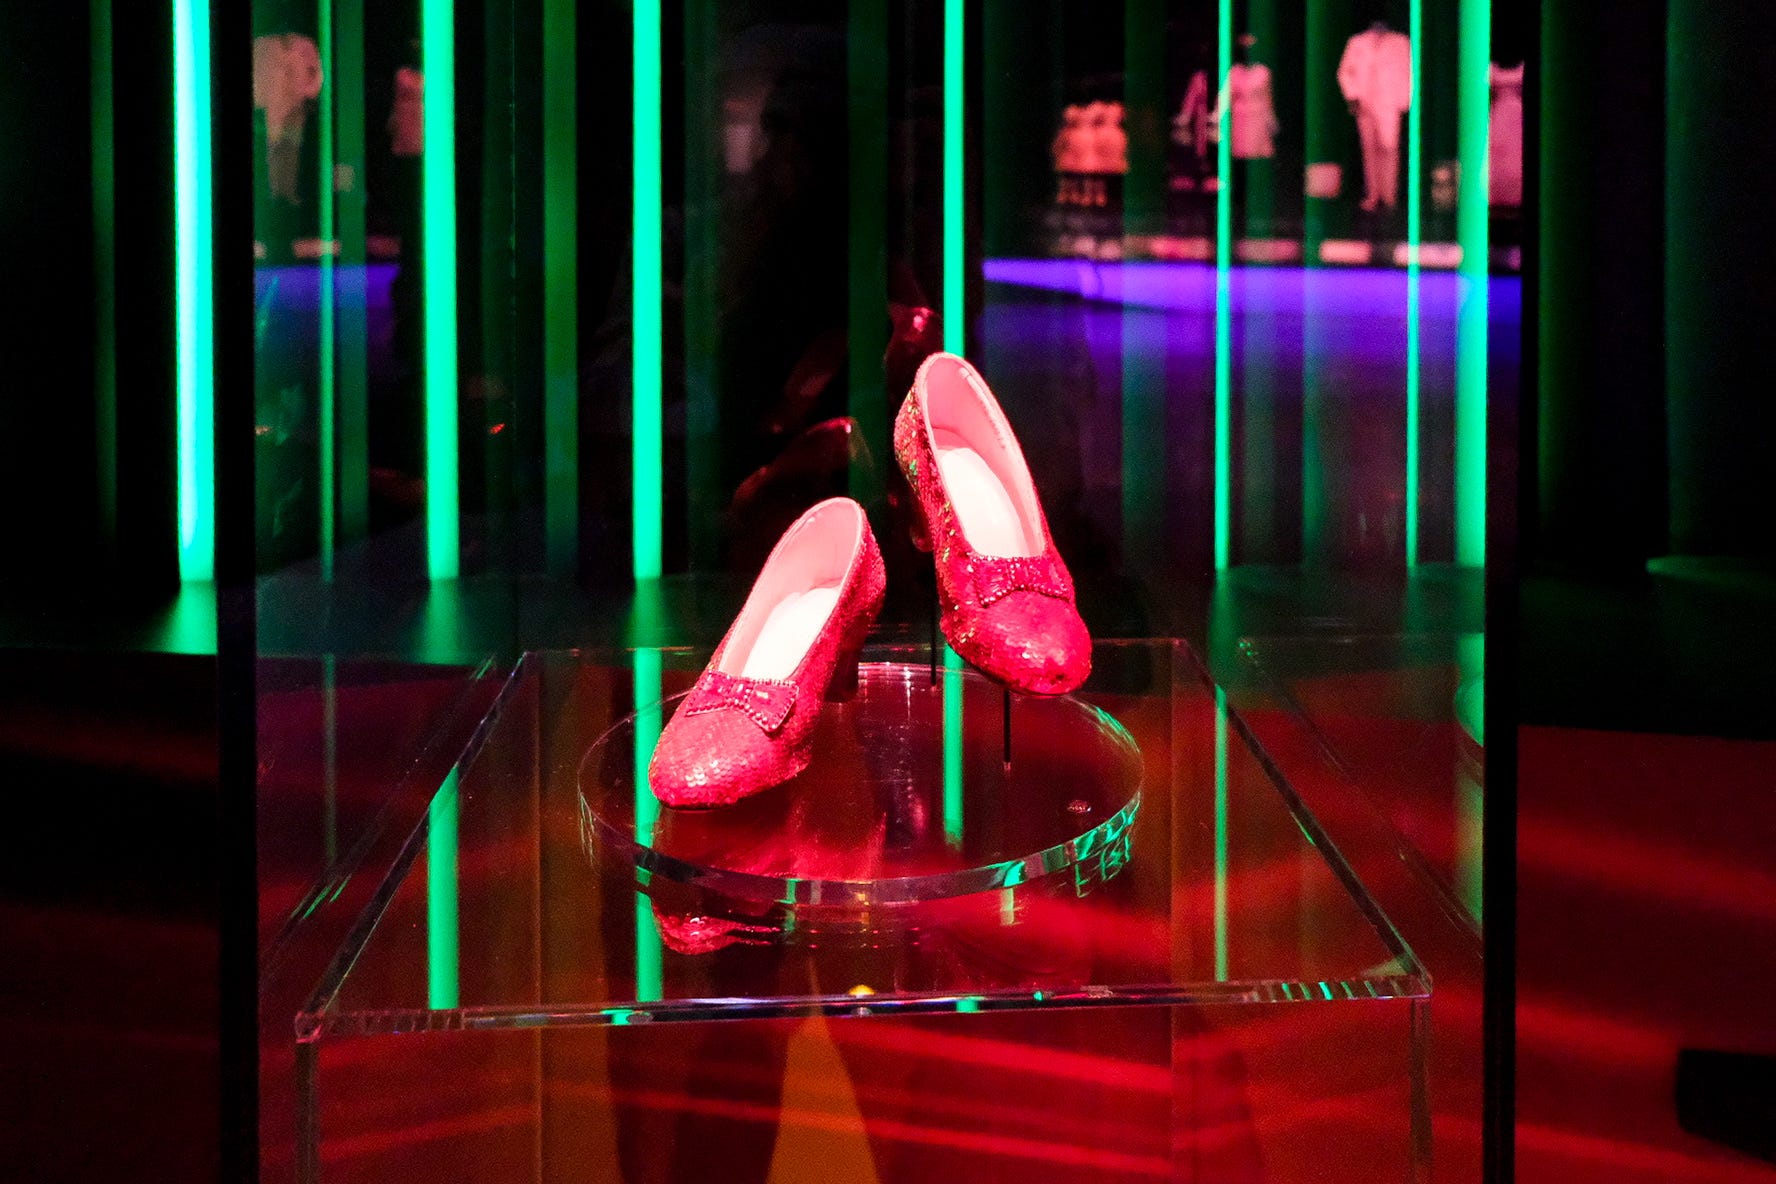
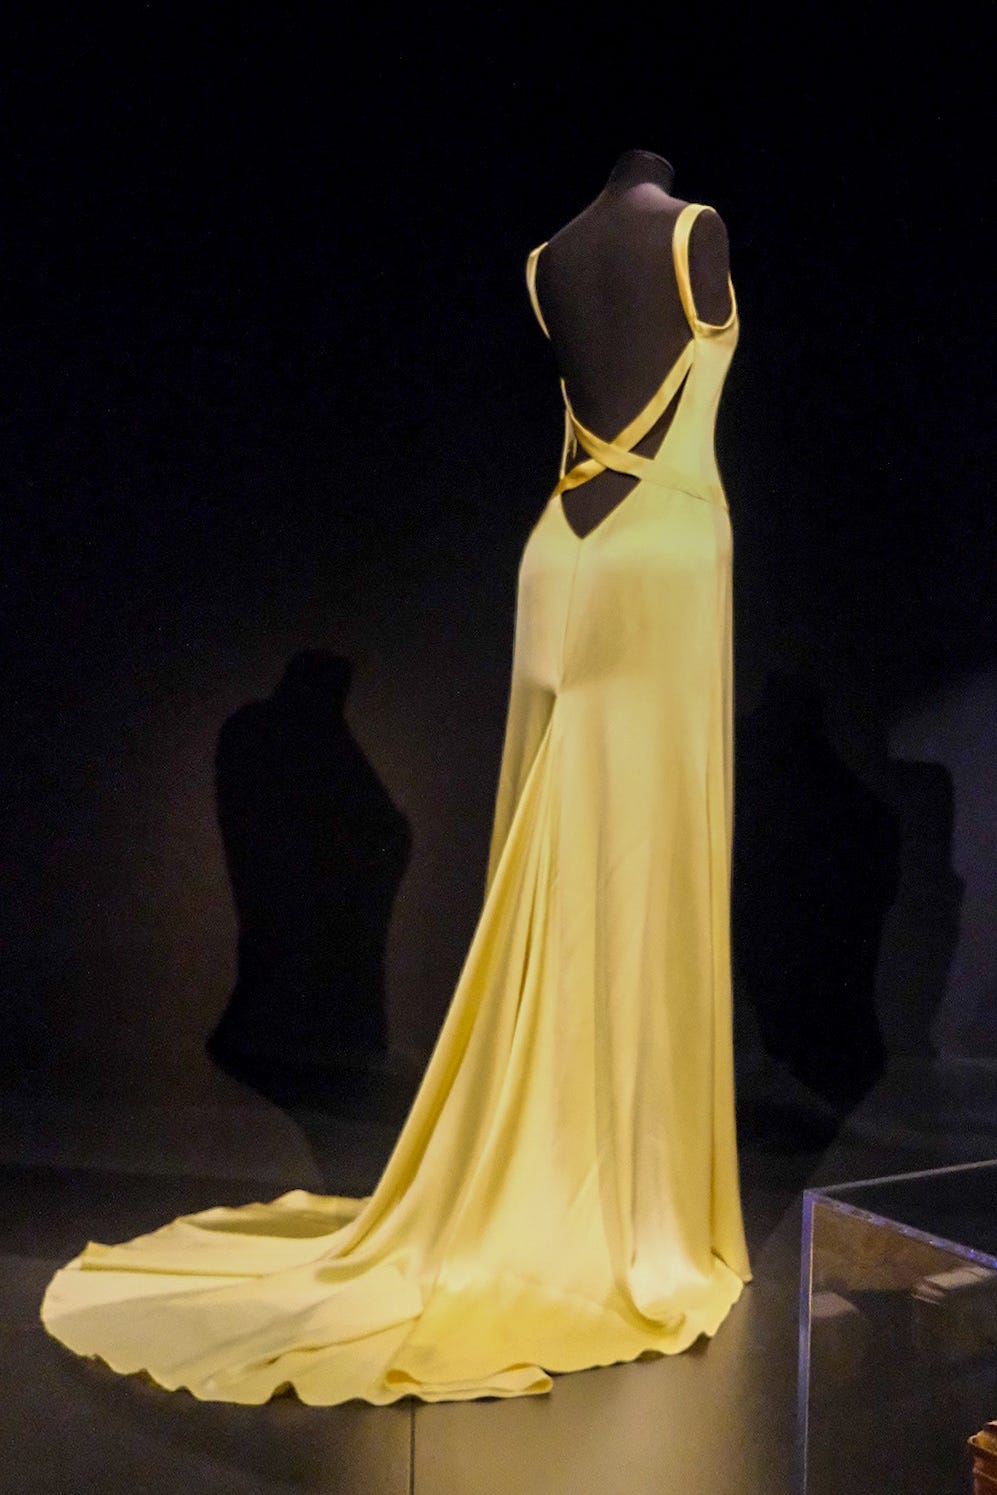
Color Inspiration from Film Costumes
The Academy Museum of Motion Pictures has an exhibit called Color in Motion: Chromatic Explorations of Cinema that explores the role of color in film, including the ways filmmakers use color in costume as a storytelling tool.
It’s intriguing to think about color, particularly a singular color, and how it impacts the stories we tell through what we wear. Here are a few costumes from the exhibit.

I'll definitely be referring back to this, thanks Jane.
Seat cushion looks lovely (cat a bit scary though).
That apple green Kim Novak costume!!!
Your communication of technique is so clear, Jane. Sewing is one of your mad skills... supported beautifully with stellar writing!
I extra enjoyed the retro color treat this time.