


Making a Marimekko Slipcover with Custom Welting
A welting how-to. Also inside: seaming with a too-small remnant.

File this one under nesting. We’re expecting a baby girl in August, and—to my family’s (mild?) astonishment—I’ve shown some real restraint on the home project front.
(It’s also why I’ve paused letters focused on garment construction, including my reverse engineering vintage series, since many of the patterns and techniques I share are ones I try on or test-fit myself. But rest assured, those will return!)
We have a bay window seat pillow, trapezoid in shape. I’m not sure how old it is. 20 years, maybe? It came with the house. Its faded with marker scribbles made by enthusiastic little artists and small tears from wear and play. Certainly not a game ender, but a refresh felt in order.
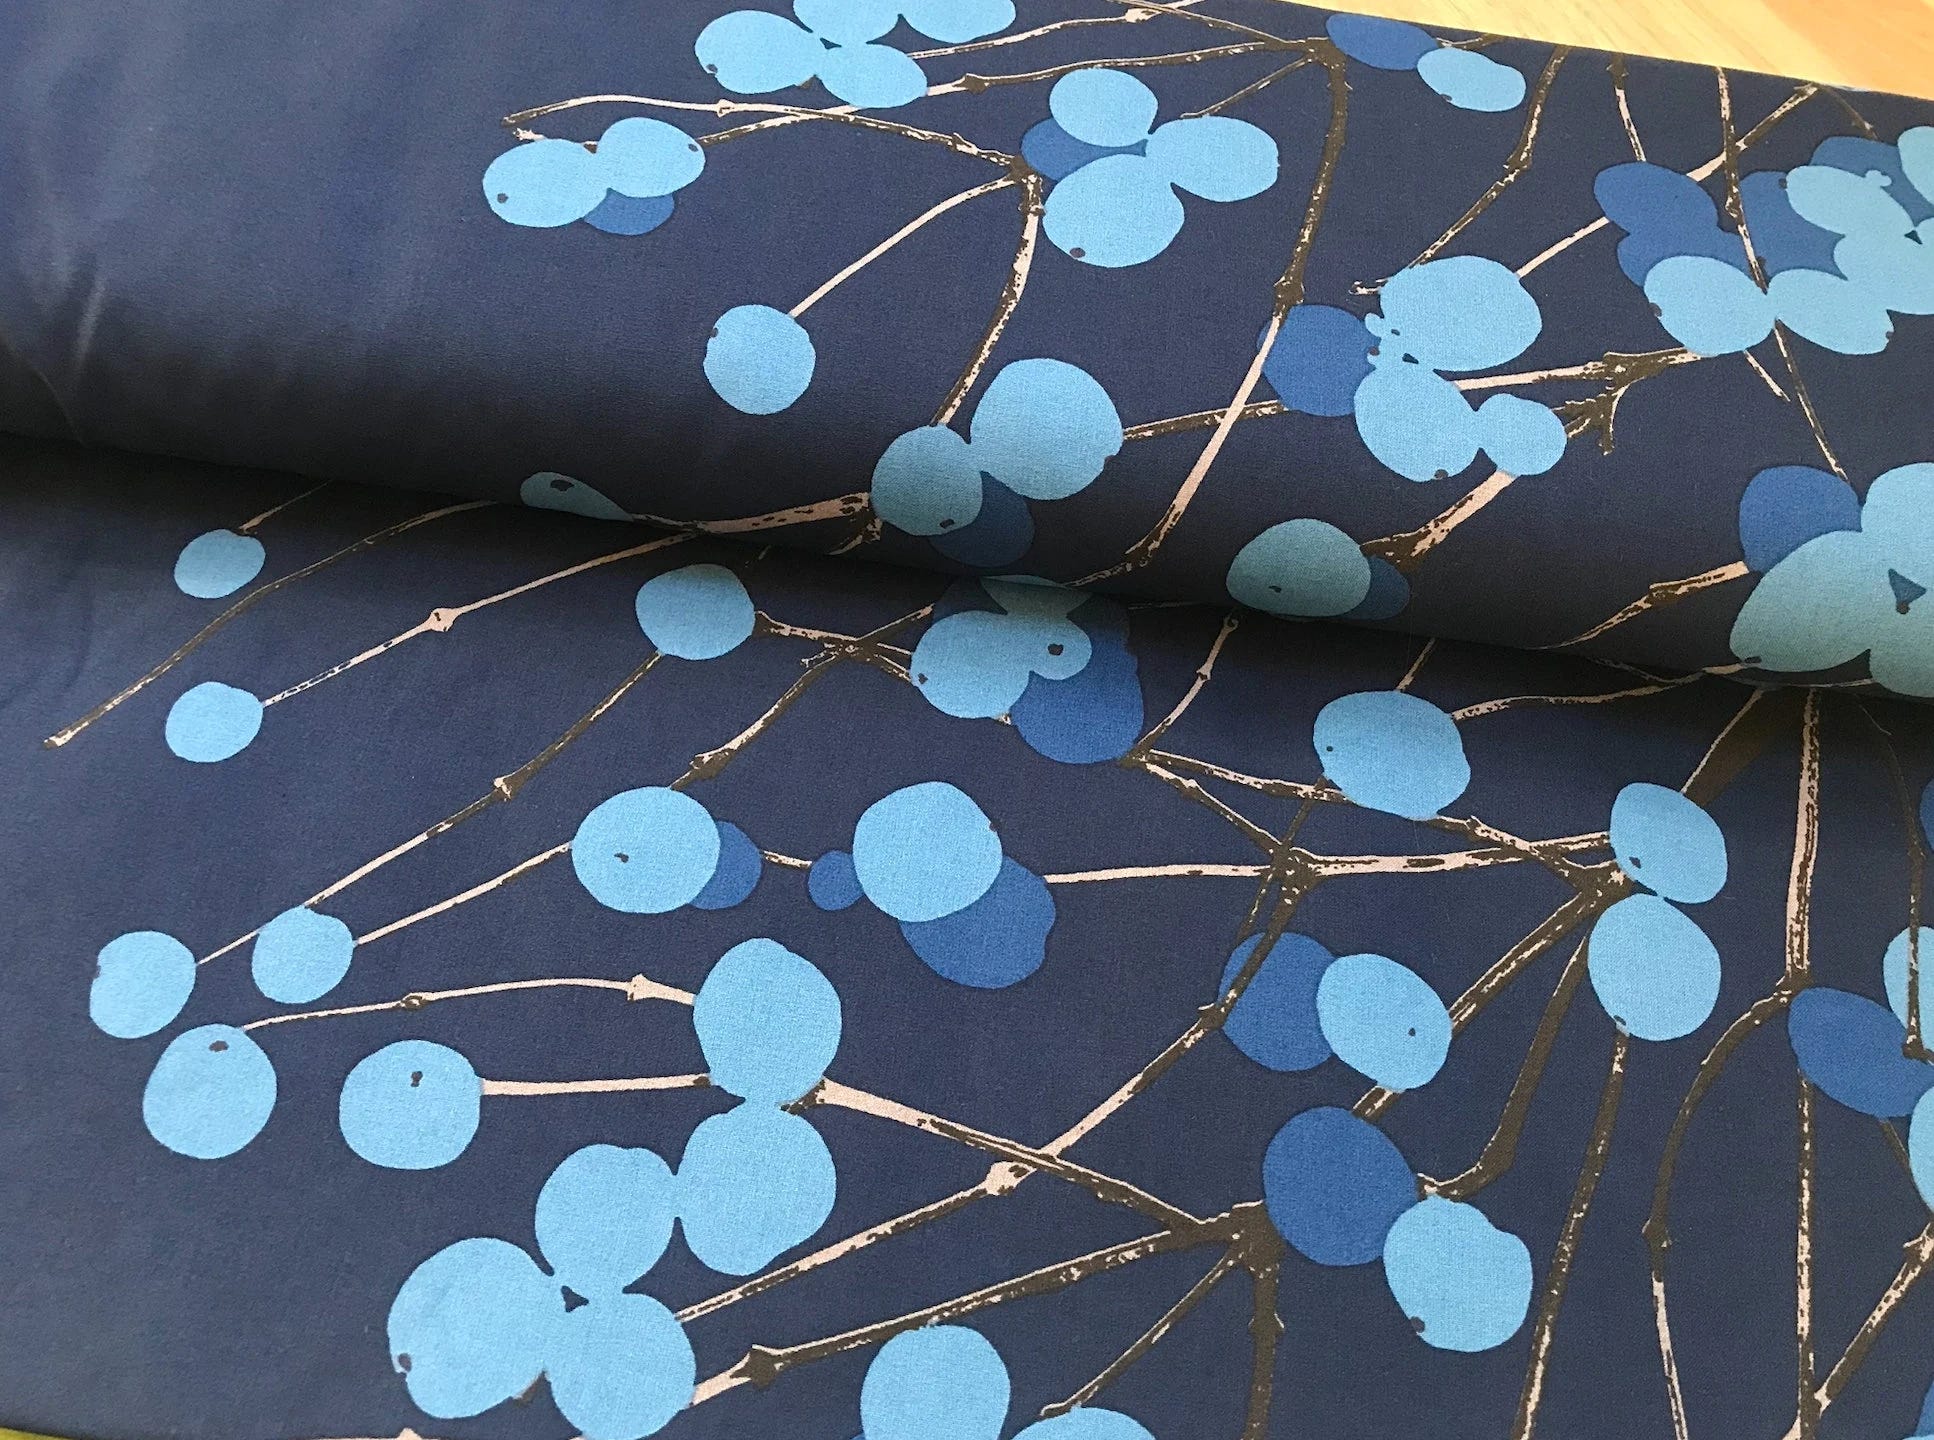
First, the fabric. We live in a 1940s era home, and many features are still original. So I started by looking for fabrics inspired by that era, and when search took on legs of its own, as it often does, it lead me to Marimekko.
Marimekko is a Finnish design house known for its bold prints and bright colors. Launched in 1951, they create striking, graphic patterns, often in large scale. You might recognize a few of them:


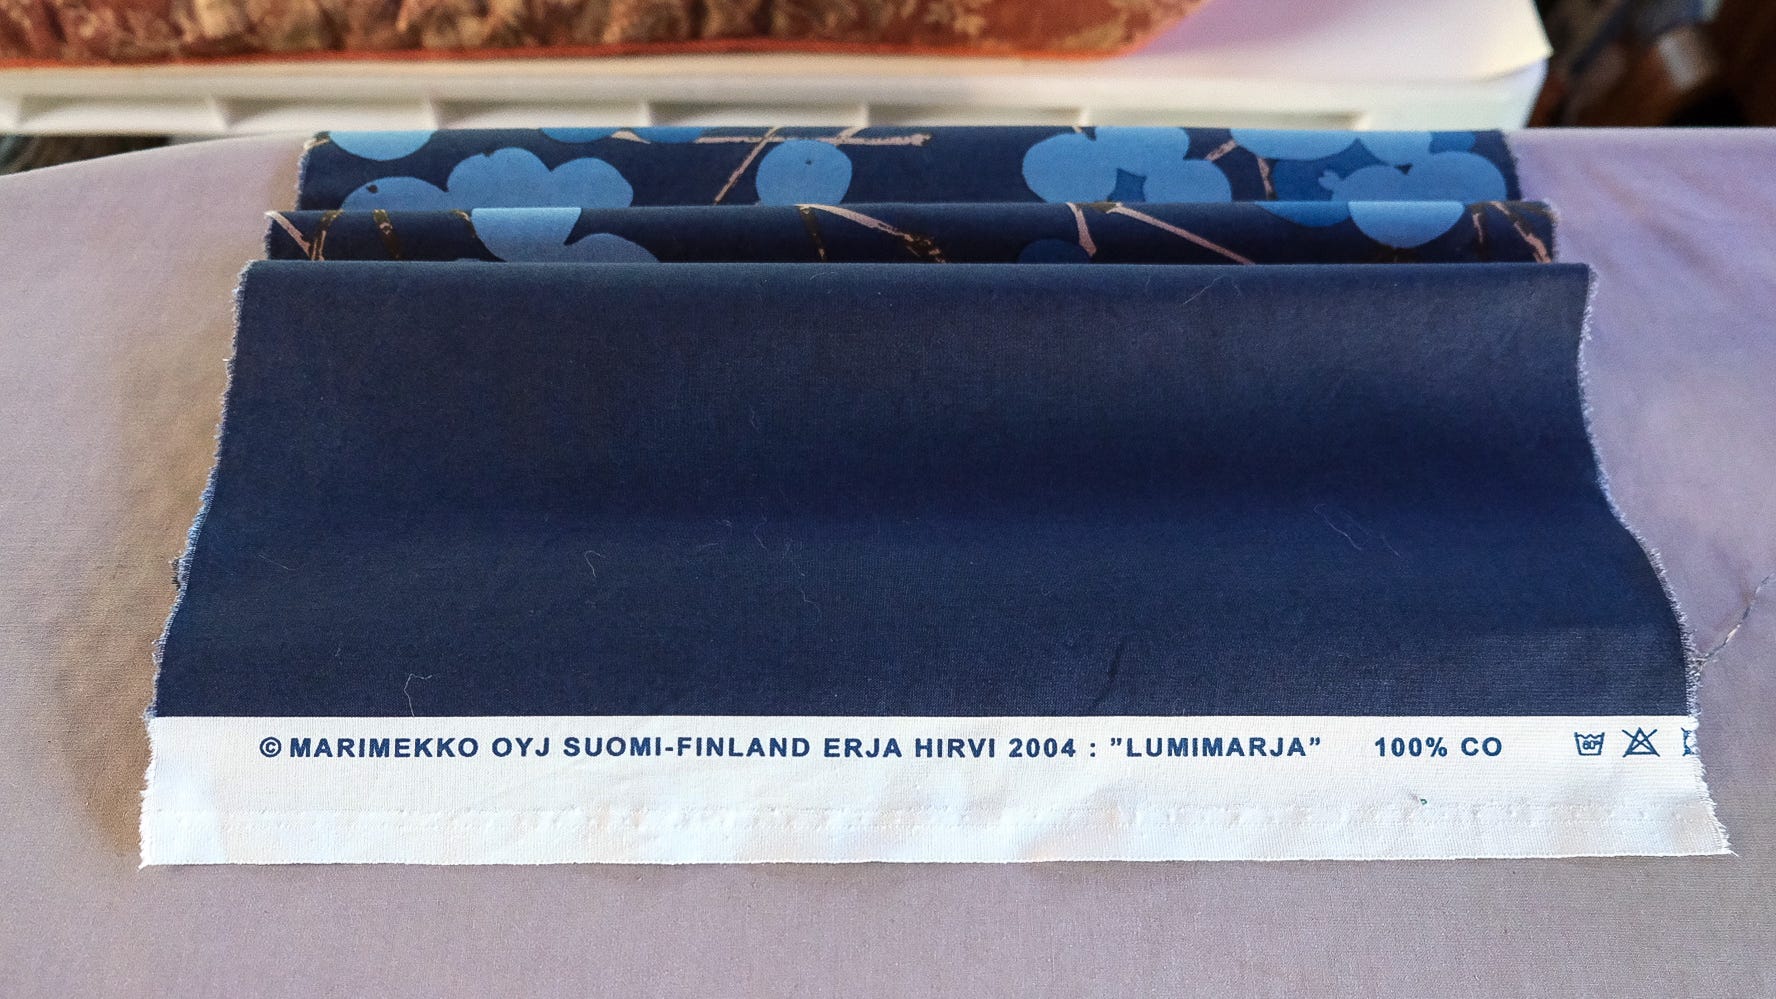
I found this dark blue Lumimarja cotton remnant on Etsy. It’s smaller than the pillow, so I’ll have to get a little creative with the seaming.
In this letter, I’ll share how I’m putting together the slipcover, with a focus on one key technique: how to create your own welting.
Welting vs. Cording vs. Piping
Welting and cording—or corded piping—are essentially the same thing, though the terms are sometimes used differently in home decor (welting) versus garment sewing (cording or corded piping).
Welting refers to a fabric-covered cord, typically made from bias-cut fabric, that’s inserted in a seam to provide a decorative edge, add structural support, and reduce wear on the edges of furnishings.
For welting, you can make your own or use a ready-made trim as an alternative.
Let’s Make a Slipcover!
Materials
Cording
Fabric (Durable wovens and easy-to-wash fabrics are always good choices.)
Zipper (I’ll re-use the original zipper. It’s still in great condition.)
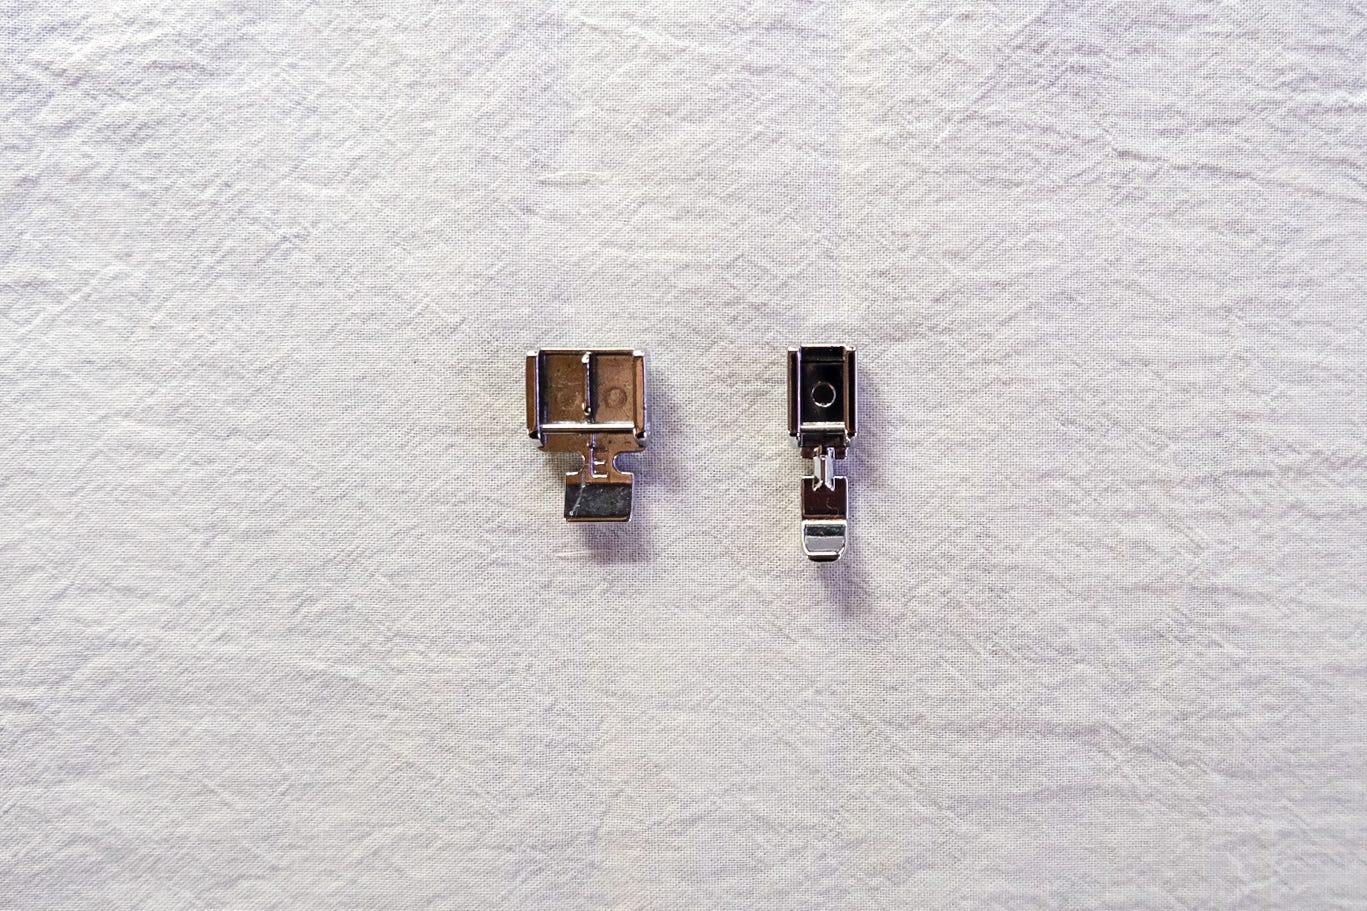
Zipper Foot
If your machine came with a zipper foot like mine (on the left), you might try experimenting with a generic one instead. I found the one on the right on Amazon for about $7.

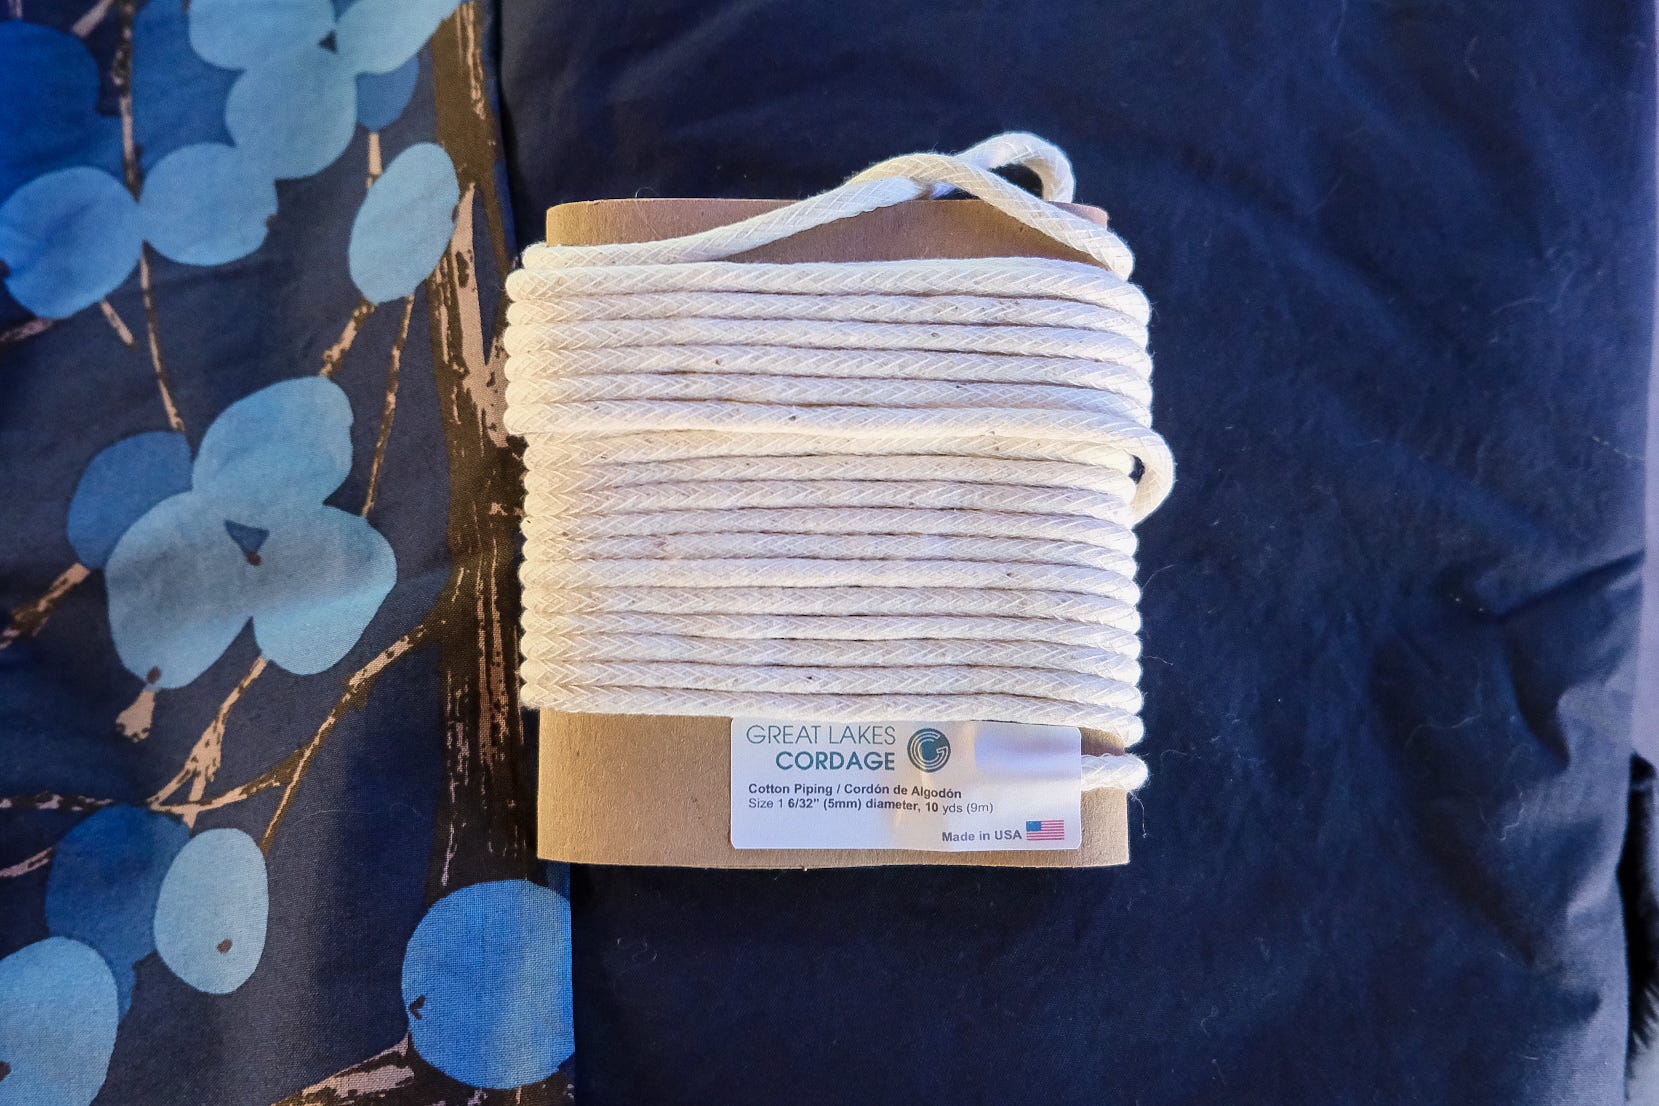
Materials Tip: Prewash your fabric and preshrink your cording.
I soaked my cording in hot water for about half an hour, then let it air dry. It shrank about an inch per yard, which can add up over multiple yards.
Creative Seaming
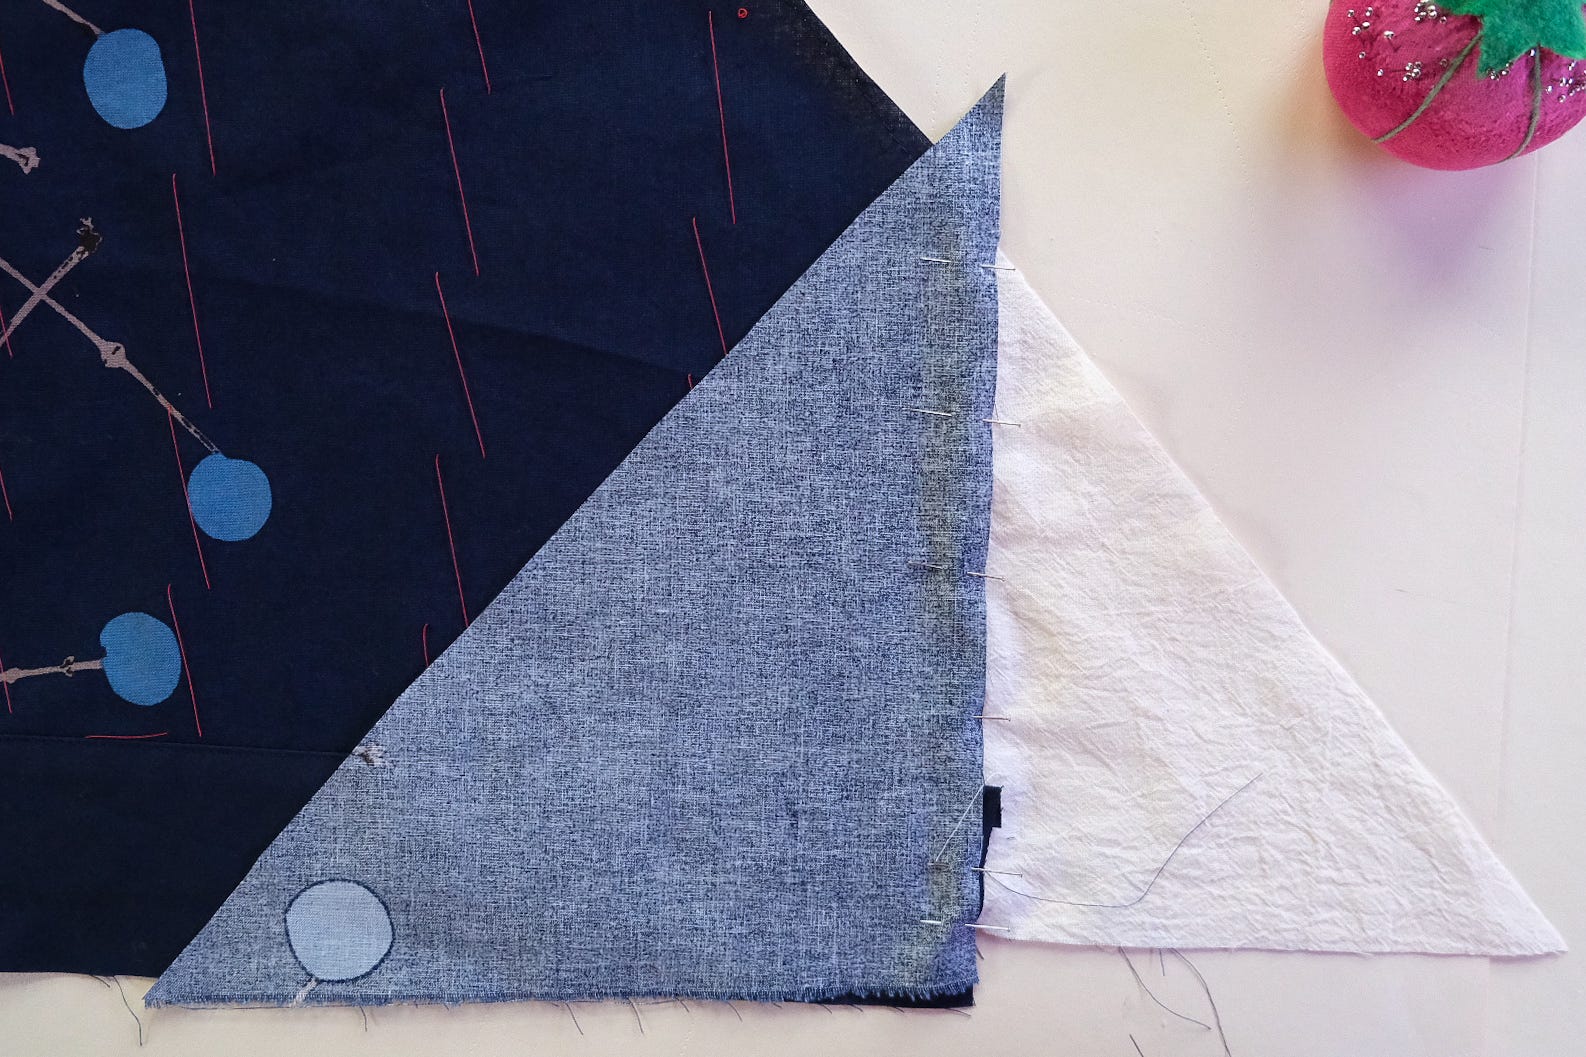
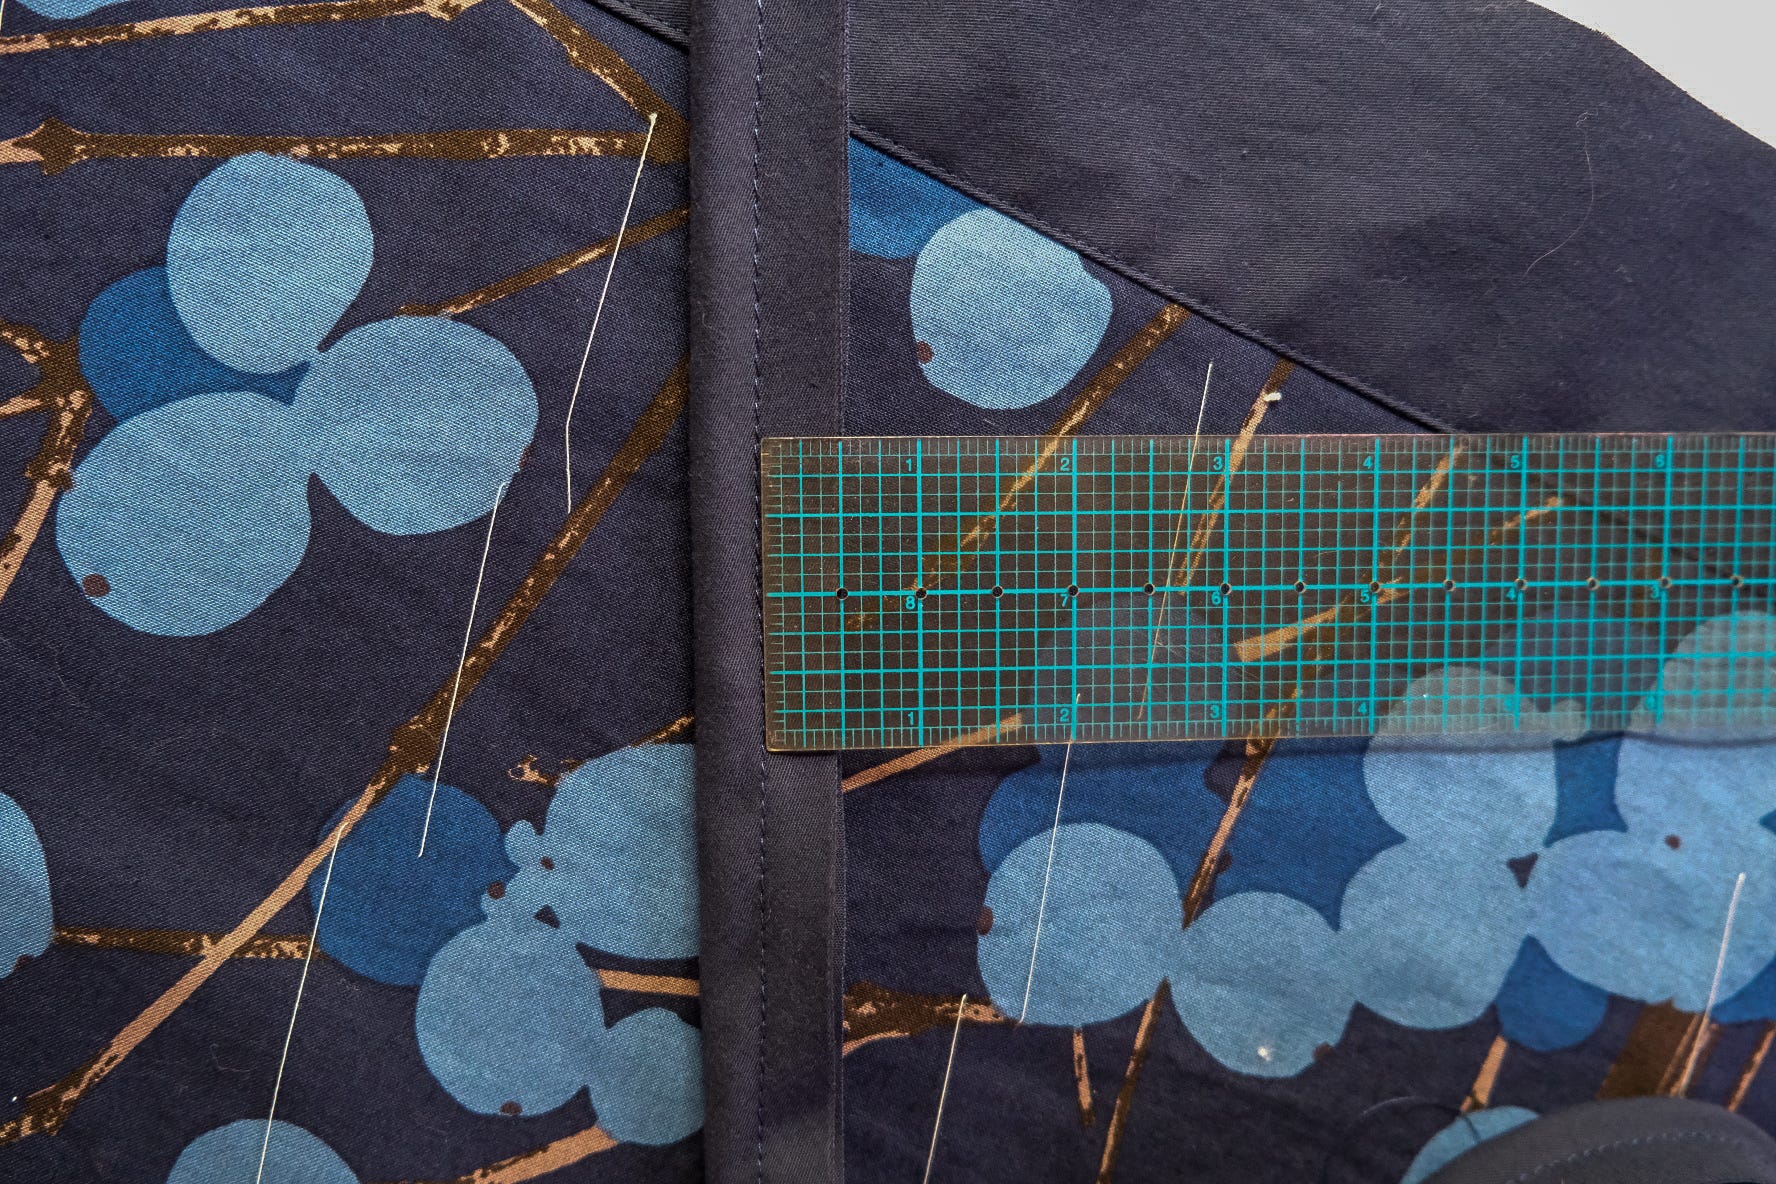
Since I was working with a vintage remnant, I didn’t have continuous yardage, so I pieced the fabric together in a way similar to crazy quilting.
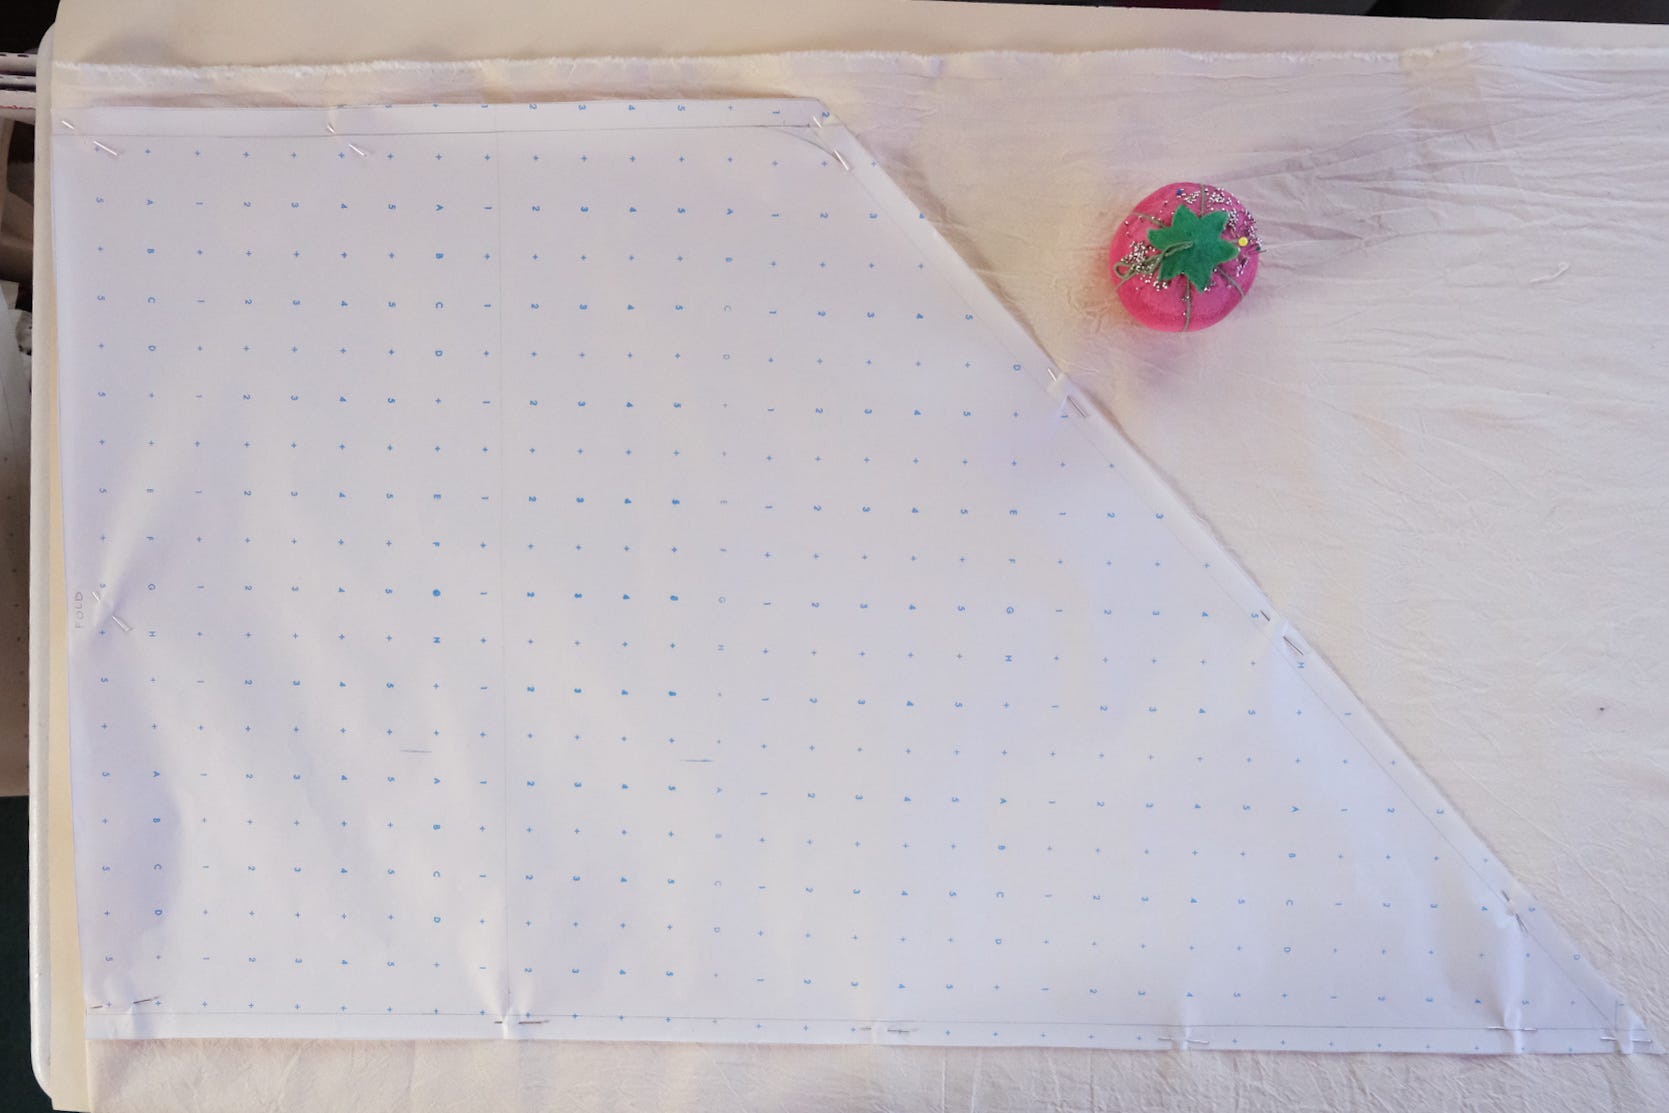
First, I cut a muslin base in the trapezoid shape of the pillow top.
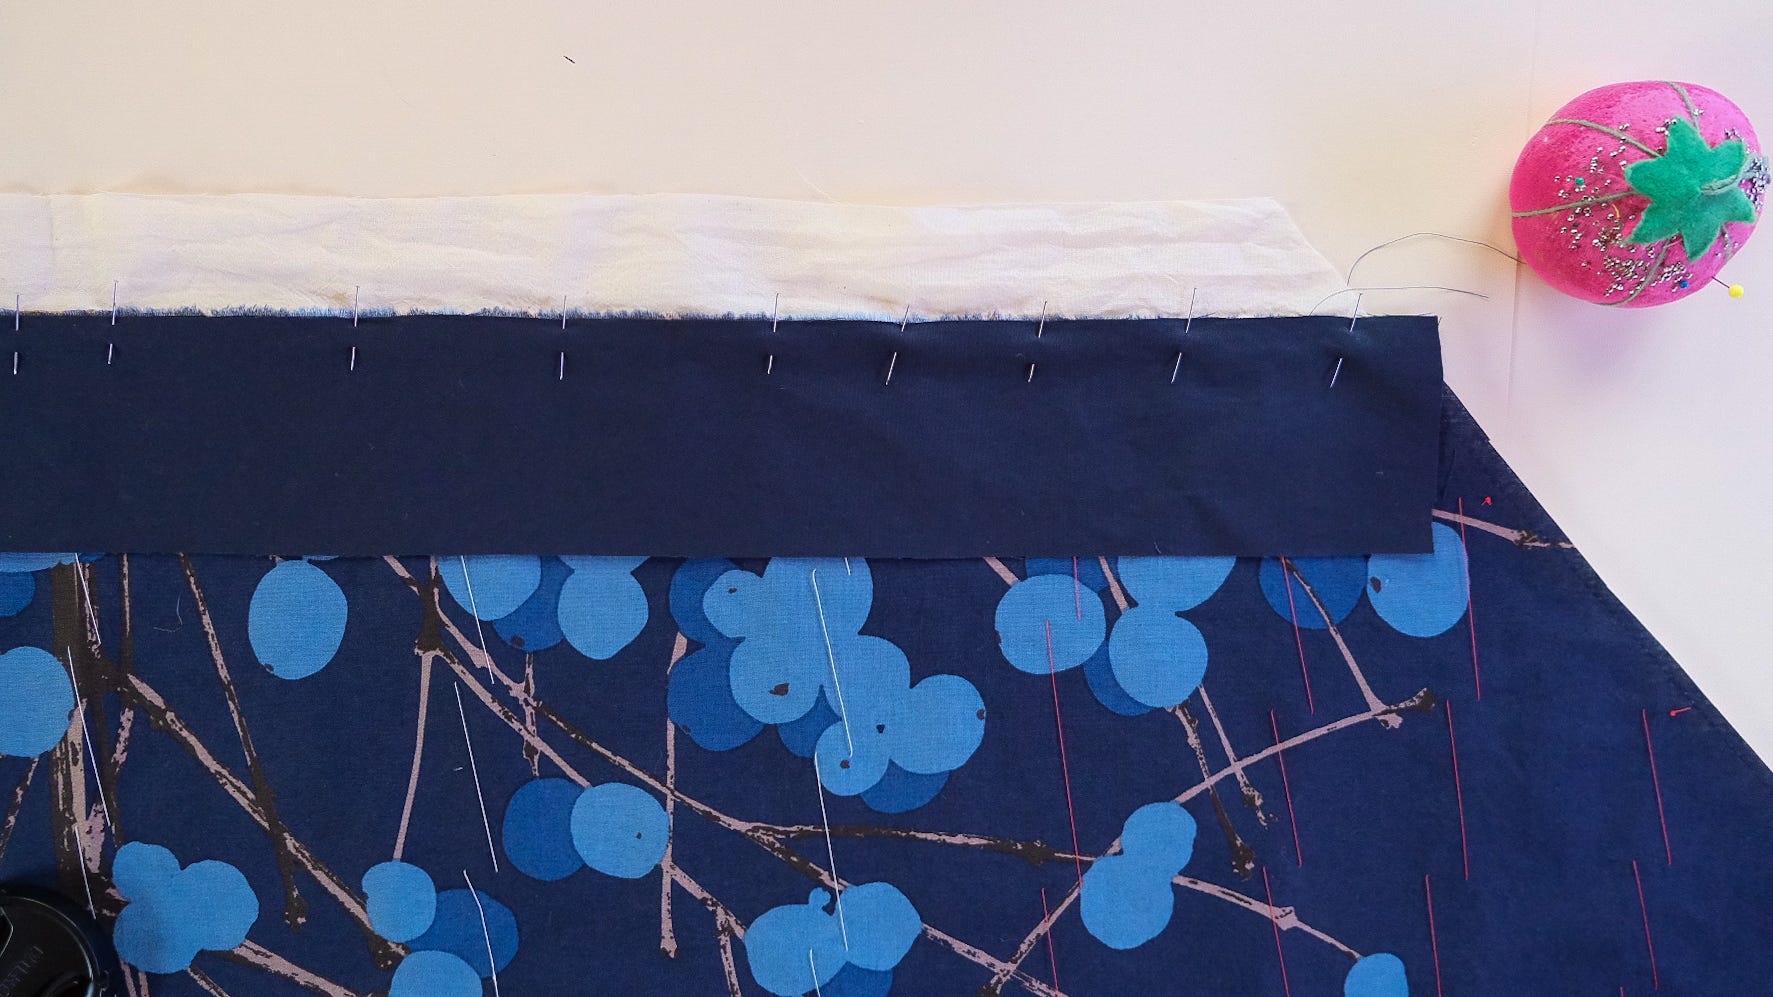
Then, I hand-basted my Marimekko remnant onto the muslin backing and topstitched it flat. Next, I layered two strips of navy fabric, followed by the triangular remnant pieces (saved from the original cut), covering all the raw edges as I went.
With each layer, I pressed the fabric back and secured it with an edgestitch.
How to Make Bias Tape
Prepping bias tape is key to making custom welting. Here’s a method for preparing and joining bias strips, first shared in my French Bound Shoulder Covers letter.

How to Make Welting
Once your bias tape is prepped, it’s time to create your welting.
Cut a piece of cording the length of the seam into which the welting will be sewed, plus at least 12+ inches to allow for finishing ends, curves, and corners.
Place your bias strip, wrong side up and center the cording on it.
Fold the strip, wrong sides together, around the cording and align the edges and pin, or skip the pins and hold the edges to keep them aligned when you stitch.
With needle to the left of the zipper foot, stitch close to the cording without crowding the stitches against it.
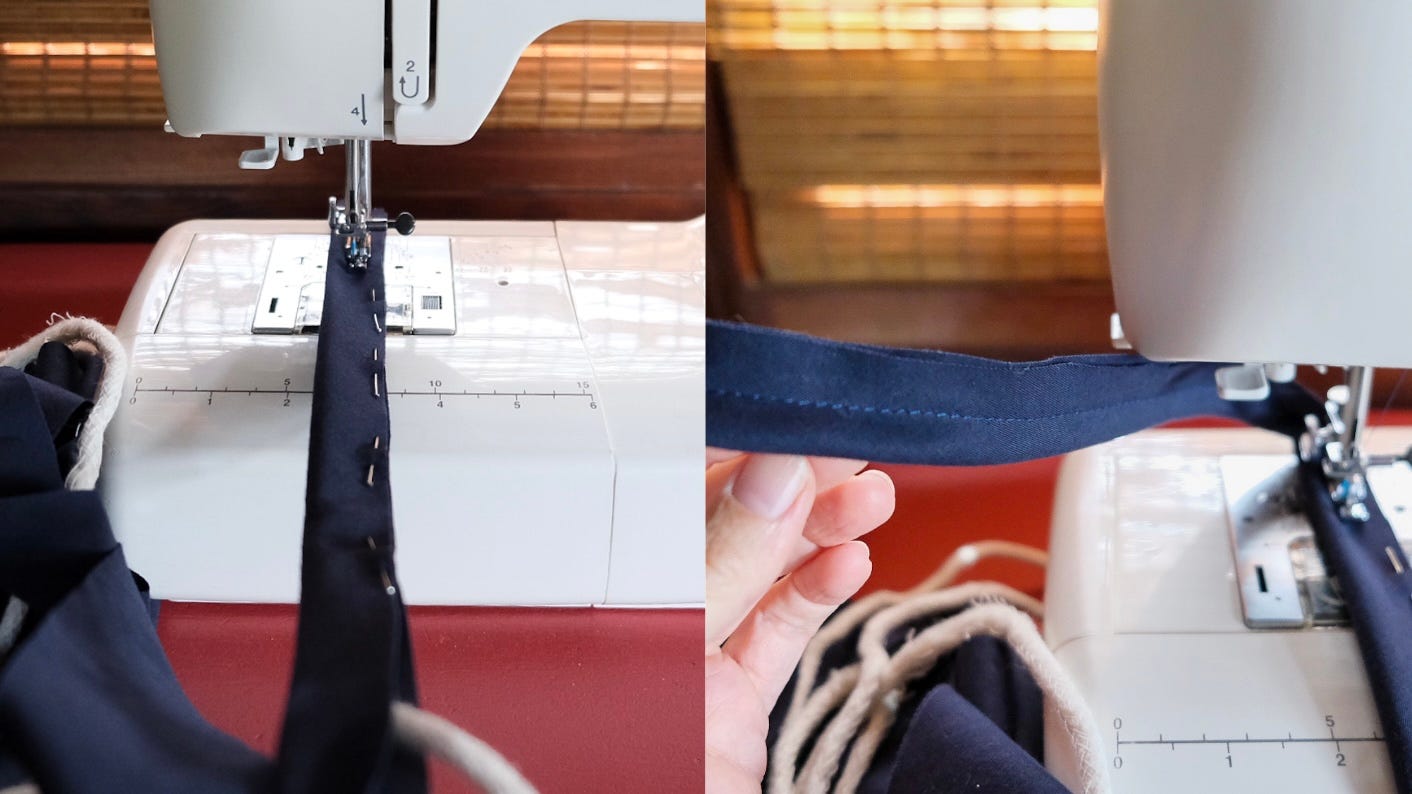
I like to fold and pin as I go while at the sewing machine. If necessary, trim the seam allowance after inserting cording.
Because my welting seam allowance ended up at 1/2 inch—matching the seam allowances on the slipcover—I didn’t need to trim.

Measure from stitch line to edge to get your seam allowance measurement.

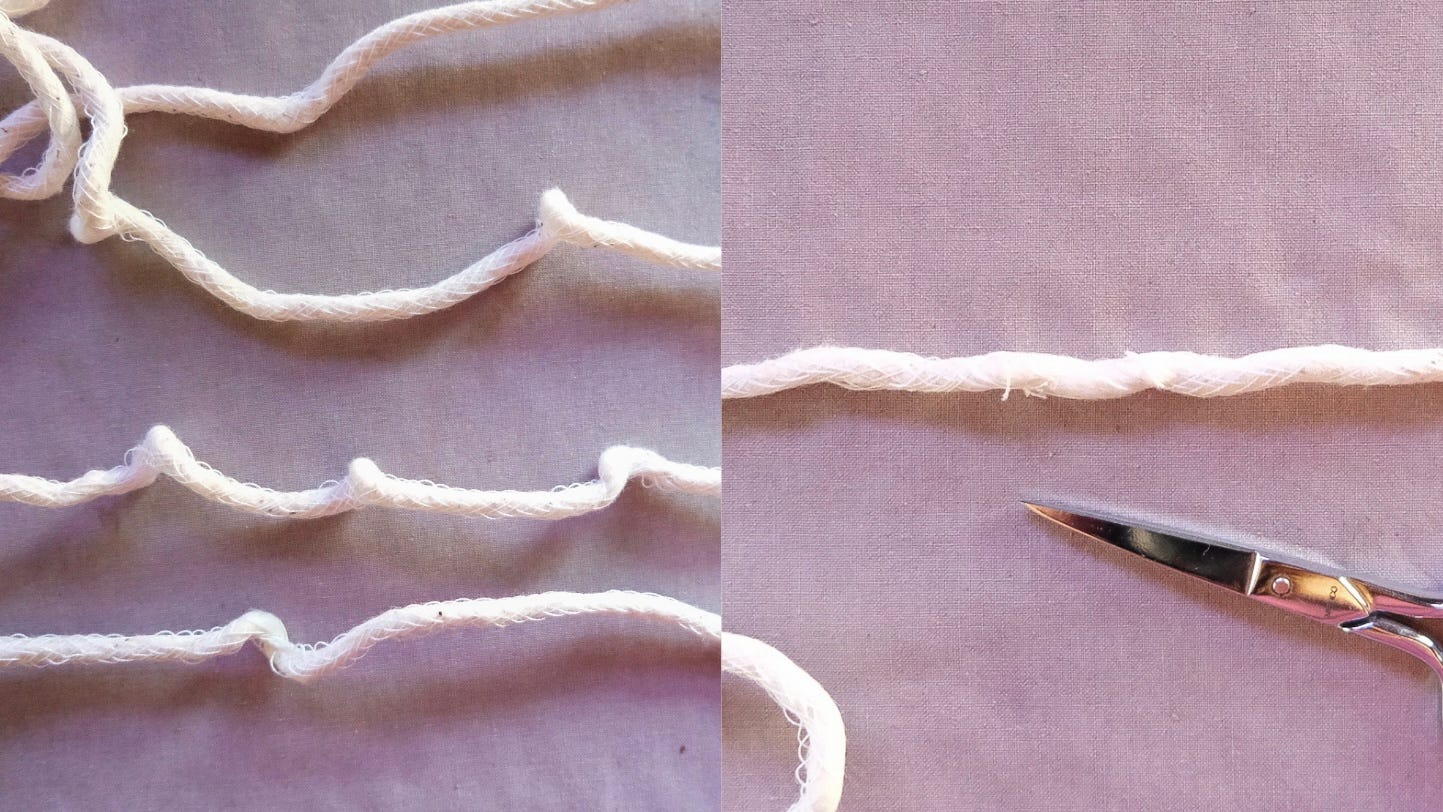
Cording Tip:
My cording had little bumps from being wrapped around the cardboard packaging. The bumps became more pronounced after shrinking. I cut the thread cage at the bump, then gave it a quick steam to fix this.
How to Sew Welting onto a Slipcover
In writing this out, I realize some steps might seem more complicated than they really are—and there’s more than one way to attach welting, too. Just take it step by step. There’s no wrong method if you get the result you want… and when you don’t, there’s always a seam ripper!
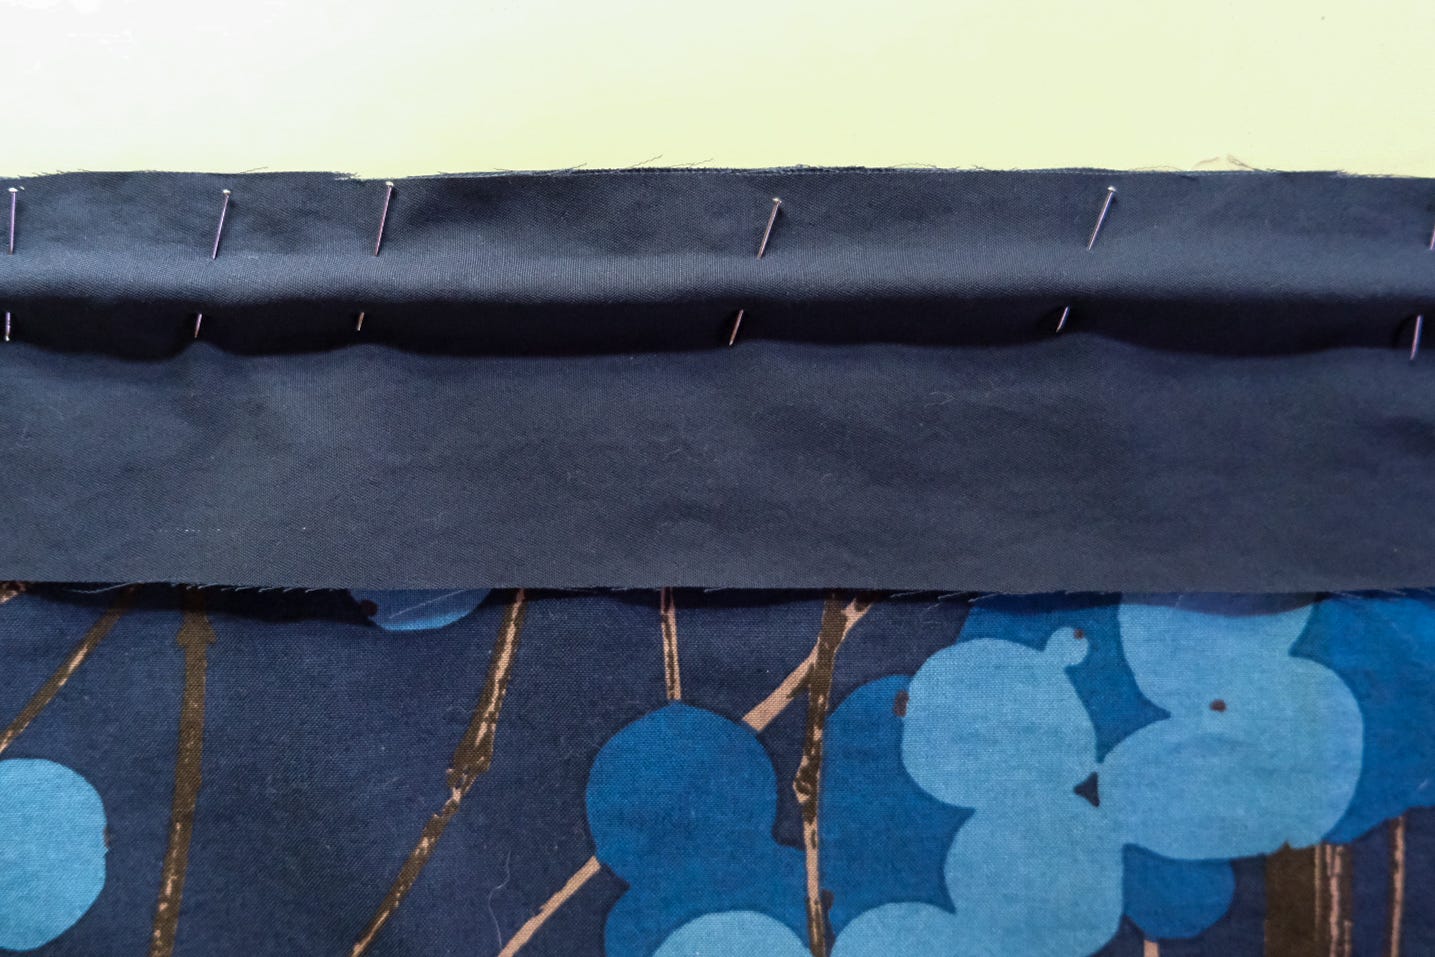
To attach welting to a continuous edge, start at an unobtrusive spot, such as the center back. Place welting on the right side of your fabric. Welting should face toward the main part of the slipcover.
At the beginning, lap the welting over the seamline. At the end, overlap and pin the welting over the starting end by about 1/4 inch or so.
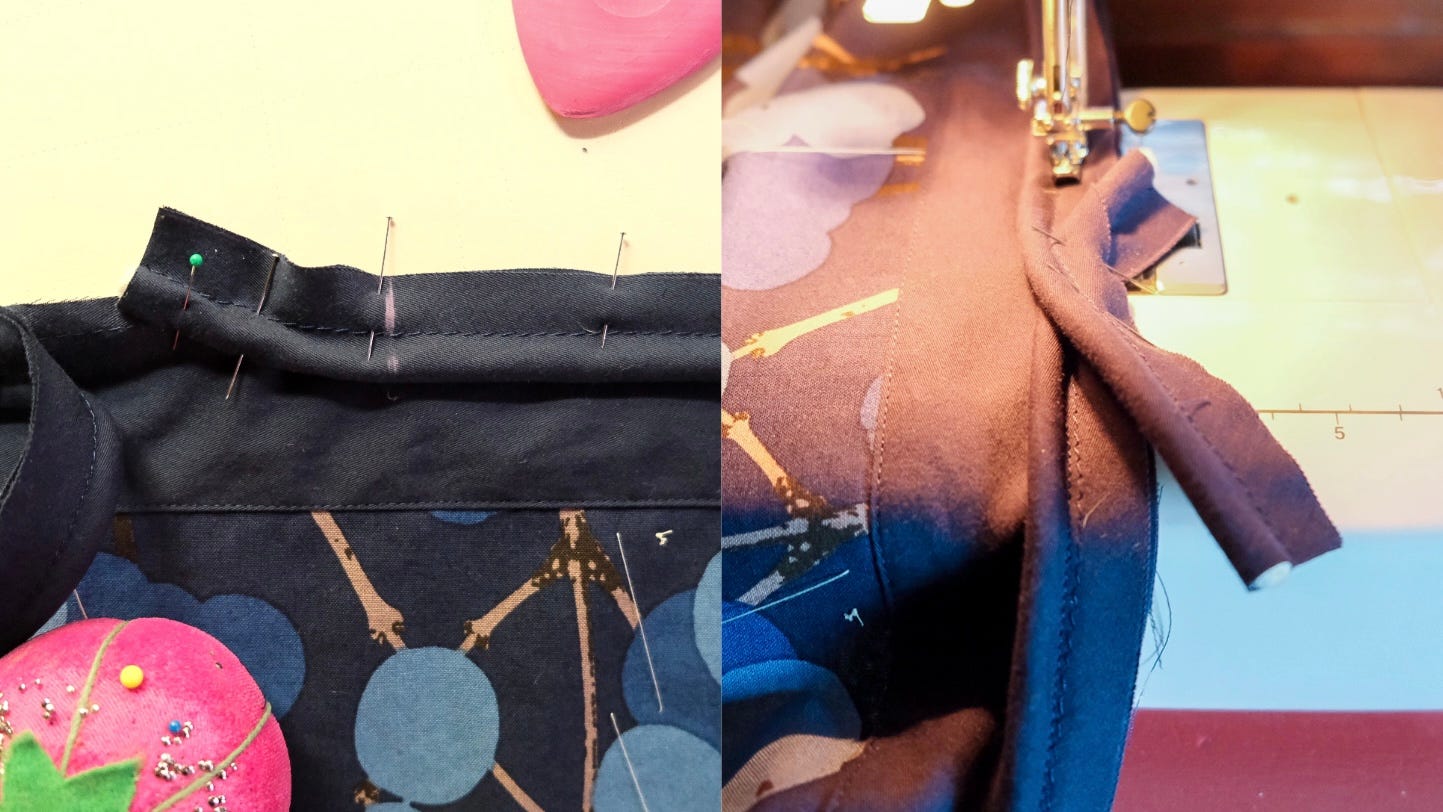
Machine baste it all in place using the zipper foot.
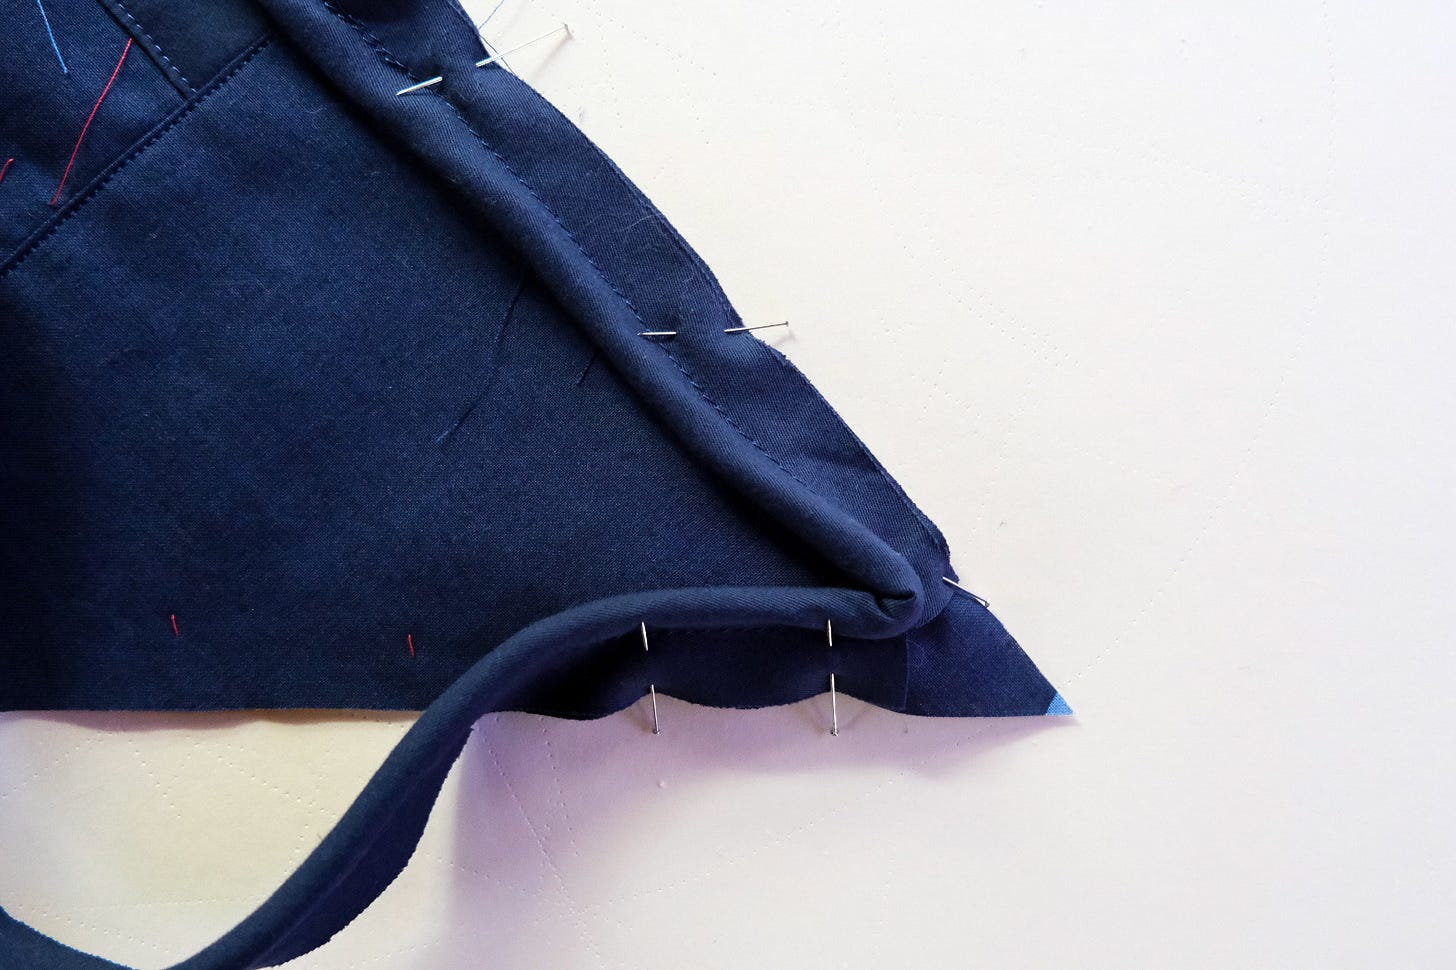
Now, turn the project so that the first, or welted, fabric piece faces up. Then place the other section in position, right sides together and pin.
One way to pin is to place the pins so they enter and emerge on either side of the ridge formed by the corded part of the welting. Stitching Welting to a Curve
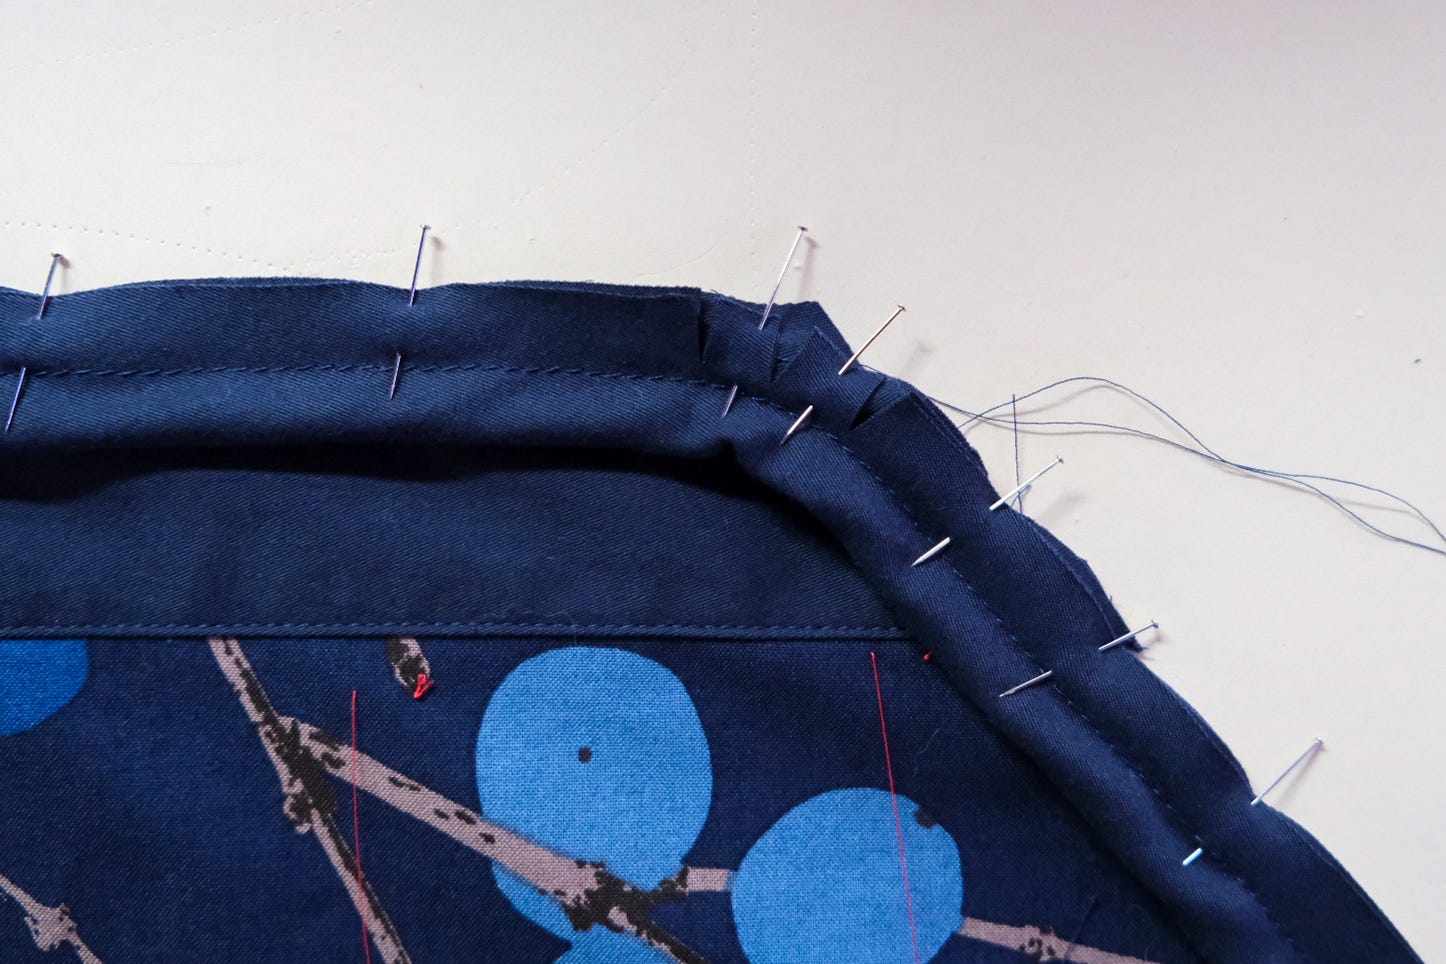
When sewing welting around curves, clip the welting seam allowances almost to stitching.

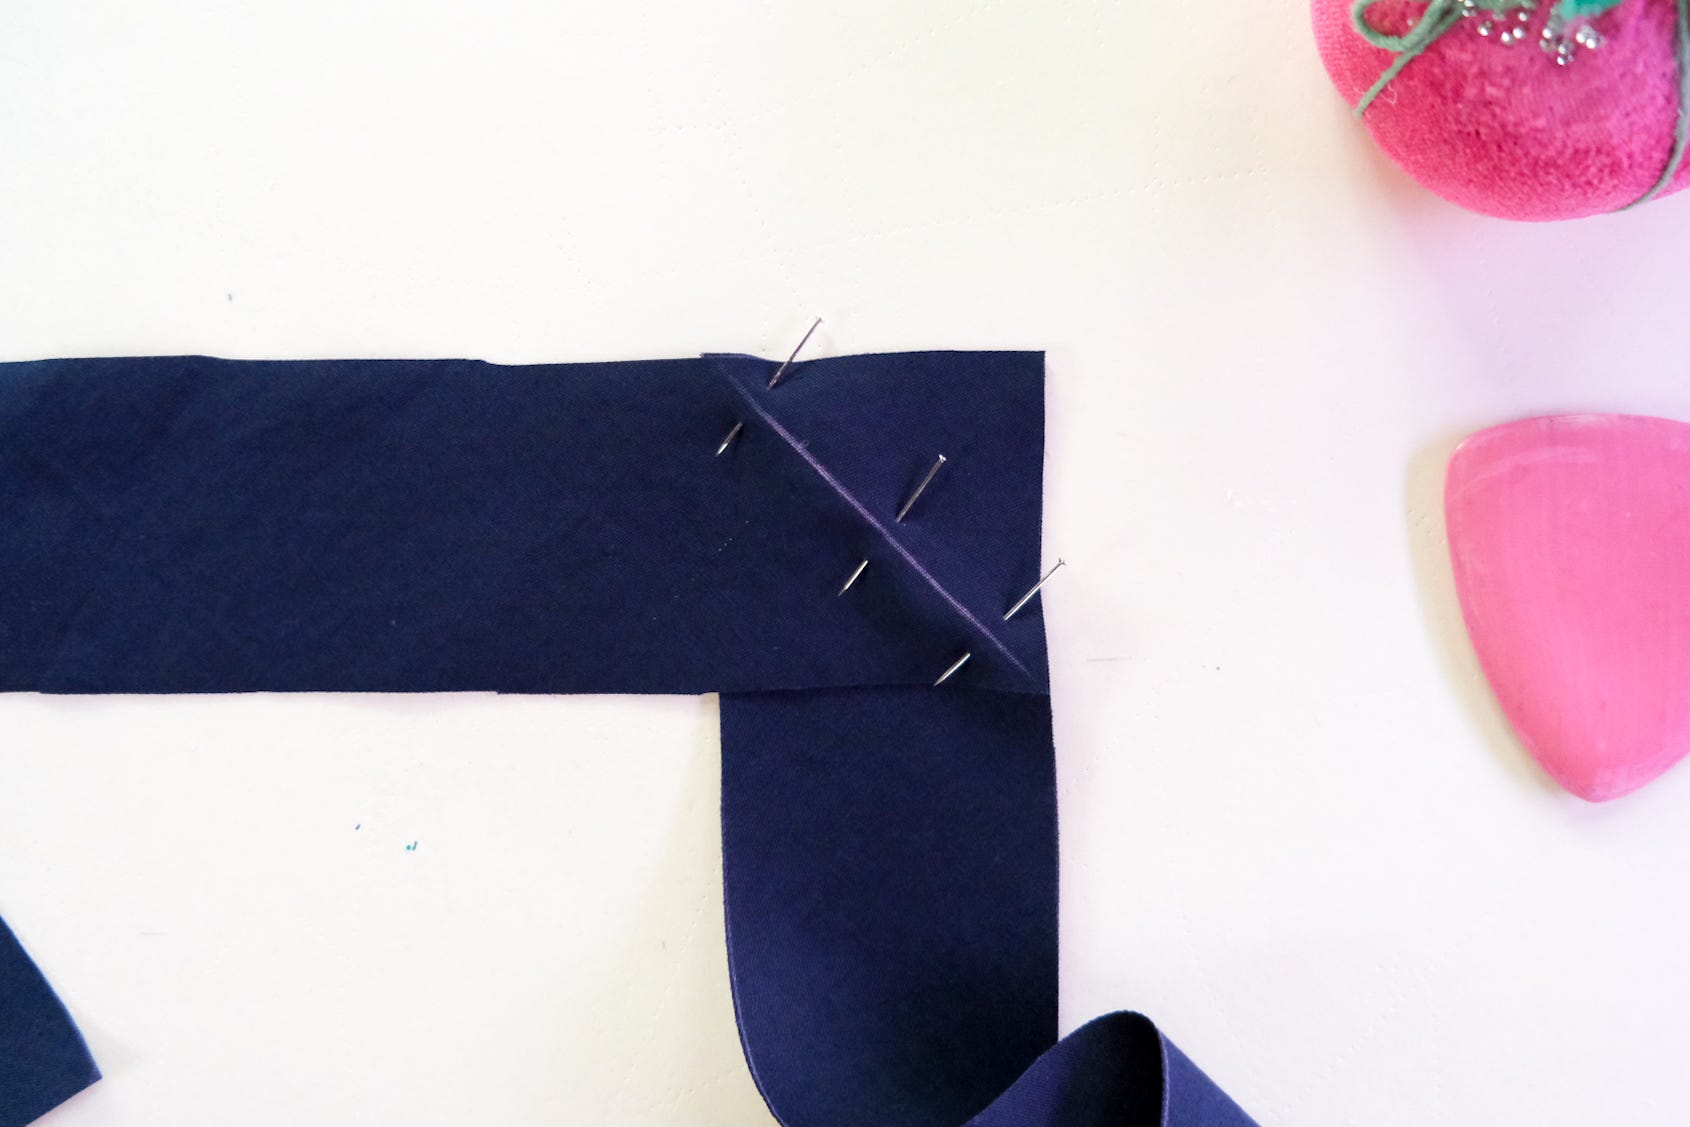
Stitching Welting to a Corner
When pinning a corner, clip welting to but not through the machine basting about a 1/2 inch from the corner point (use your seam allowance as a guide). Then ease the welting around the corner so the finished edge won't curl under.
Now it’s time to crowd! Sew just inside the original line of machine basting, crowding the corded part of the welting underneath.
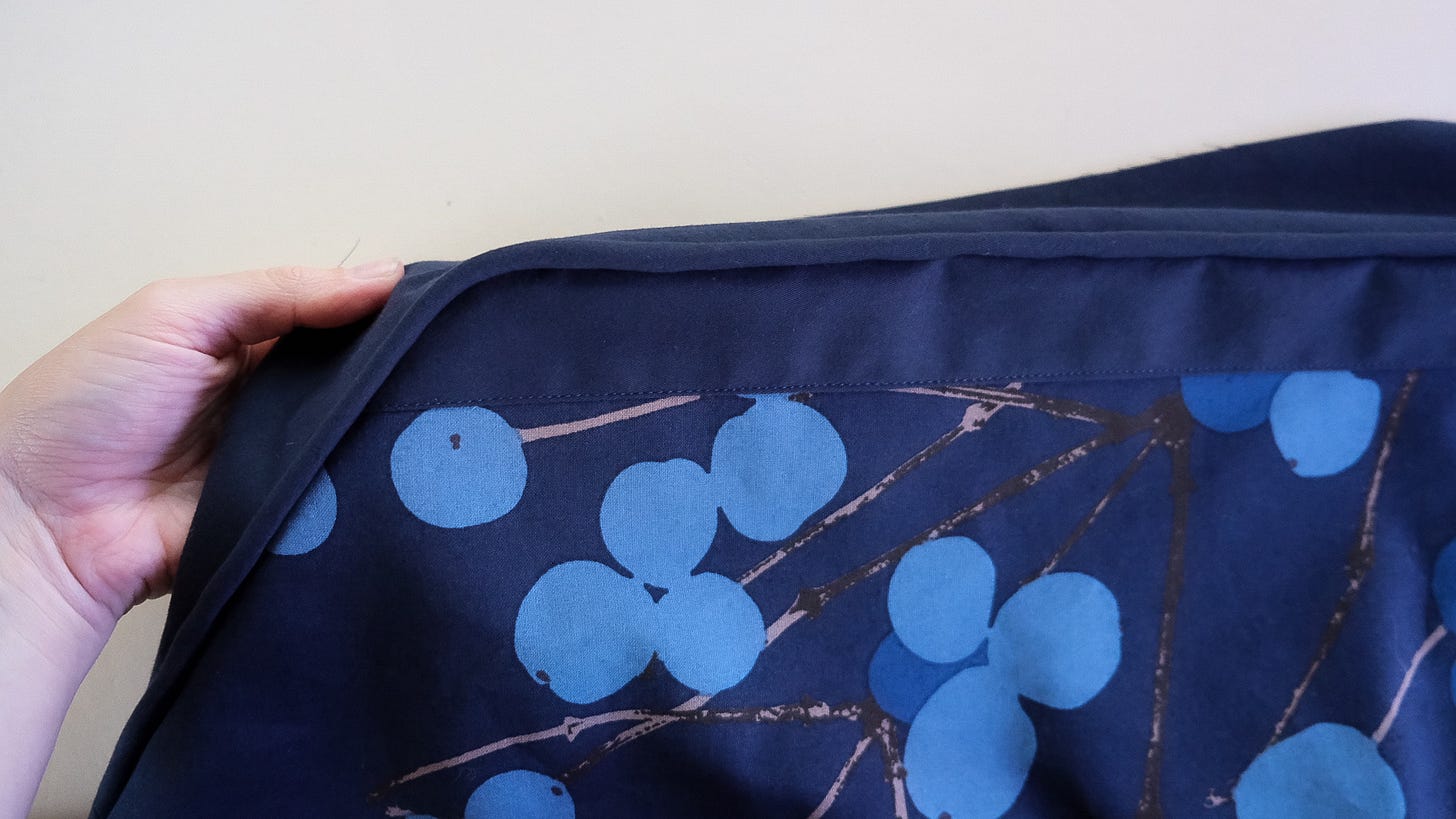
When finished, no stitching should show on the right side of the slipcover.


I’ll leave it here for now...
Next time, I’ll wrap up this project, share a lapped zipper application, and who knows what else!
Thank you for being here and following along with this Marimekko slipcover project. I love sharing these classic techniques with you, and I hope they inspire your own creative solutions, especially when working with special remnants.
~ Jane
Wow I would never have through to prewash my cording but it makes perfect sense! Love this