

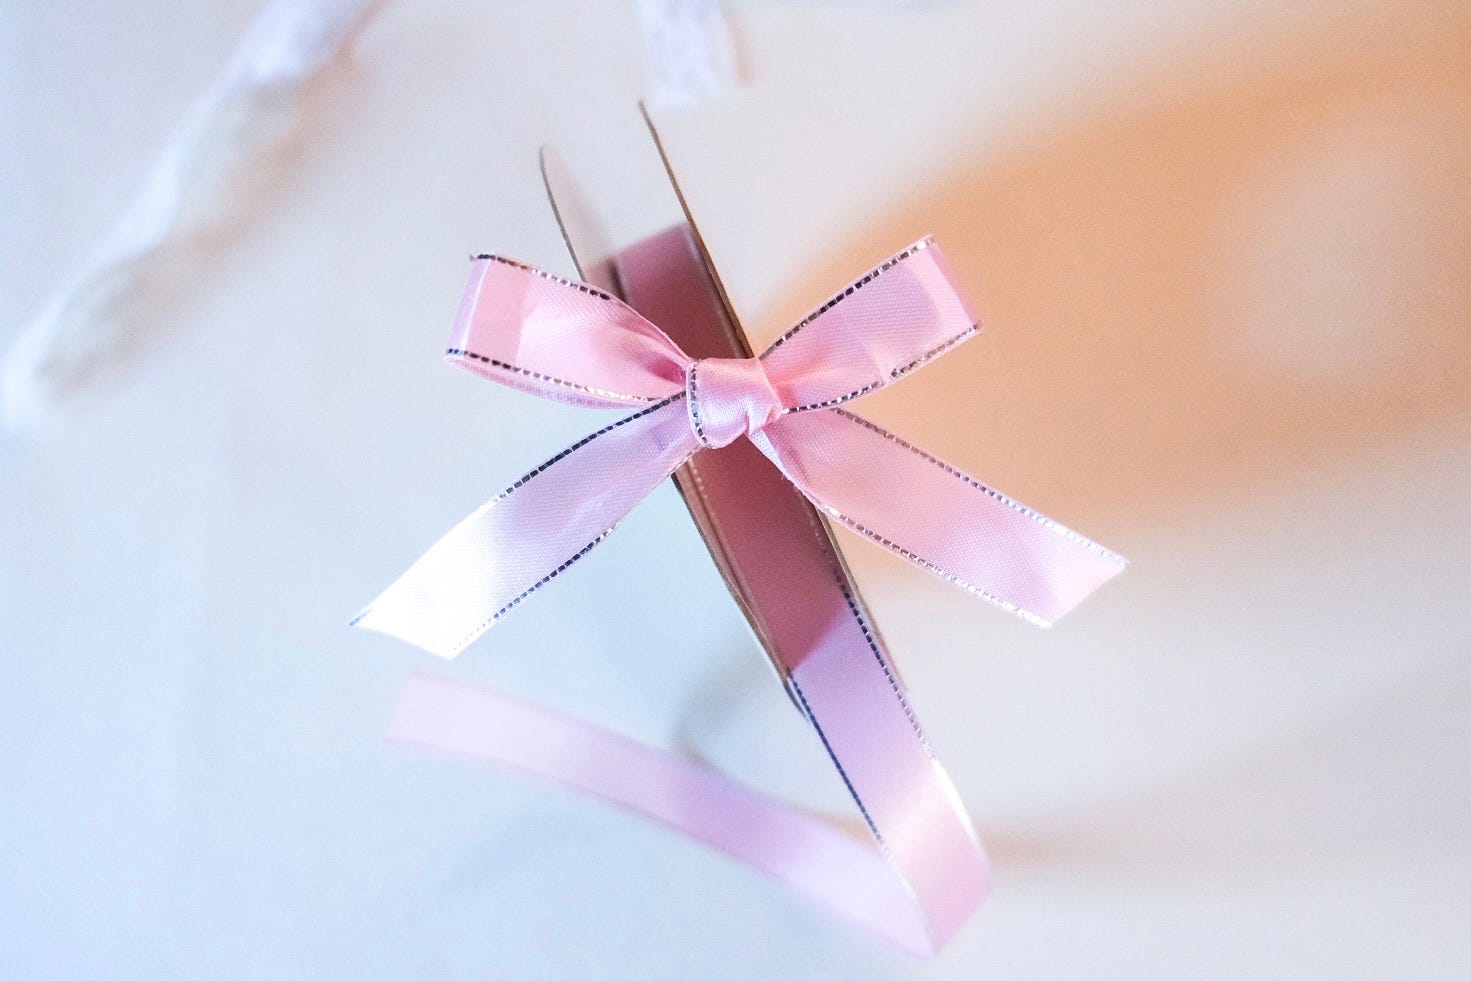
A Quick Bow Tutorial (and more!) 🎀
Two sewing-inspired touches: a classic bow and a ribbon flower

The holidays are upon us, and the season is busy, but I think you might have time for a bow (or two!) 🎀
In this edition of Classic Cool Sewing, I’m sharing two sewing-inspired holiday how-tos: a quick, classic bow (remember the bunny-ear method for tying shoes?) and a chrysanthemum ribbon flower. Use them to trim your trees, add a little extra flair to an outfit, or give gifts a hand-loved touch.
How To Tie a Quick Bow
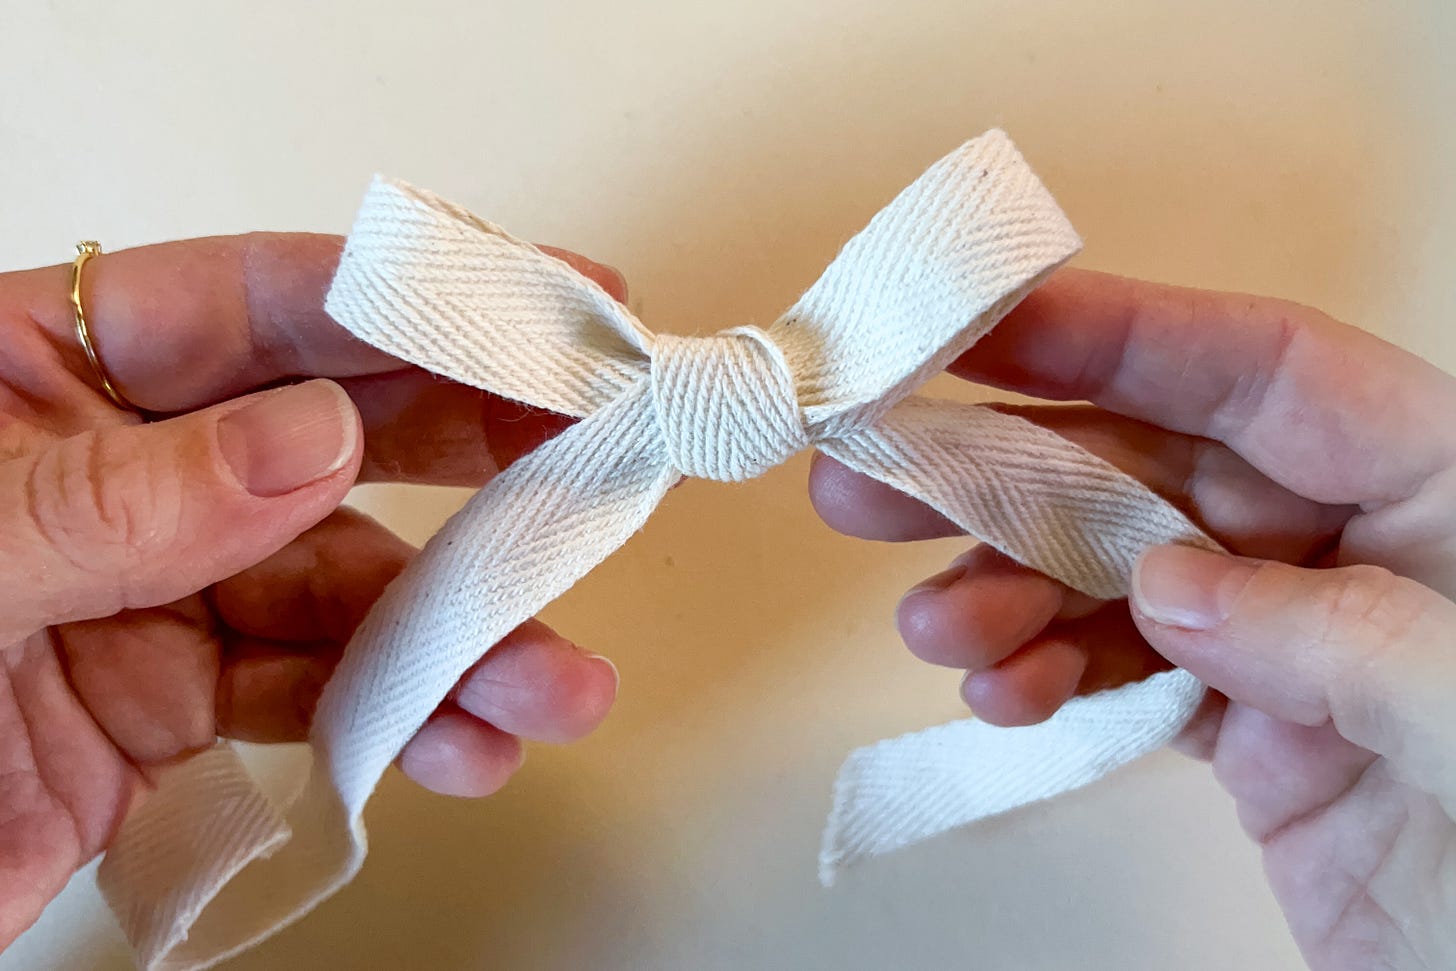
Form two equal loops, about 1” apart.
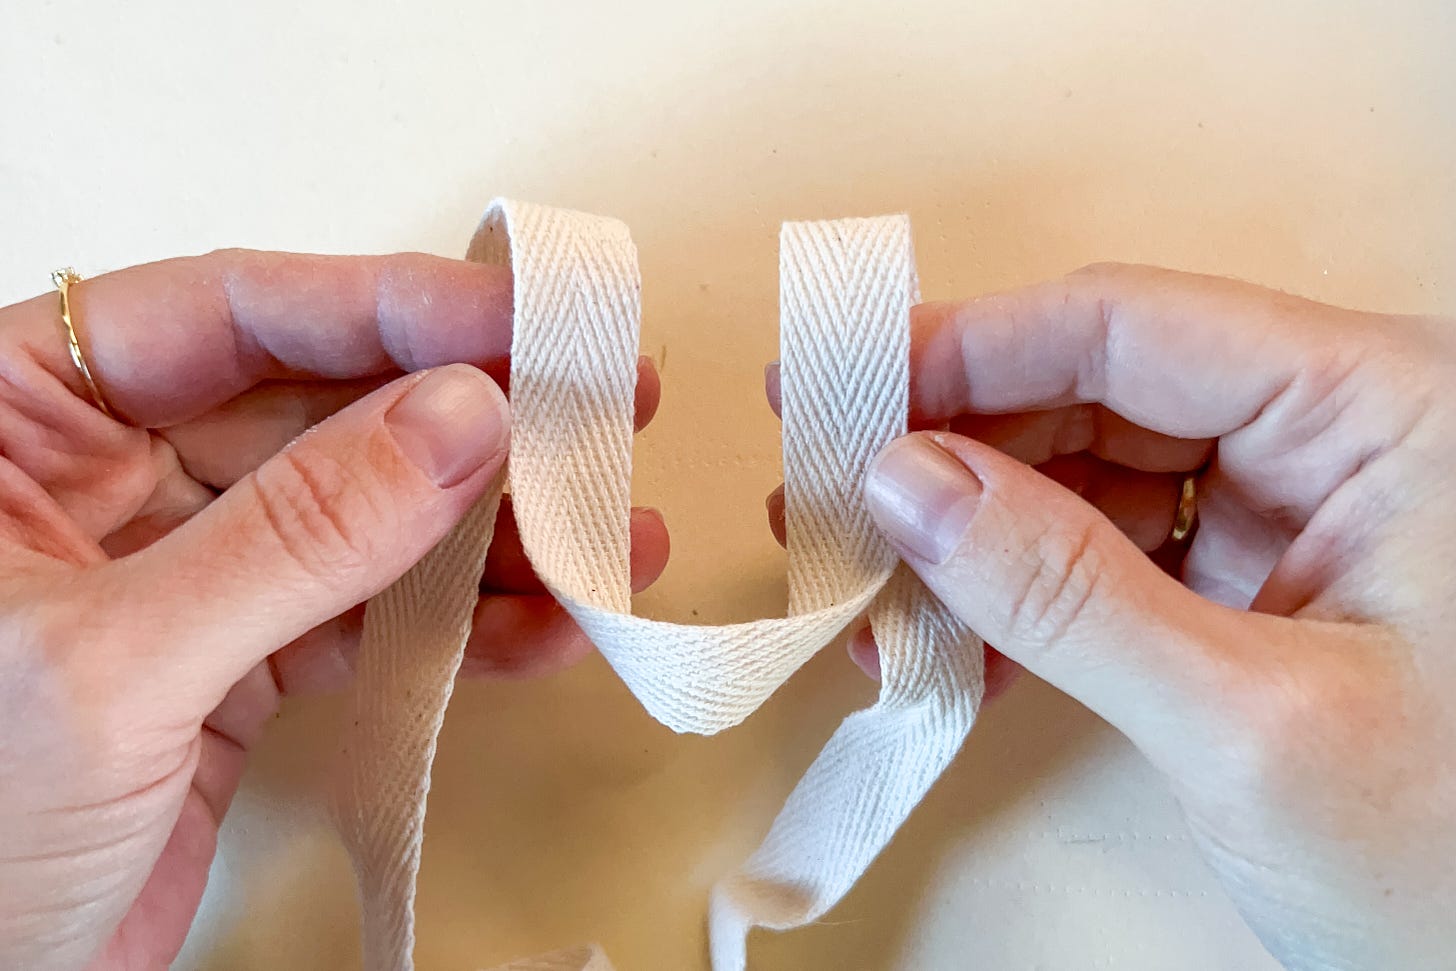
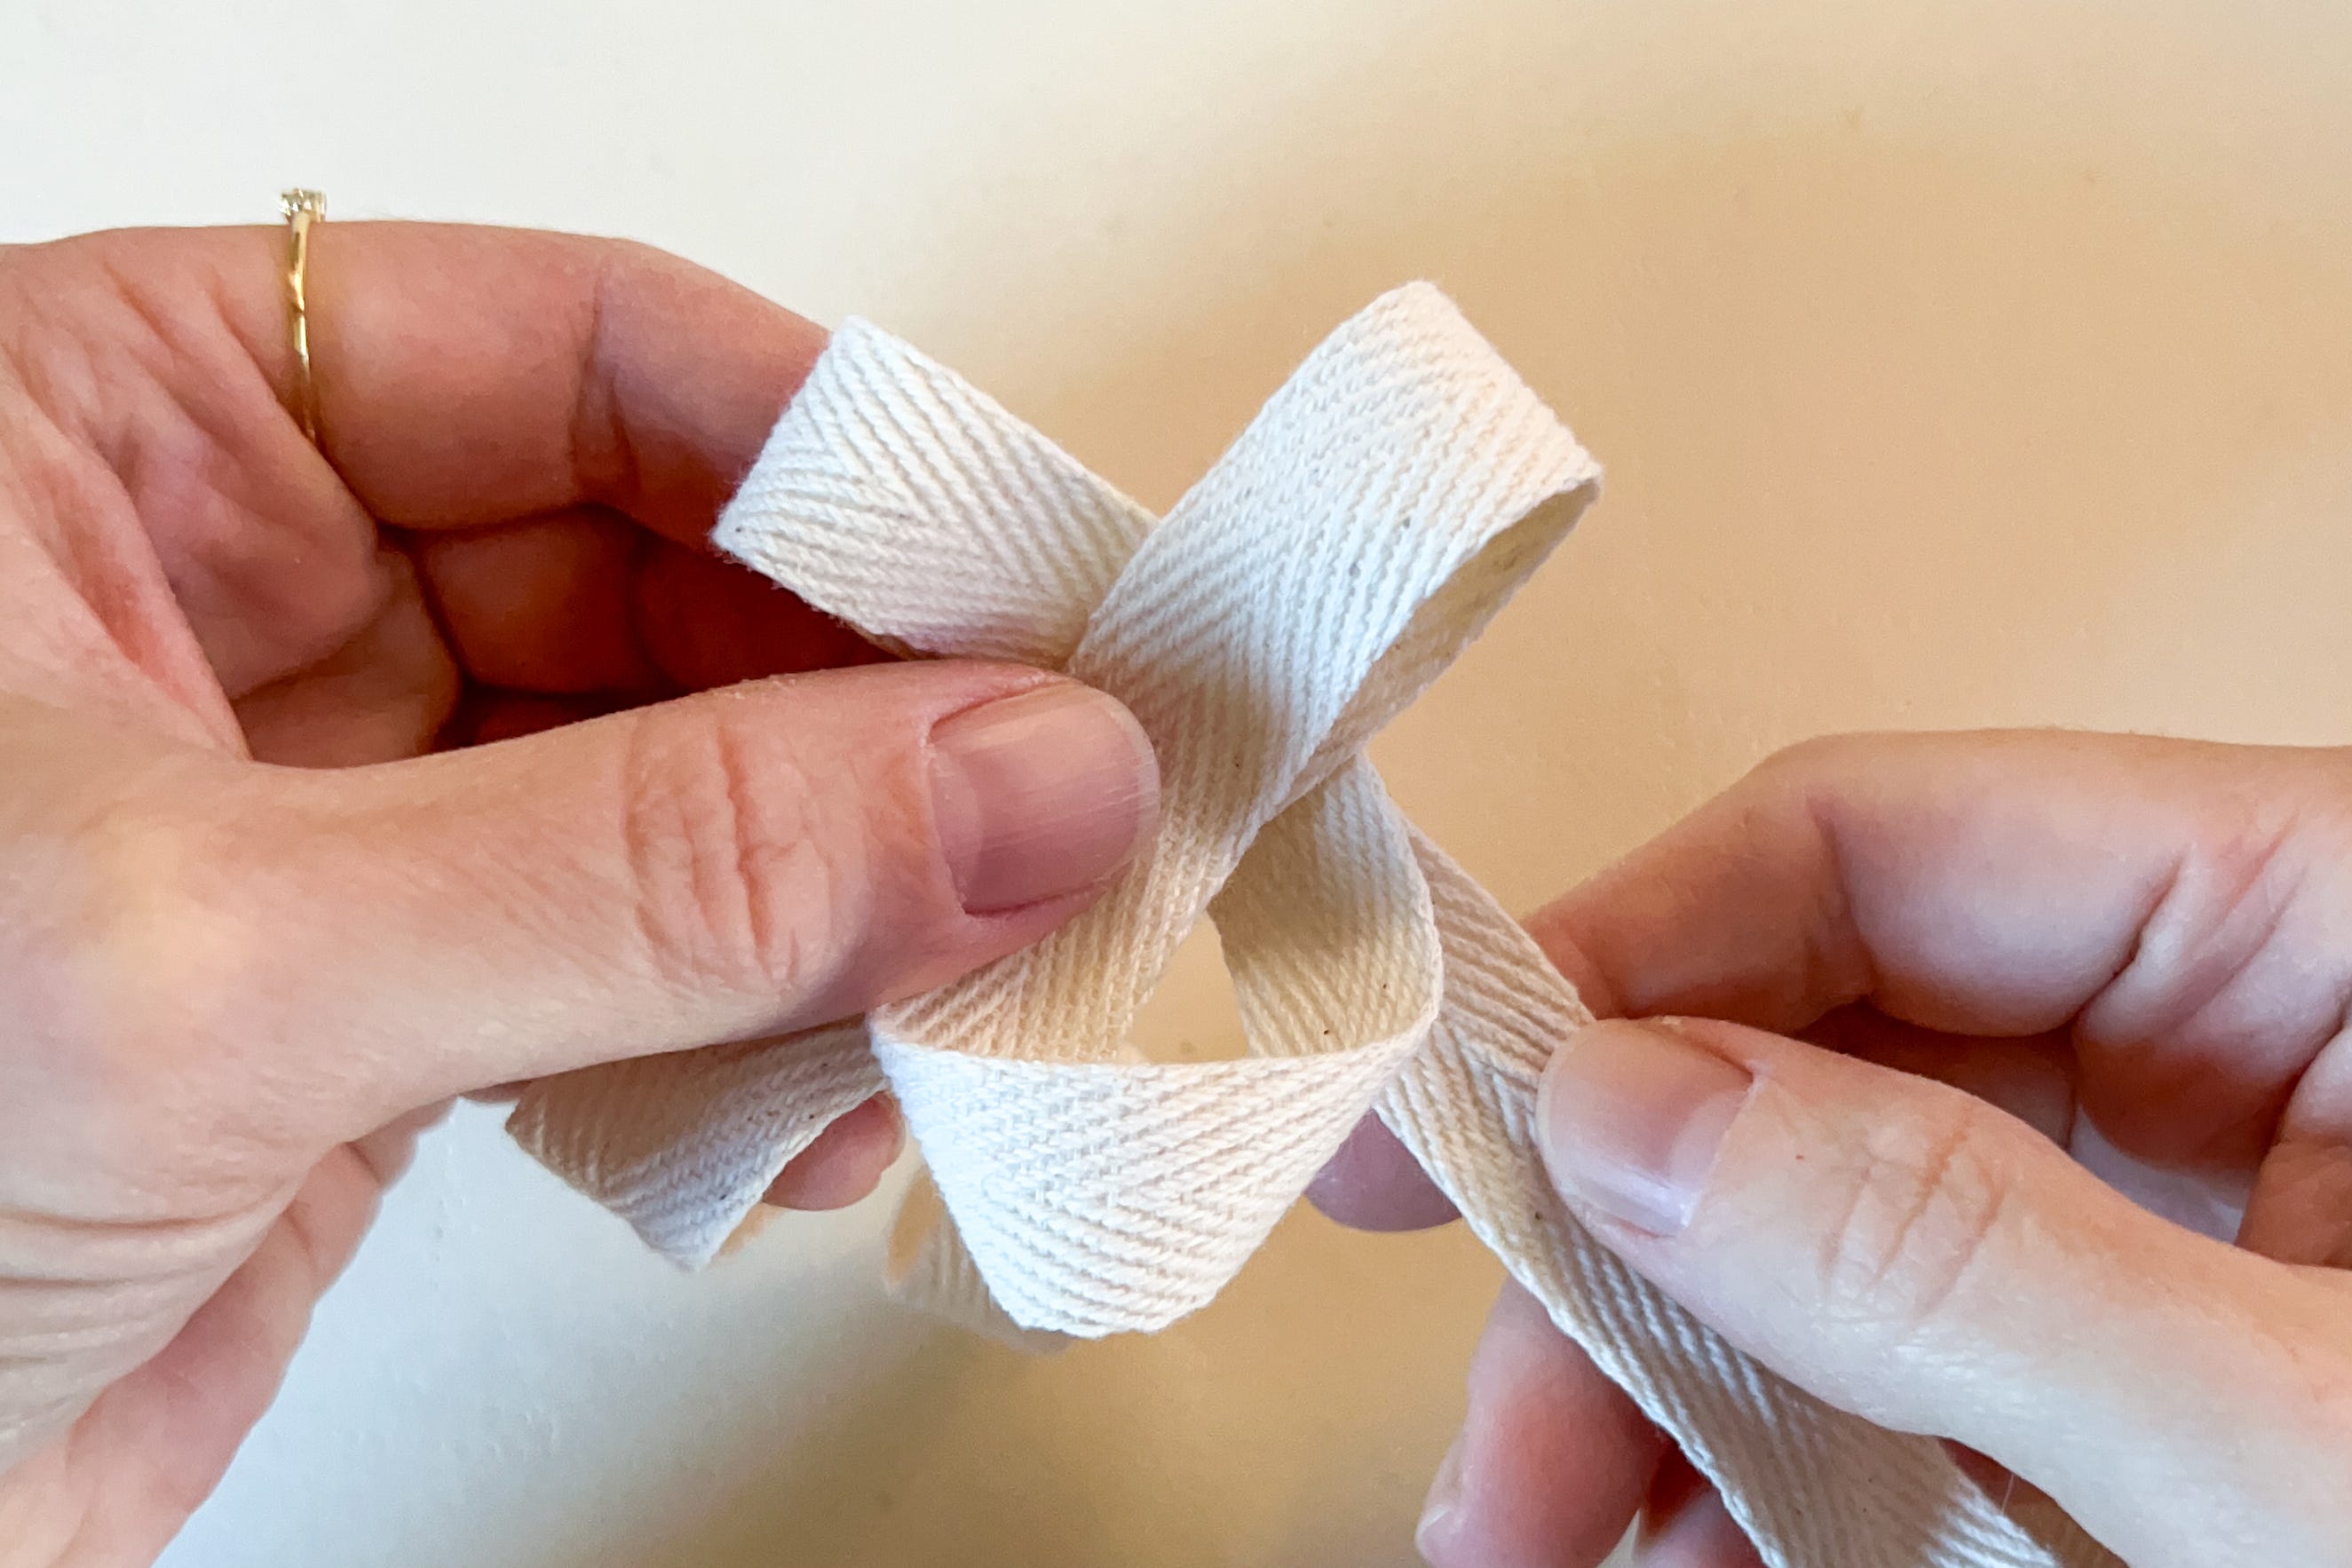
Cross one loop in front of the other.

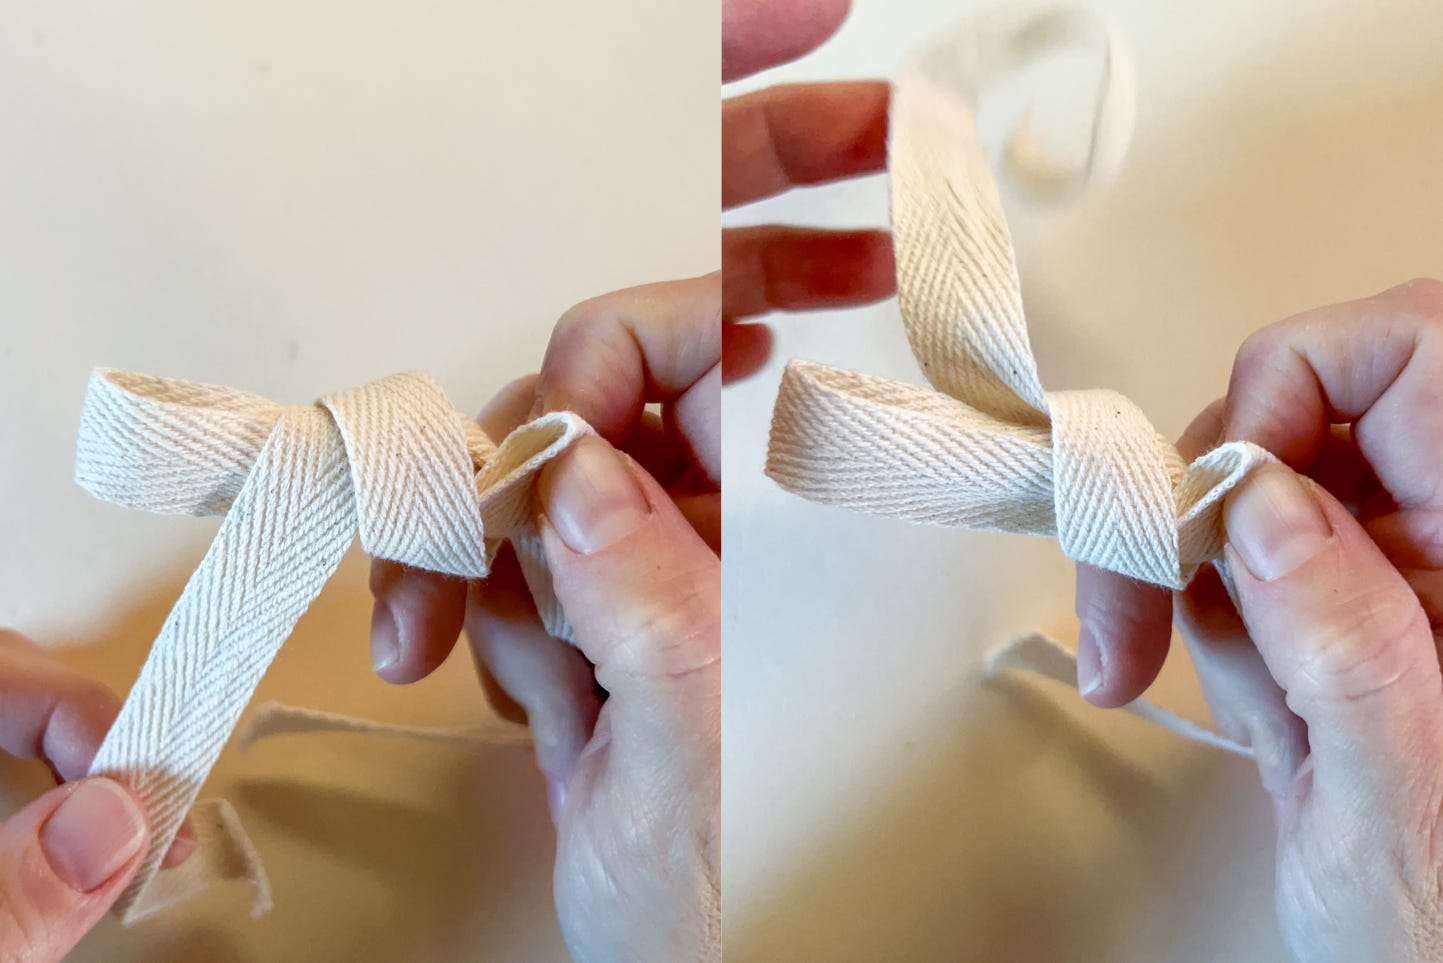
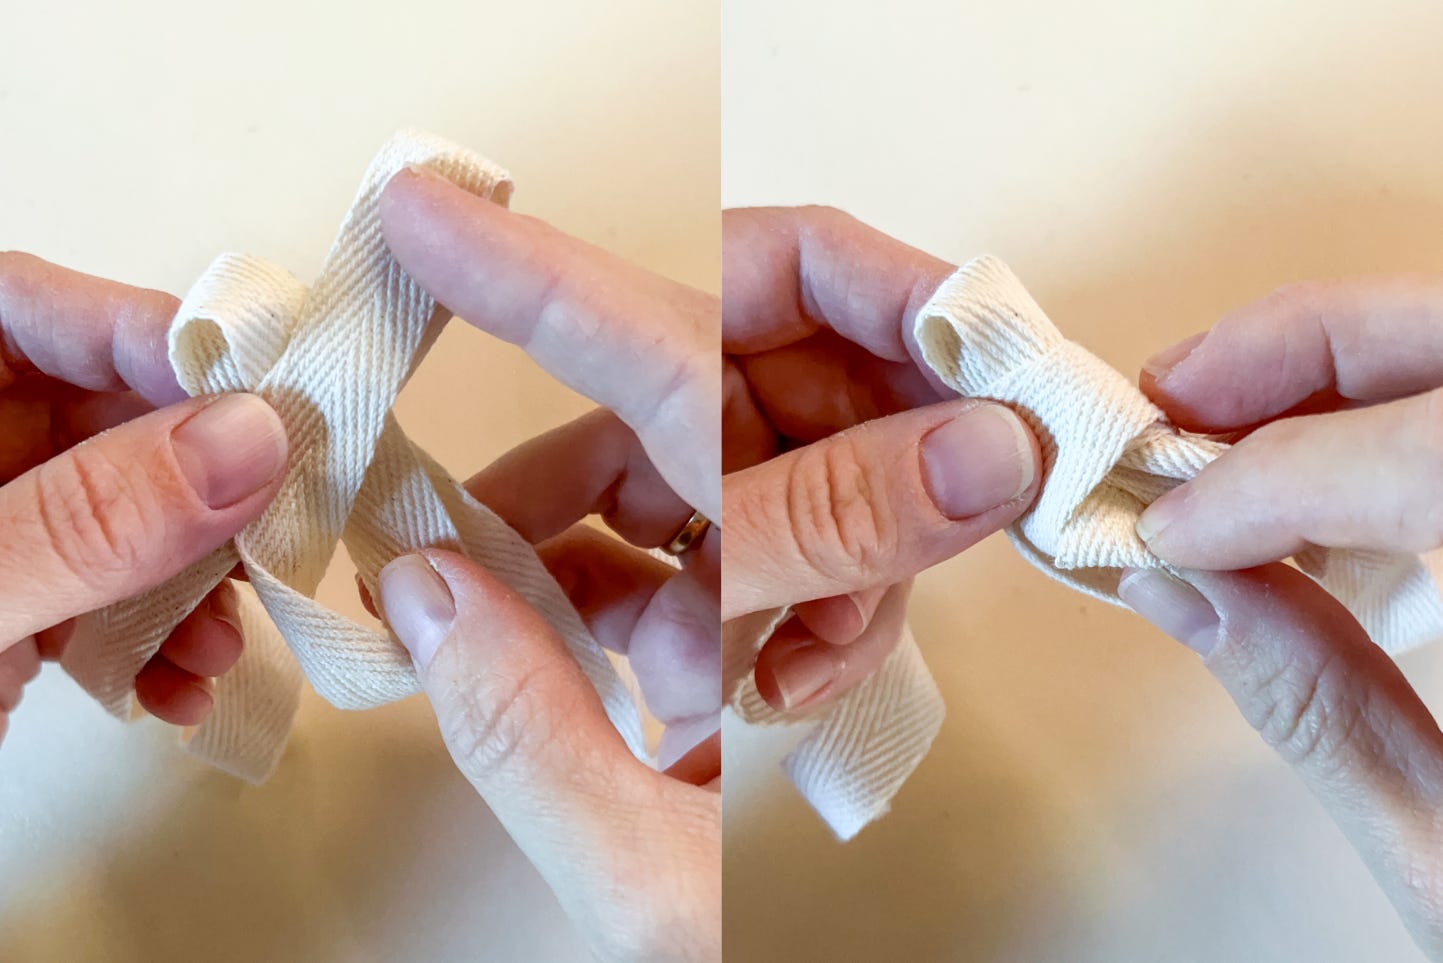
Wrap the front loop around the back and pull through the opening.

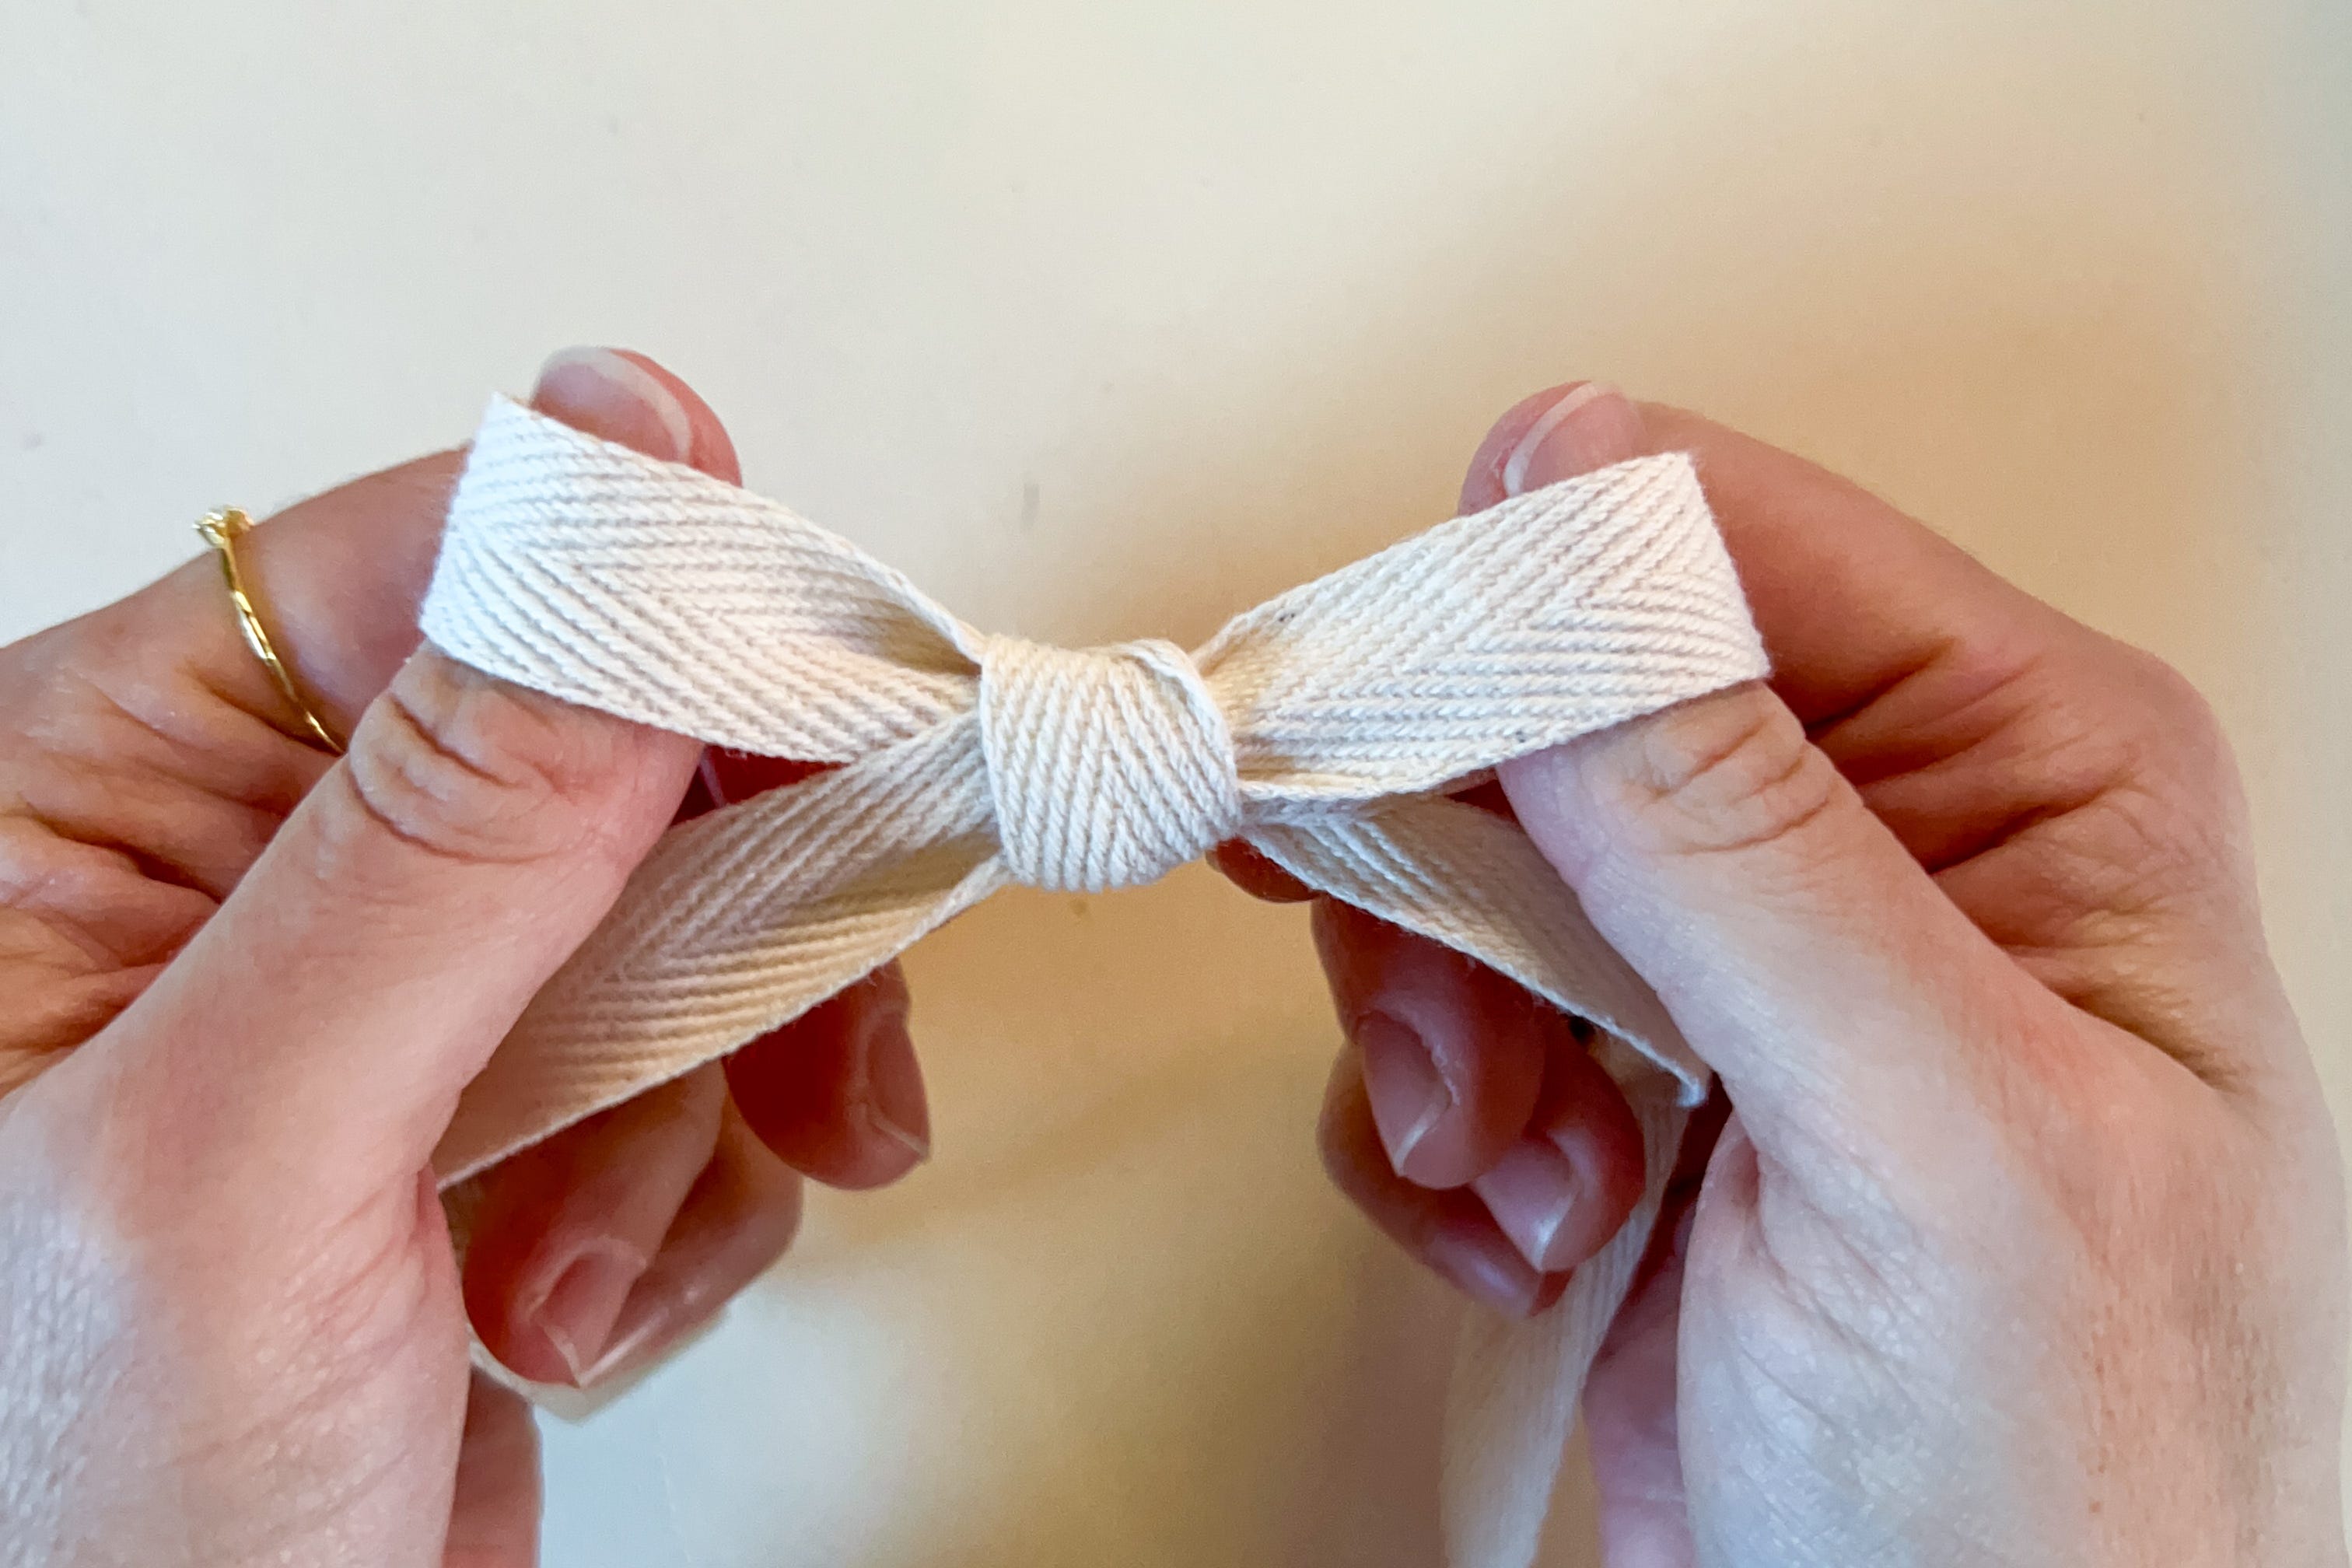
Adjust loops and tails.
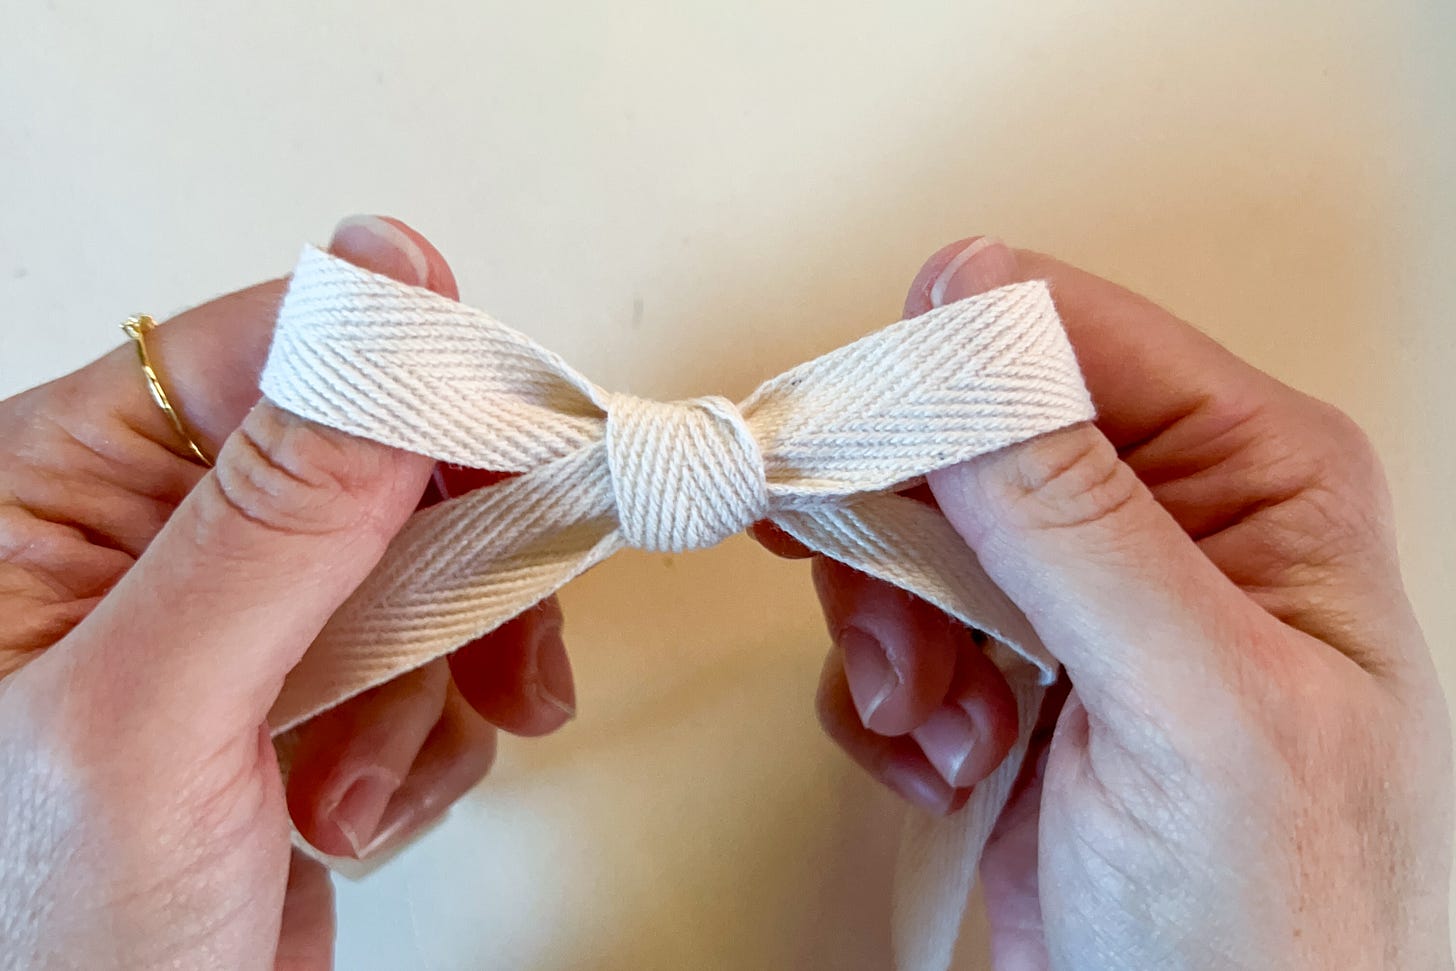
If a tail is in the way, toss it to the back and wiggle everything into place. If the back looks better, flip it to the front.
Sometimes, a little zhuzhing is all it takes.


Adapted from 101 Sewing Secrets (Singer Sewing Reference Library).
Extra lace hem tape? Make some bows!

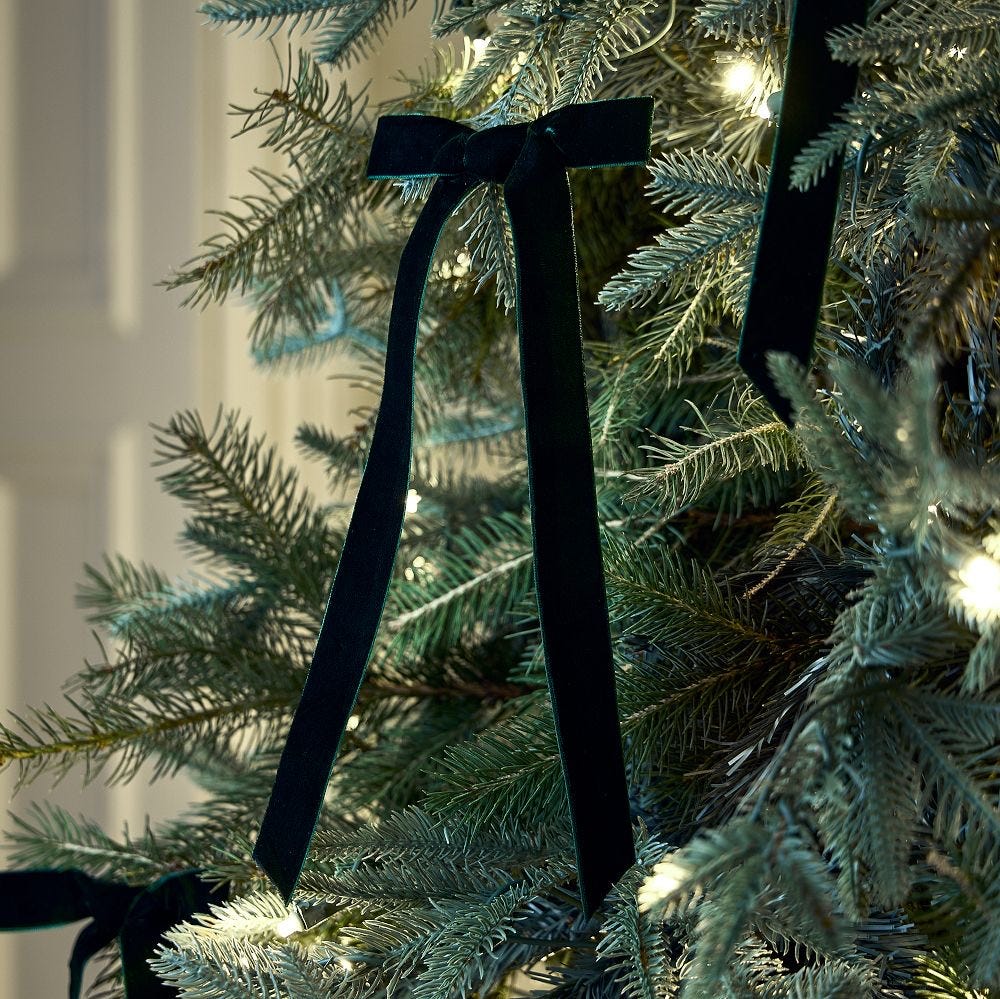
Or try this variation: leave the tails long and whipstitch little clips onto the back for easy velvet clip-on bows à la West Elm.
How to Sew a Chrysanthemum Ribbon Flower
This tutorial is also adapted from Singer’s 101 Sewing Secrets. I used 9 mm velvet ribbon (about 3/8 inch wide), though I imagine a more pliable ribbon, or 1/4-inch knit tubing as the original tutorial recommends, would be easier to work with. But use what you have when you can!
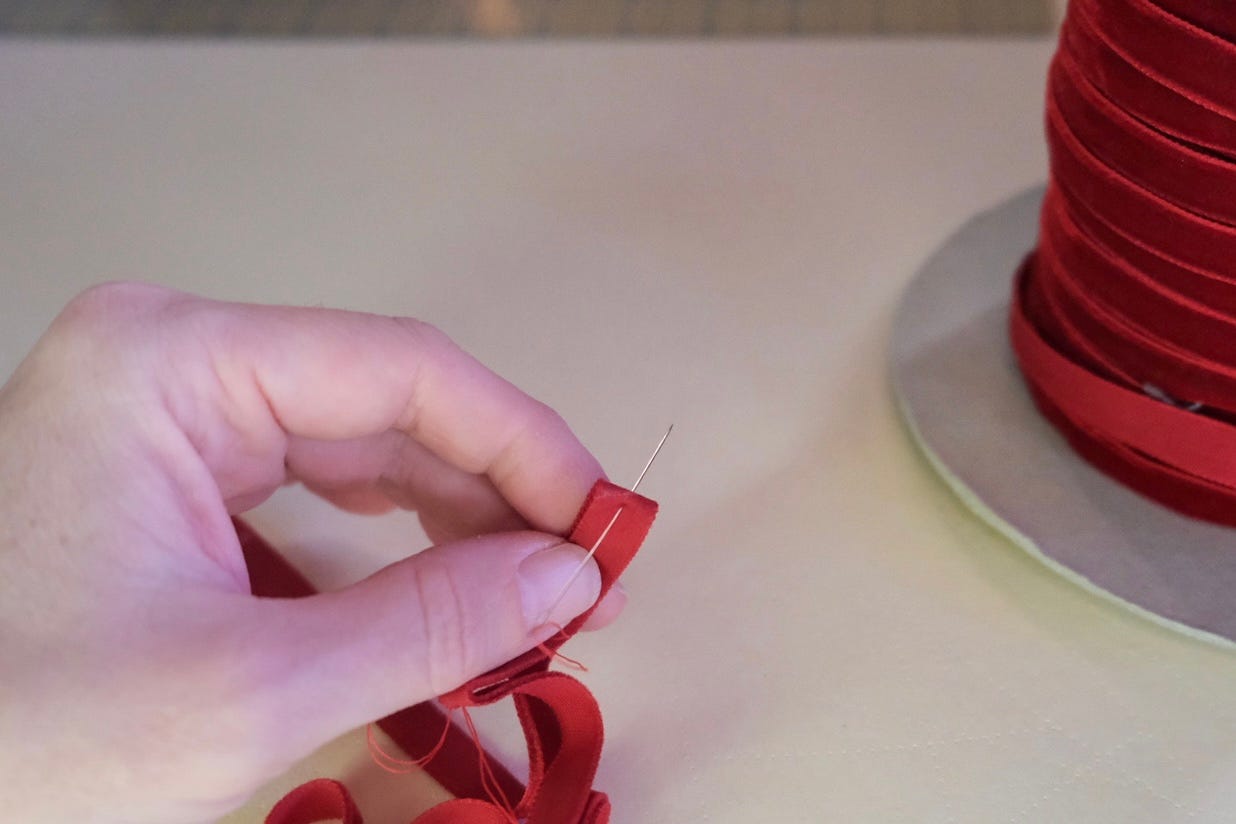
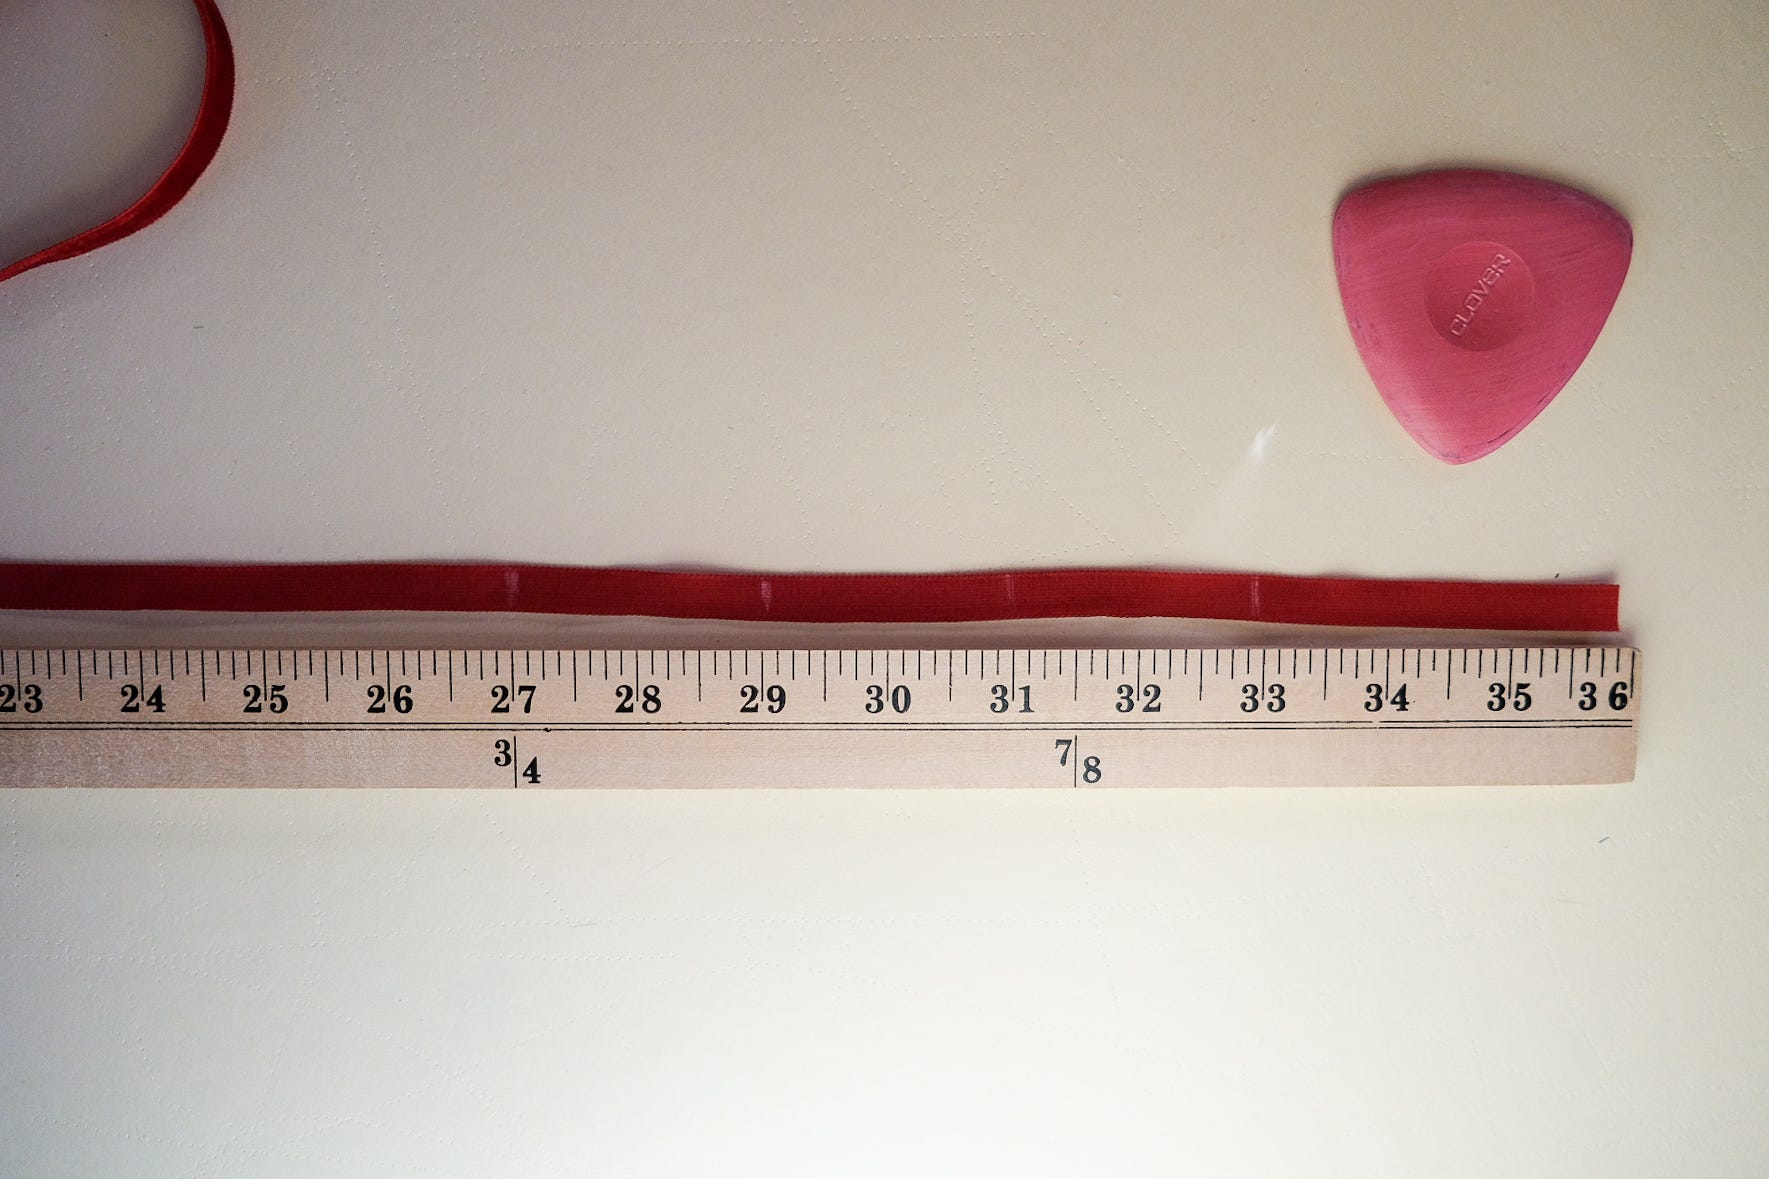
Mark 1 yard of ribbon every 2 inches, leaving at least 3 inches at each end.

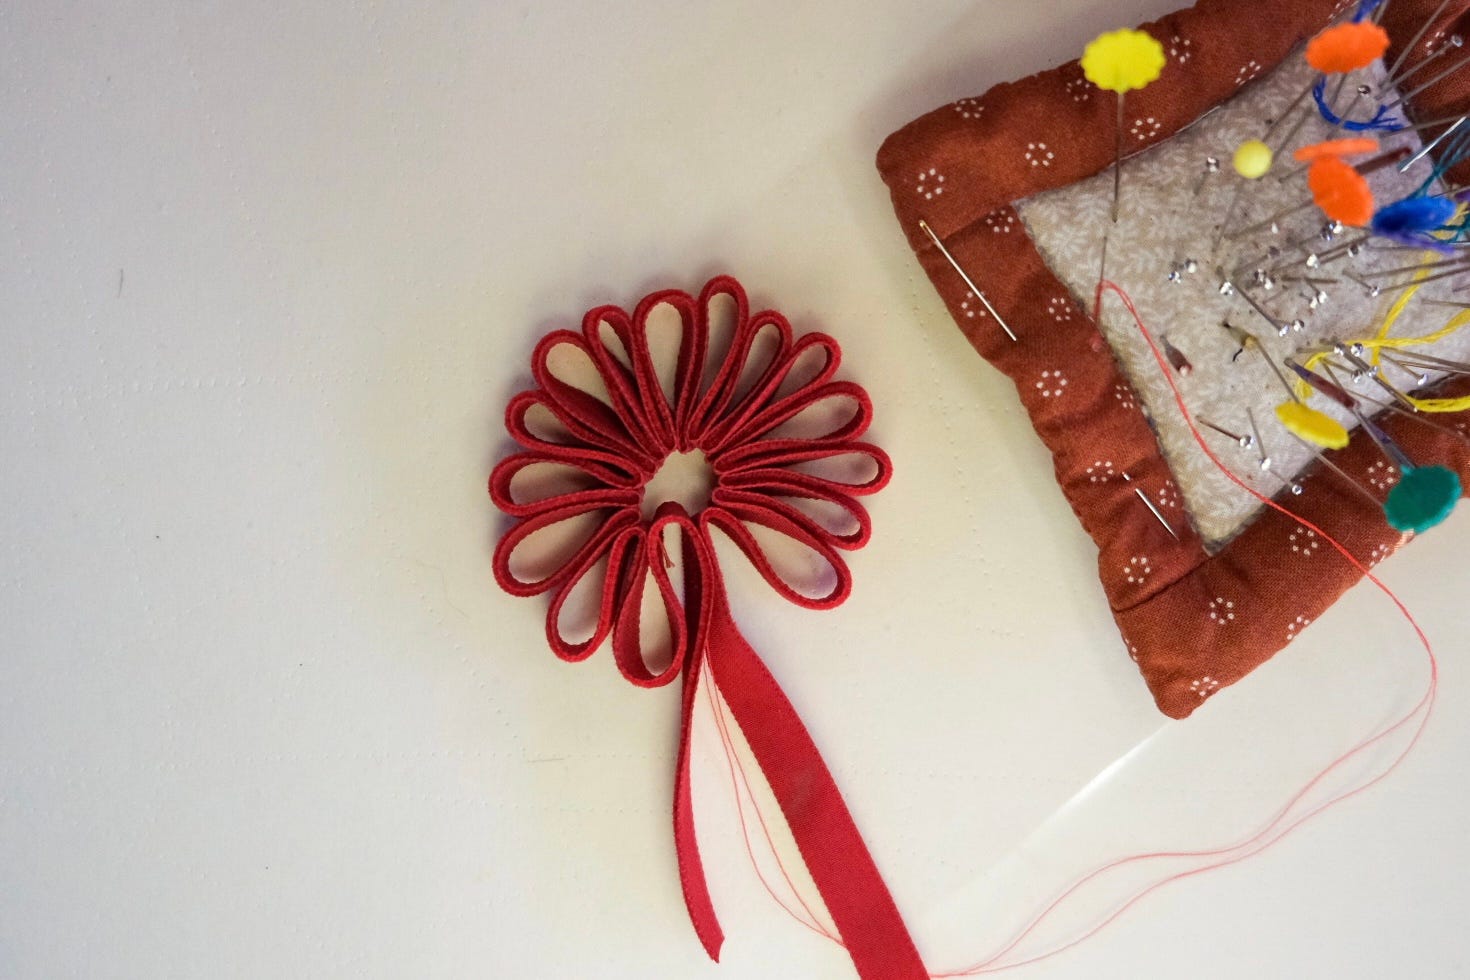
Using doubled thread, stitch through each mark to form loops.

Piercing through the center helps keep the shape even. With the needle still threaded, gently pull to draw the loops together, then add an anchoring stitch to hold them in place.

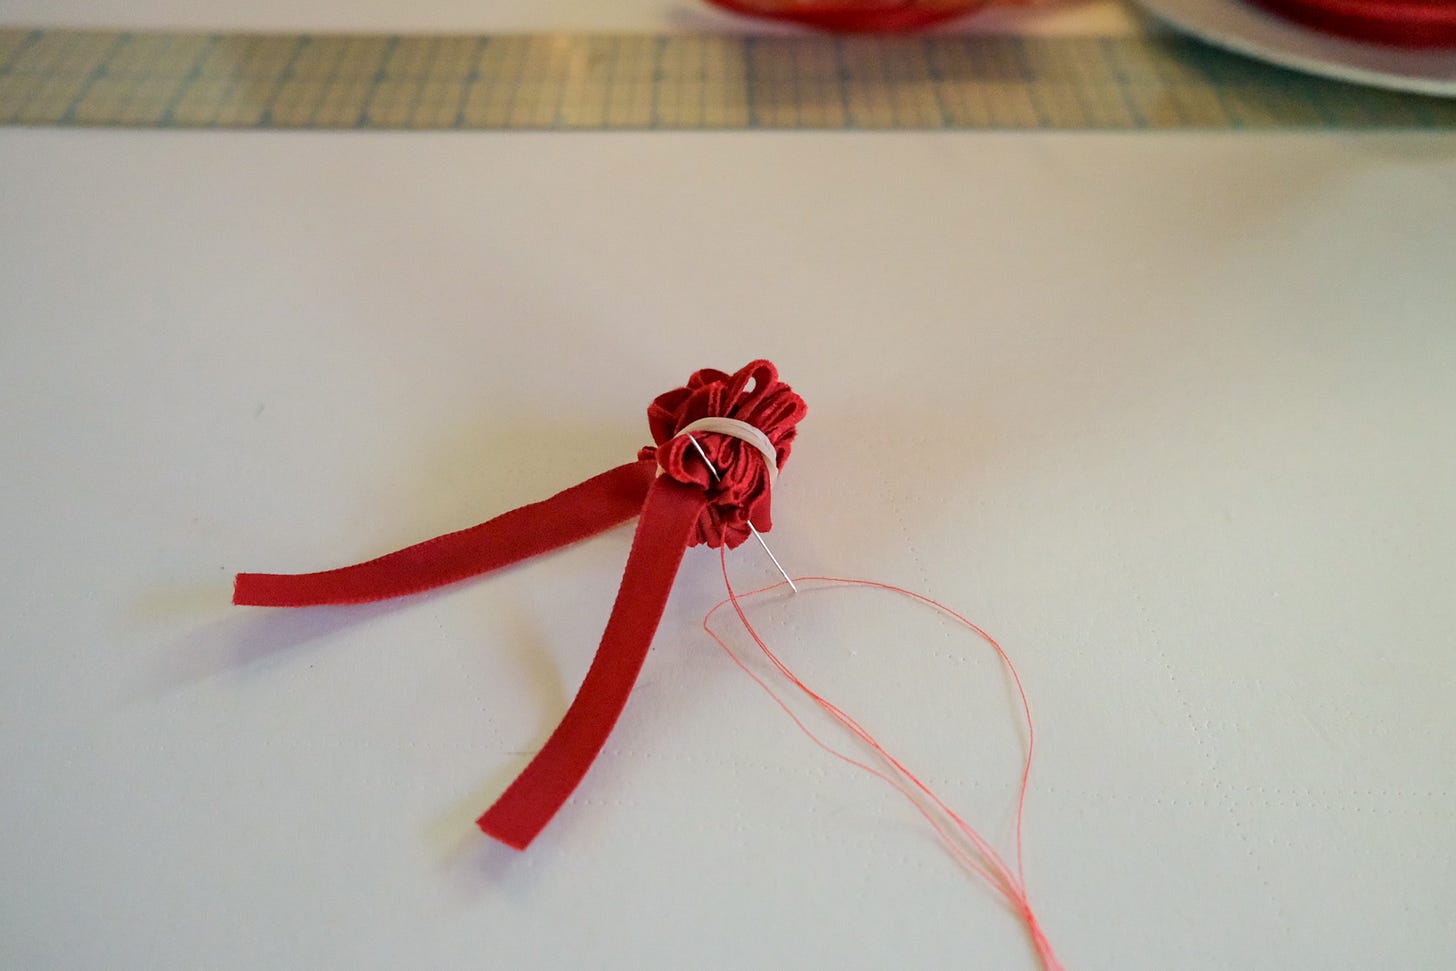
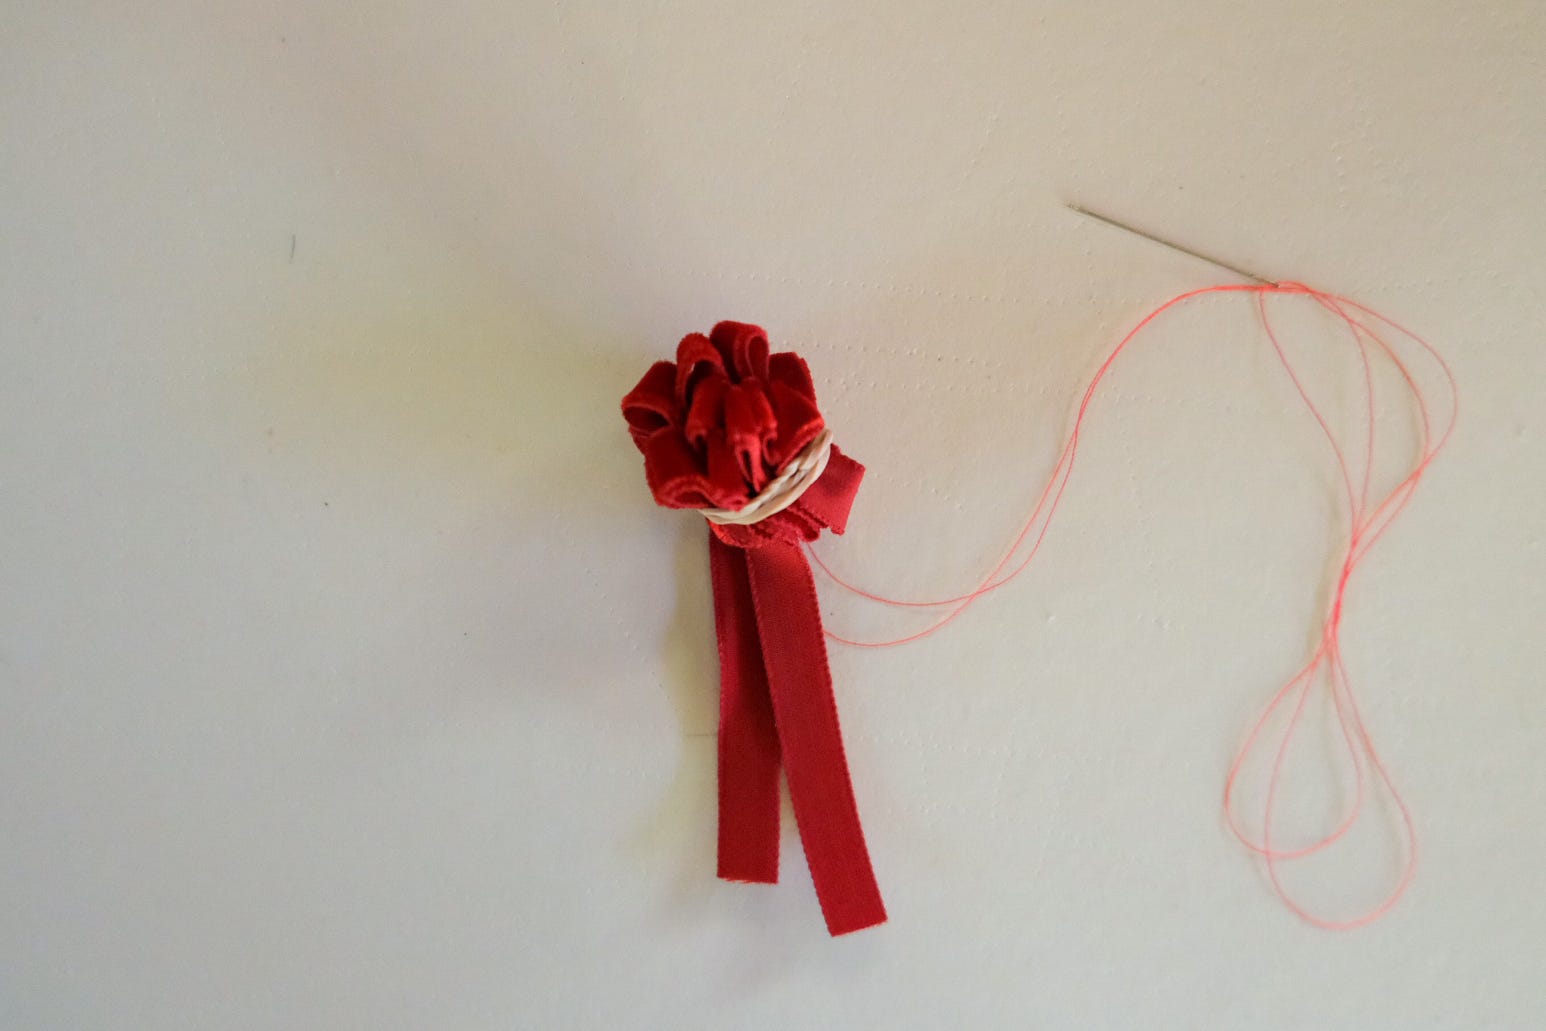
Gather all the loops and secure with a rubber band. I found that starting at one end and rolling the loops in on themselves works best to form the flower shape. The tricky part is keeping all the loops compact, even, and level at the base.

Whipstitch the loops in place. Feel free to be a little messy with your stitching, just be sure your needle catches all the loops. Remove the elastic, check the shape, and add more stitches if needed.
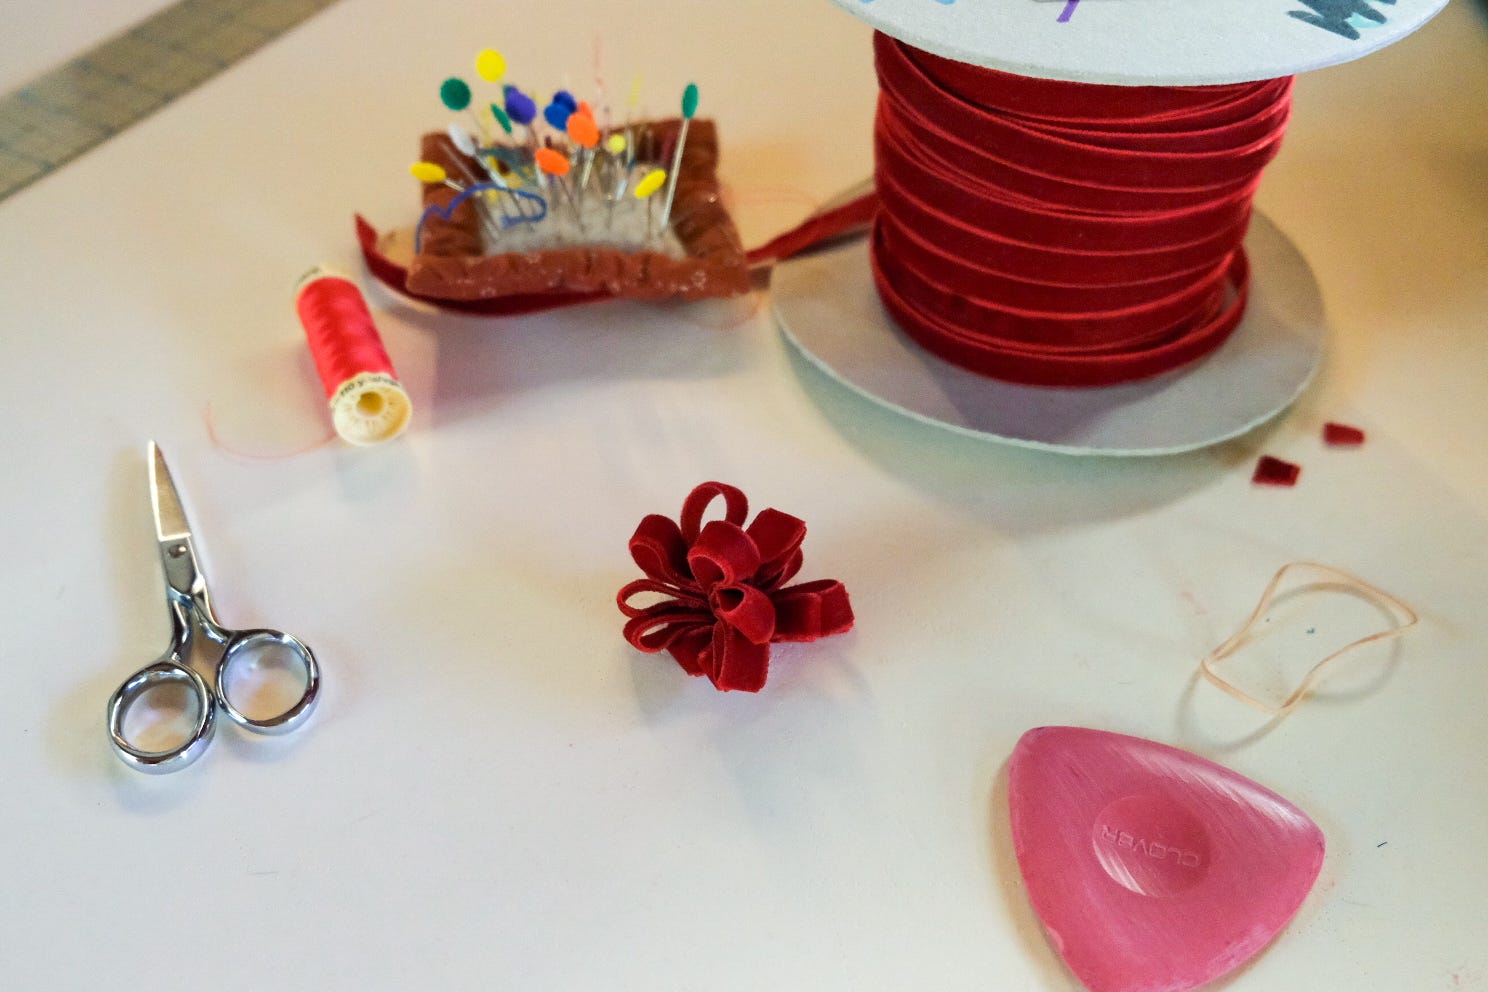
Trim the ends, or for a neater finish, whipstitch them over the bottom. And there’s your flower!


Whether you’re tying bows, sewing ribbon flowers, or simply enjoying the season’s light, I hope your holidays are full of delight, creativity, and classic charm. Thank you for being here, and see you next time!
~ Jane

I didn't mean to not contact you for awhile, I got lost here. I want to stay in contact with you, we have so much in common.
Also Jane, I haven't had a chance to locate my pattern books, we've been remodeling and nothing is where it should be. I did fire up my serger for a few things. Trying to dig my Bernina out but in the meantime I've gotten my featherweight out.
I really miss my sewing studio. Right now it is filled with “stuff”.