


Vintage Lips & Centered Zippers
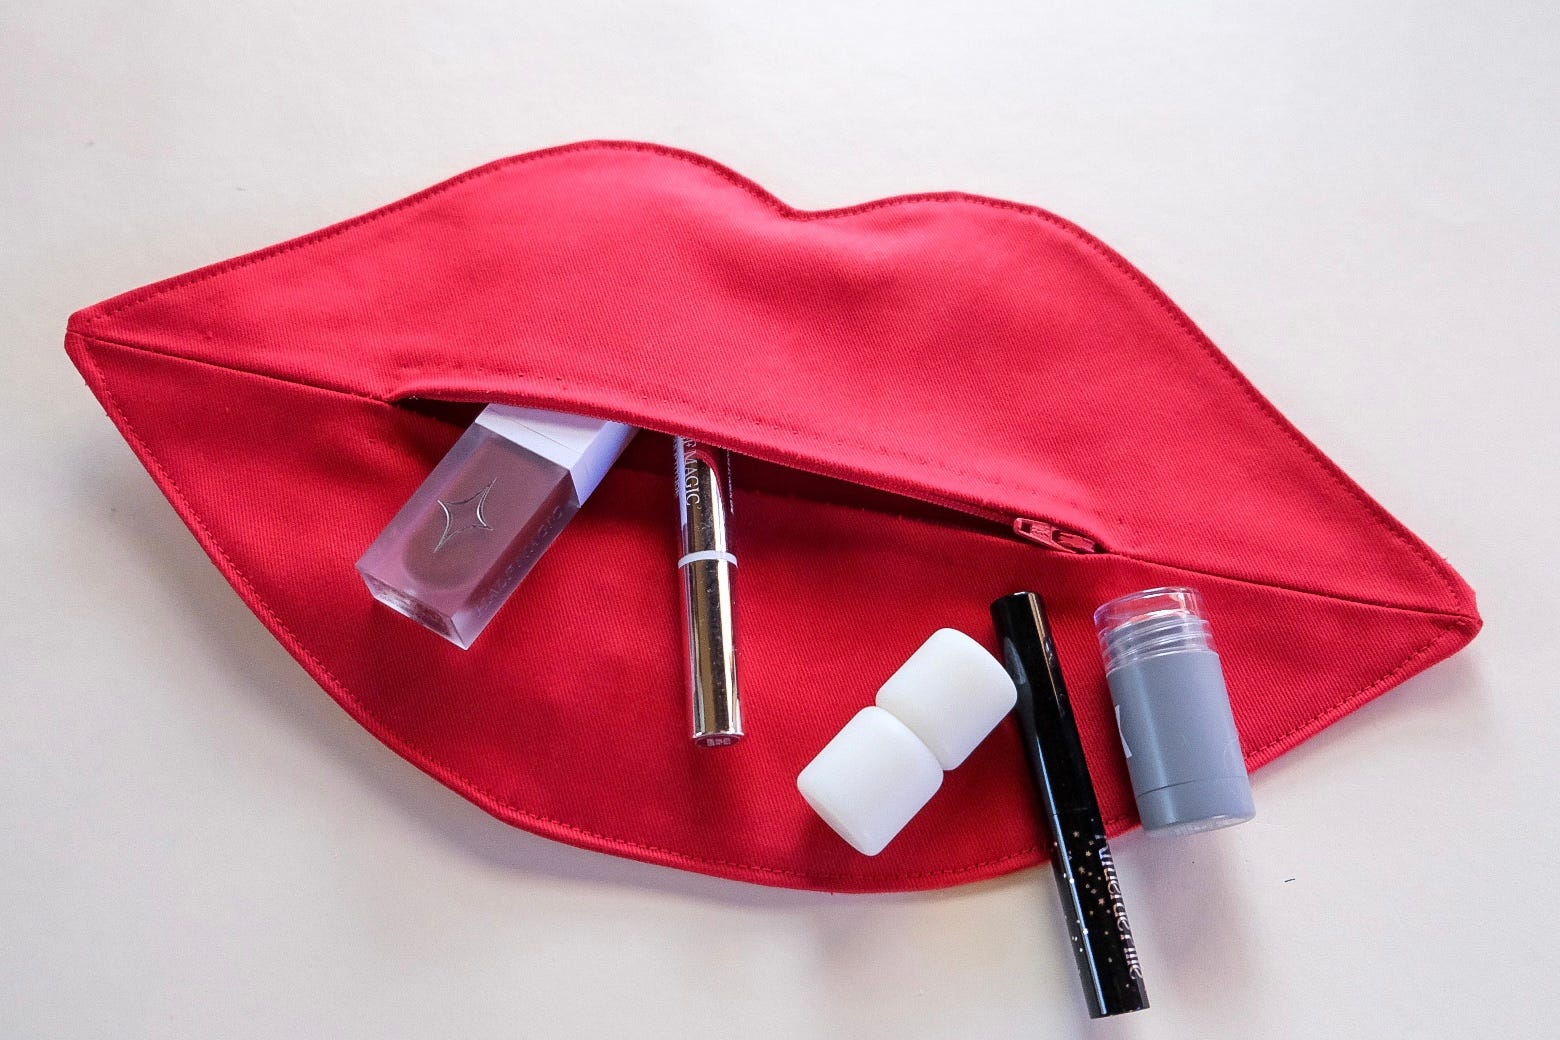
Sew a lip-shaped pouch with a vintage pattern.

Continuing with the theme of vintage patterns (my last letter was all about vintage Vogue Barbie patterns), I came across this lip-shaped makeup pouch pattern. Does one need a lip-shaped makeup pouch? Absolutely not. But it’s whimsical and surprisingly useful—perfect for storing a lipstick collection, giving as a Valentine’s Day gift, or repurposing however you like. Plus, it’s a great project for practicing a centered zipper.
A centered zipper application, also known as a "slot" application, is when the two edges of the zipper placket opening meet evenly at the center of the zipper, with visible stitching on both sides.
I’ve always found zippers easy in theory but tricky in practice. Because of that, I rely heavily on hand-basting and hand-sewing to keep my stitching straight and precise—it’s just my personal preference. While there are several steps, sewing a zipper is simple if you take it one step at a time. I hope this helps demystify the process and maybe even makes sewing zippers more enjoyable—if it isn’t already!
Recommended Materials:
1/4 yard fabric
Matching thread
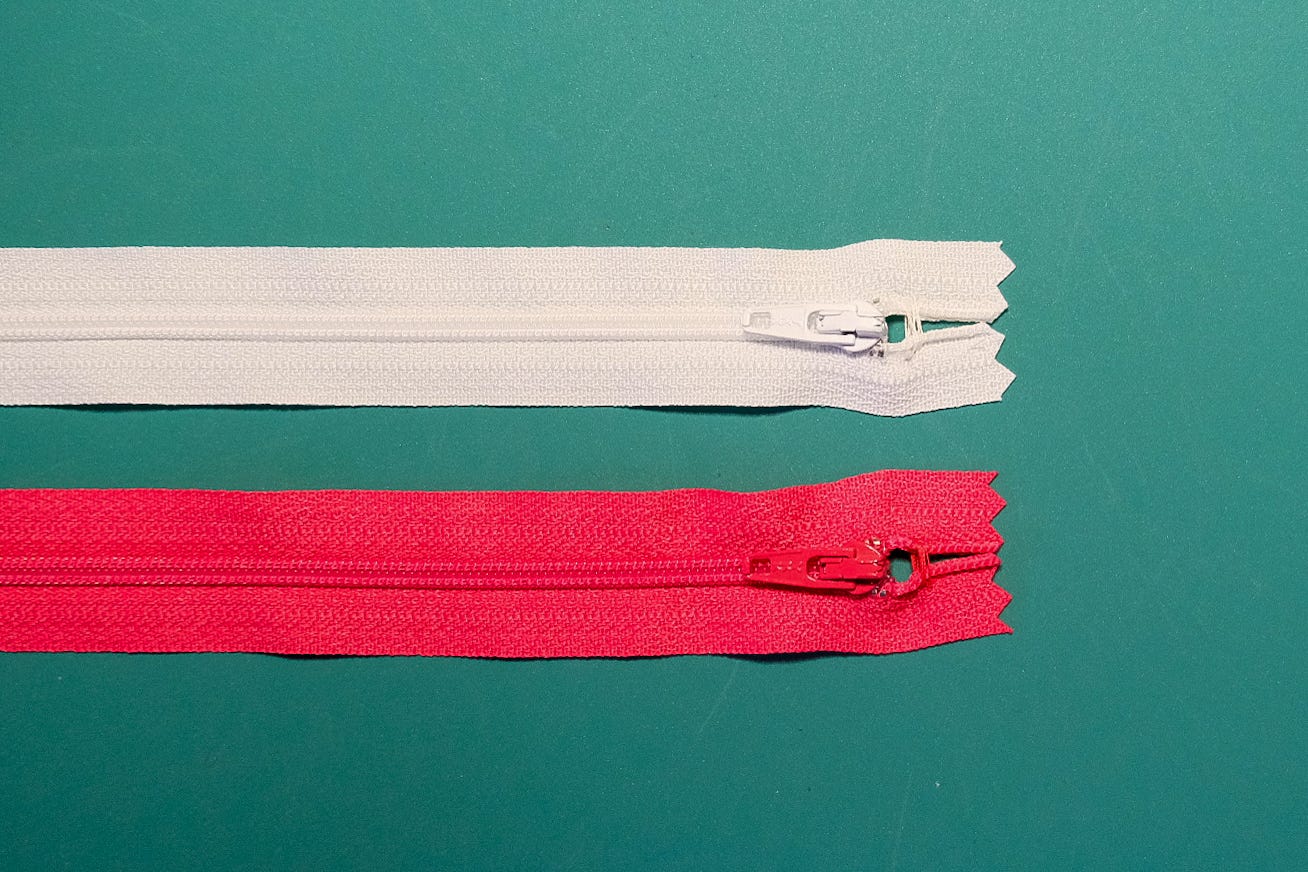
7-inch conventional zipper
Zipper foot attachment
Seam ripper
Zip Pouch Pattern Notes
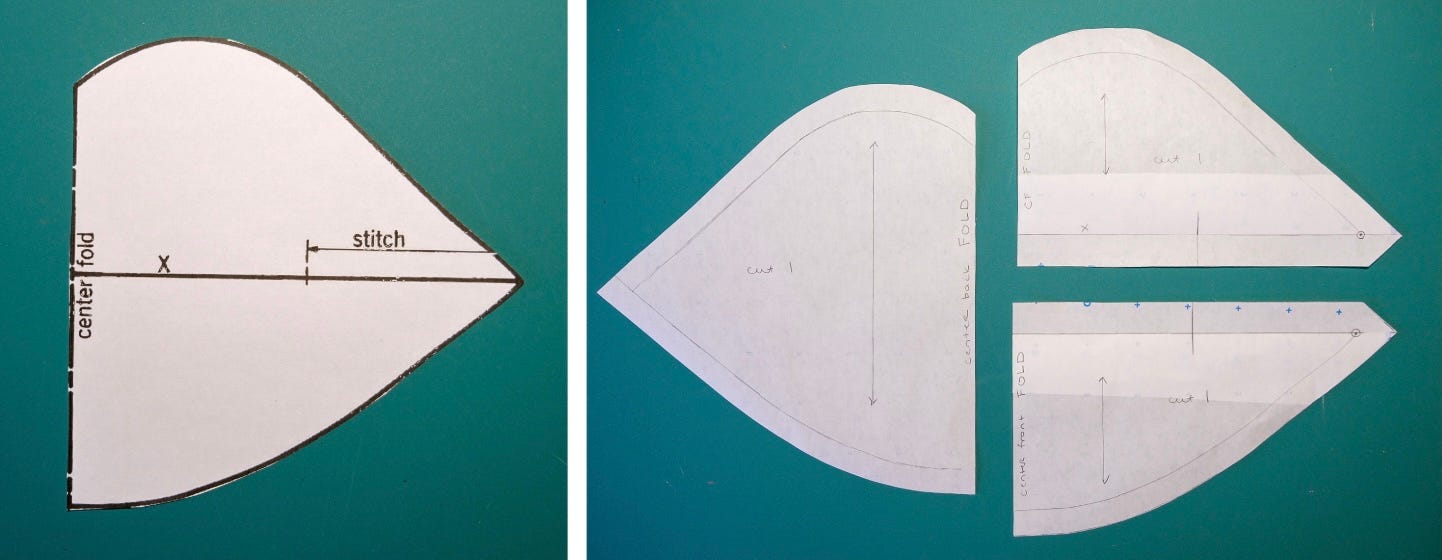
The original pattern called for vinyl, but I opted for a cotton twill instead, and because the vinyl construction didn’t require seam allowances, I added a 1/2-inch seam allowance along the outer edge.
I also increased the recommended 1/2-inch seam allowance at [X] to 5/8 inch, making it easier to sew a centered zipper.
Sewing a Centered Zipper
Since both ends of the zipper placket are closed, whipstitch the zipper tape together at the top before inserting the zipper—an optional but helpful step.

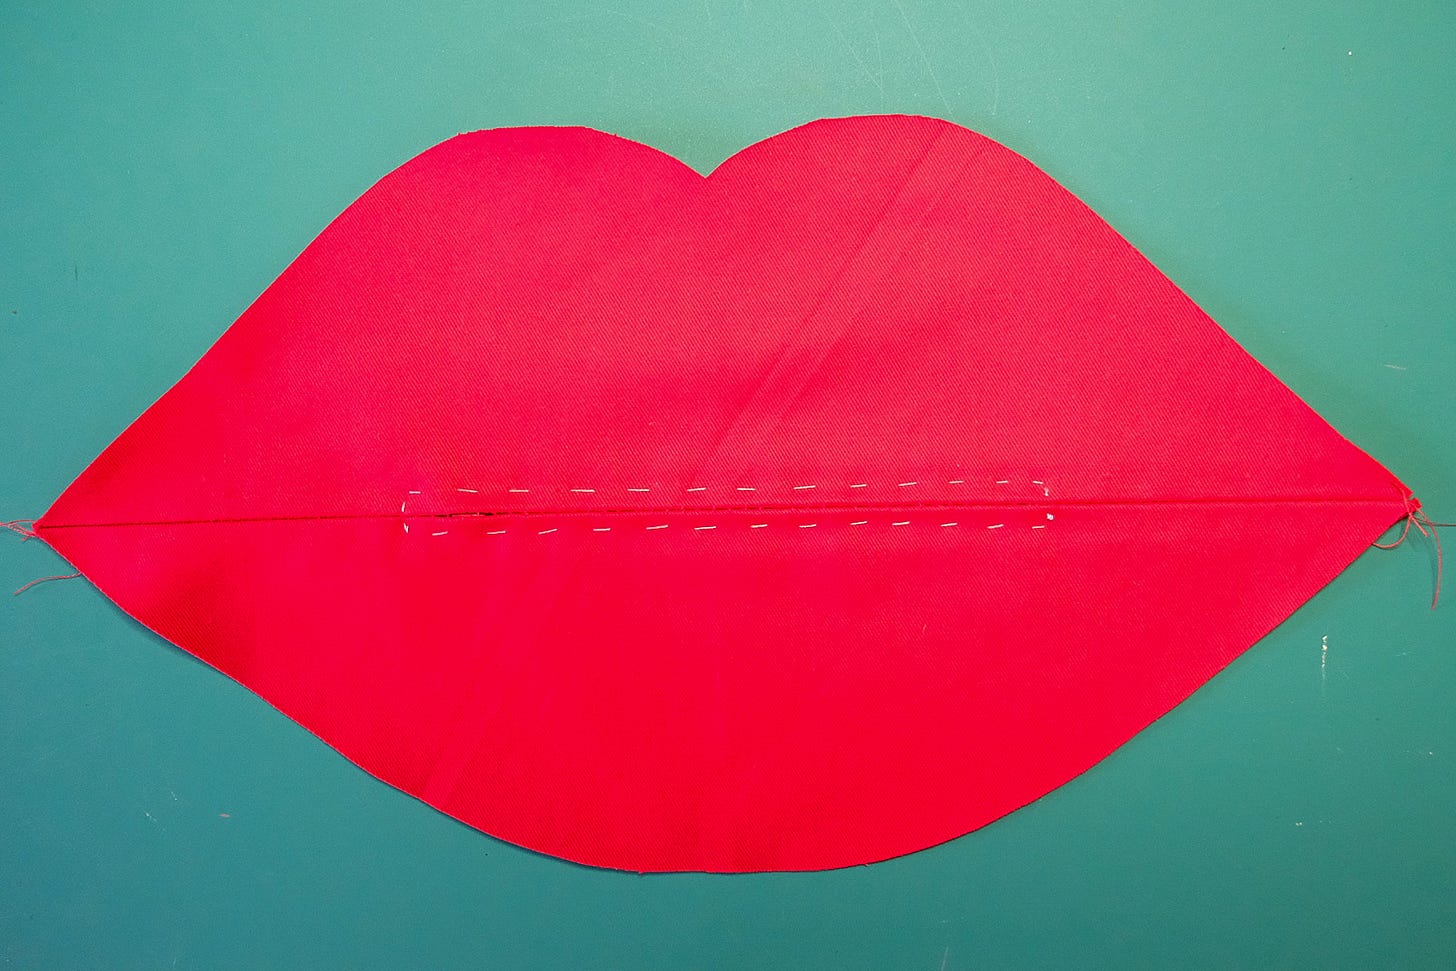
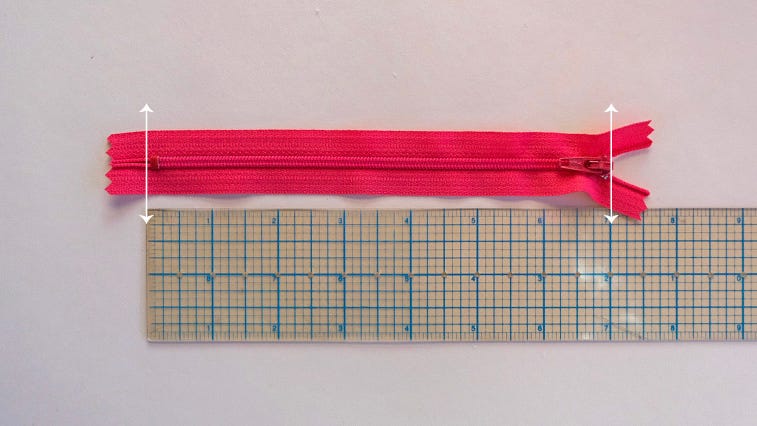
Measure and mark the exact length of the zipper placket opening, using the zipper as a guide.

To measure a zipper, measure from the zipper stop (the metal end) to the zipper pull. Close the seam with machine stitching: Start by stitching up to the mark with a regular stitch length and backstitch to secure. Switch to a machine basting stitch for the zipper placket opening, then return to a regular stitch length to complete the seam. The zipper placket should be machine basted.

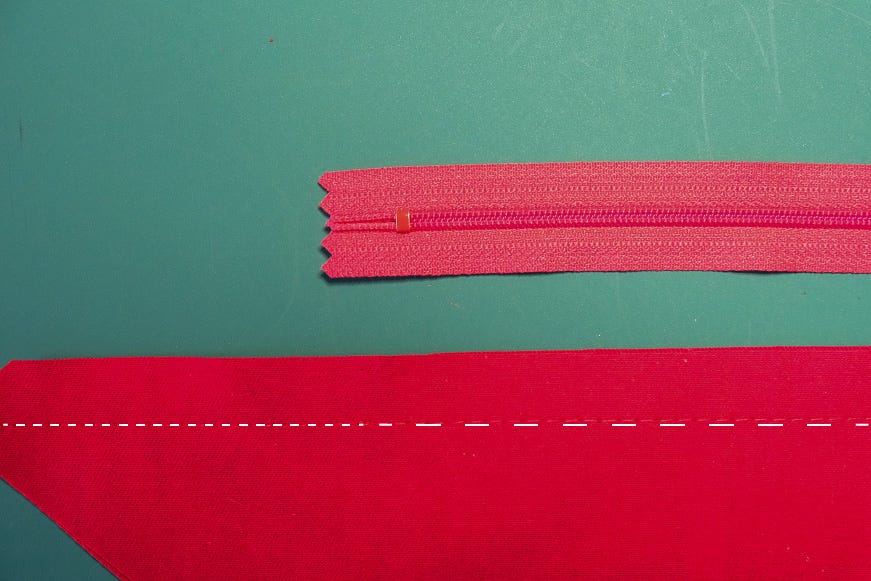
Clip the machine-basted threads at the start and end of the placket. You can also snip just the bobbin thread at intervals of about 1 inch along the placket. This will make removing the basting stitches easier. Press the seam open, and if you'd like, finish the edges with a seam finish that suits your fabric. (More on seam finishes in the section below.)
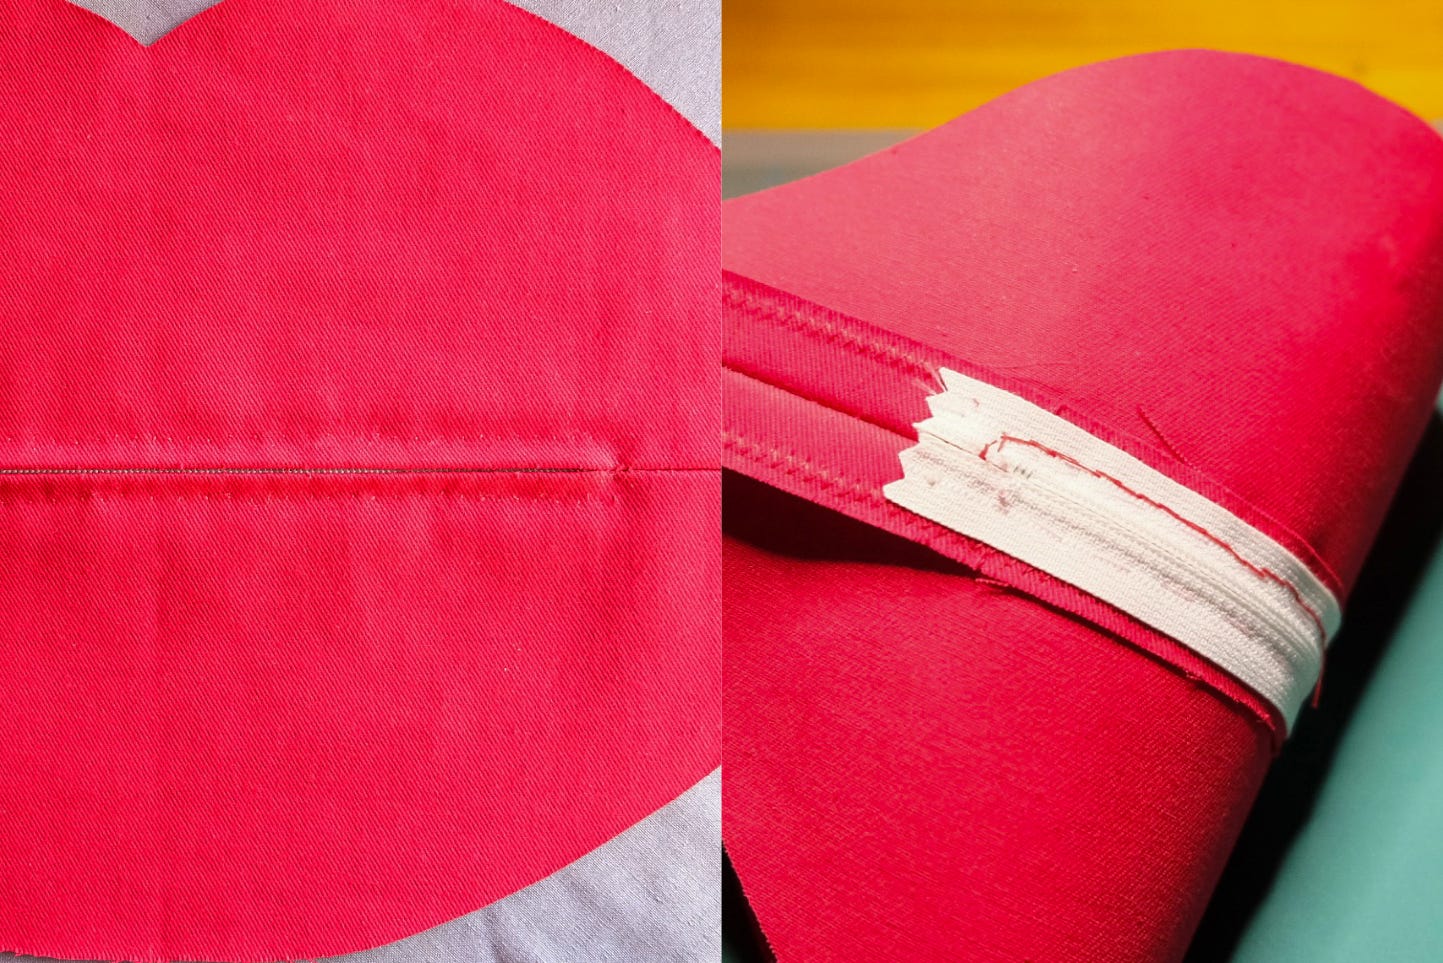
Extend the right-hand seam allowance and position the zipper face down, aligning the top stop with your measured mark and the edge of the opened ladder along the seam line. Pin it in place, then working along along the zipper tape’s stitching guideline, either machine-baste with a zipper foot or hand-baste.

If you look closely, you’ll notice a woven line on the zipper tape that acts as a guideline.
Close the zipper, then extend the remaining seam allowance and machine-baste or hand-baste the unstitched zipper tape along the seam allowance, following the guideline on the tape, and working in the same direction.*
*If you basted left to right in Step 5, then baste left to right again. Always work in the one direction—whether bottom to top, or left to right—to prevent the zipper from distorting the fabric.

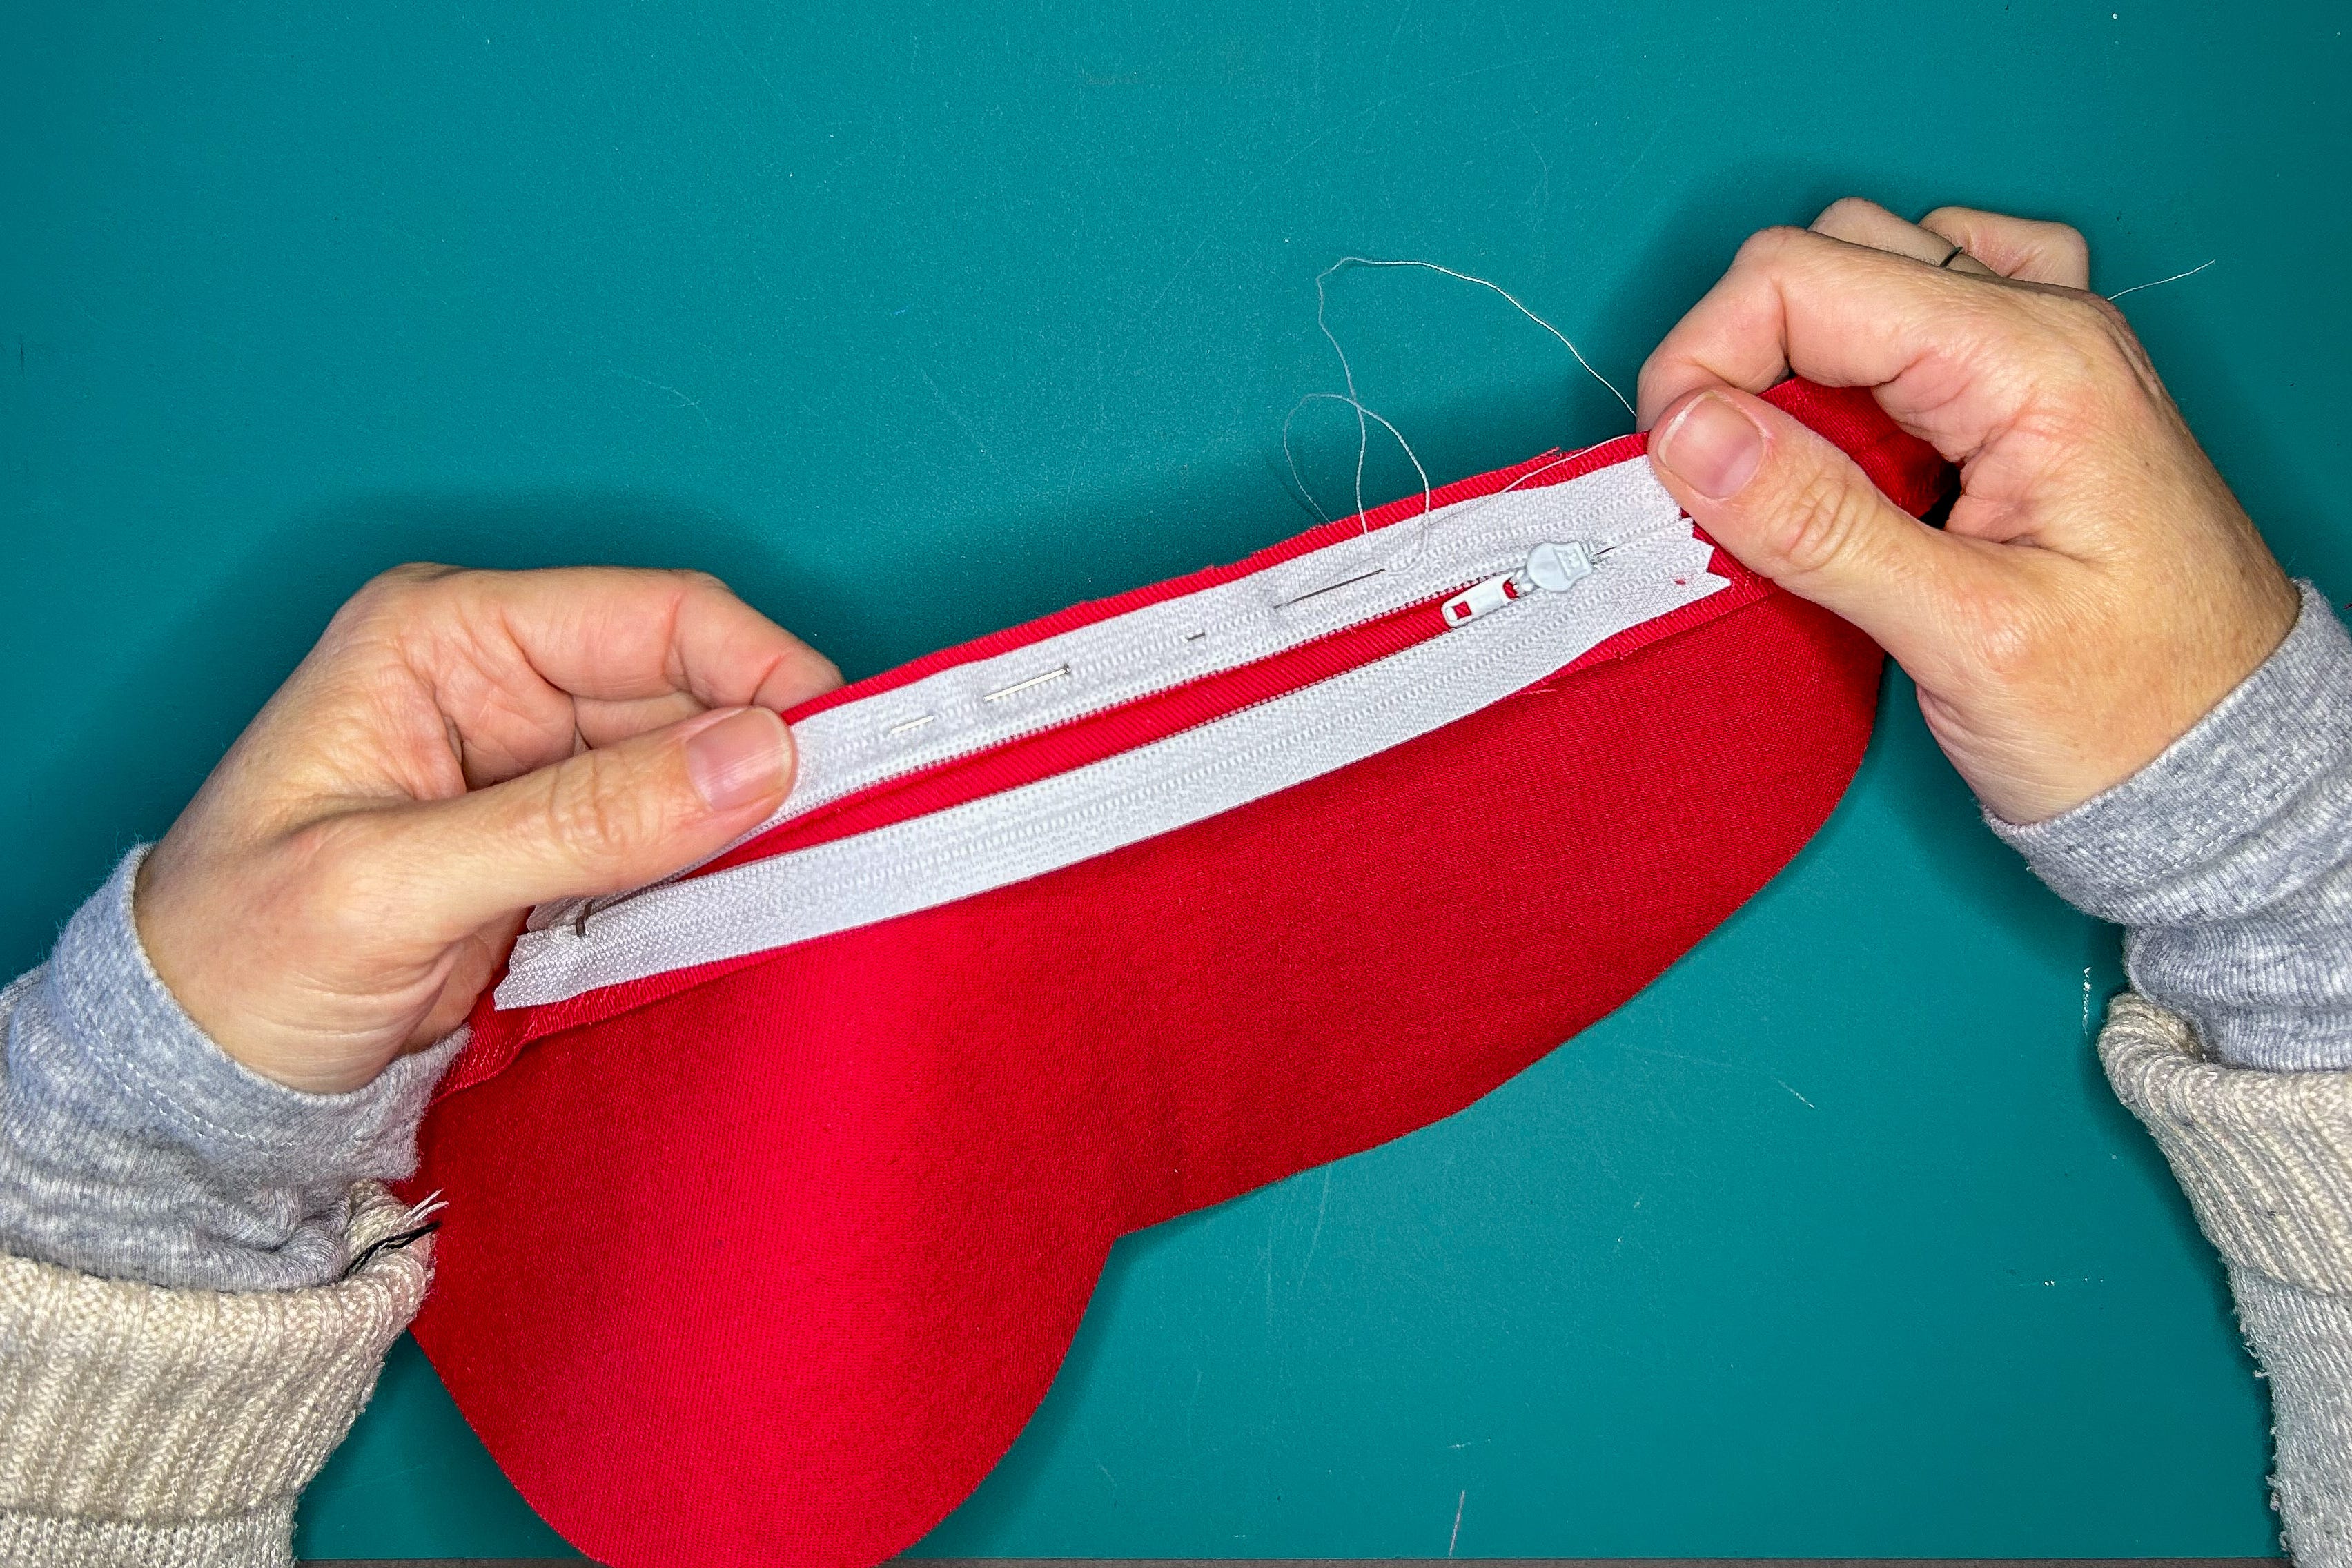
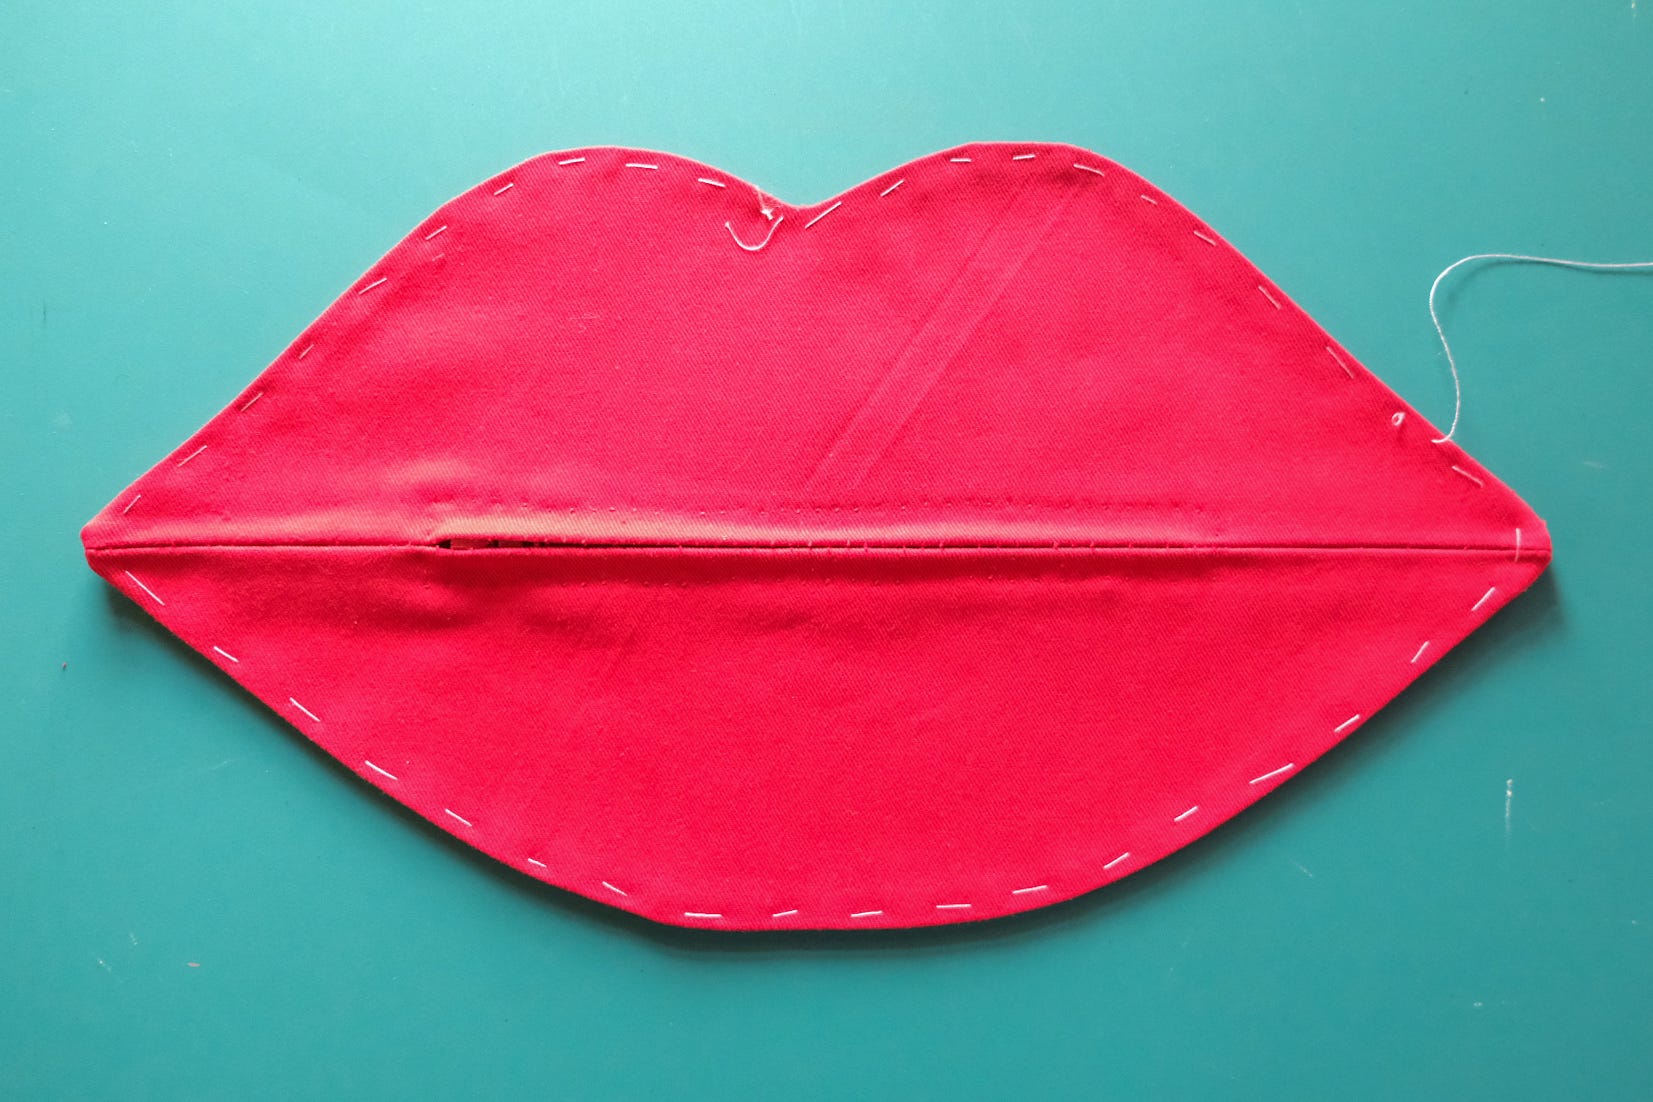
Turn the front right side up and spread it as flat as possible. Hand-baste 1/4 inch from the seamline, catching the seam allowance and zipper tape in basting.
These final two steps can be completed by machine or by hand using a prickstitch.
To topstitch, change to a regular stitch length. Start at the placket end at the center seamline, just outside the basting, and topstitch through all three layers— fabric, seam allowance, and zipper tape. Start by taking two or three stitches up, pivot, stitch along one side, pivot, and end at the center seam. [The topstitching will look like a bracket on its side.]
Position the zipper foot to the other side of the needle and topstitch the remaining side in the same direction, taking the same number of stitches across at the placket ends. Pull thread ends to wrong side and tie, and remove placket basting by opening the placket with a seam ripper.


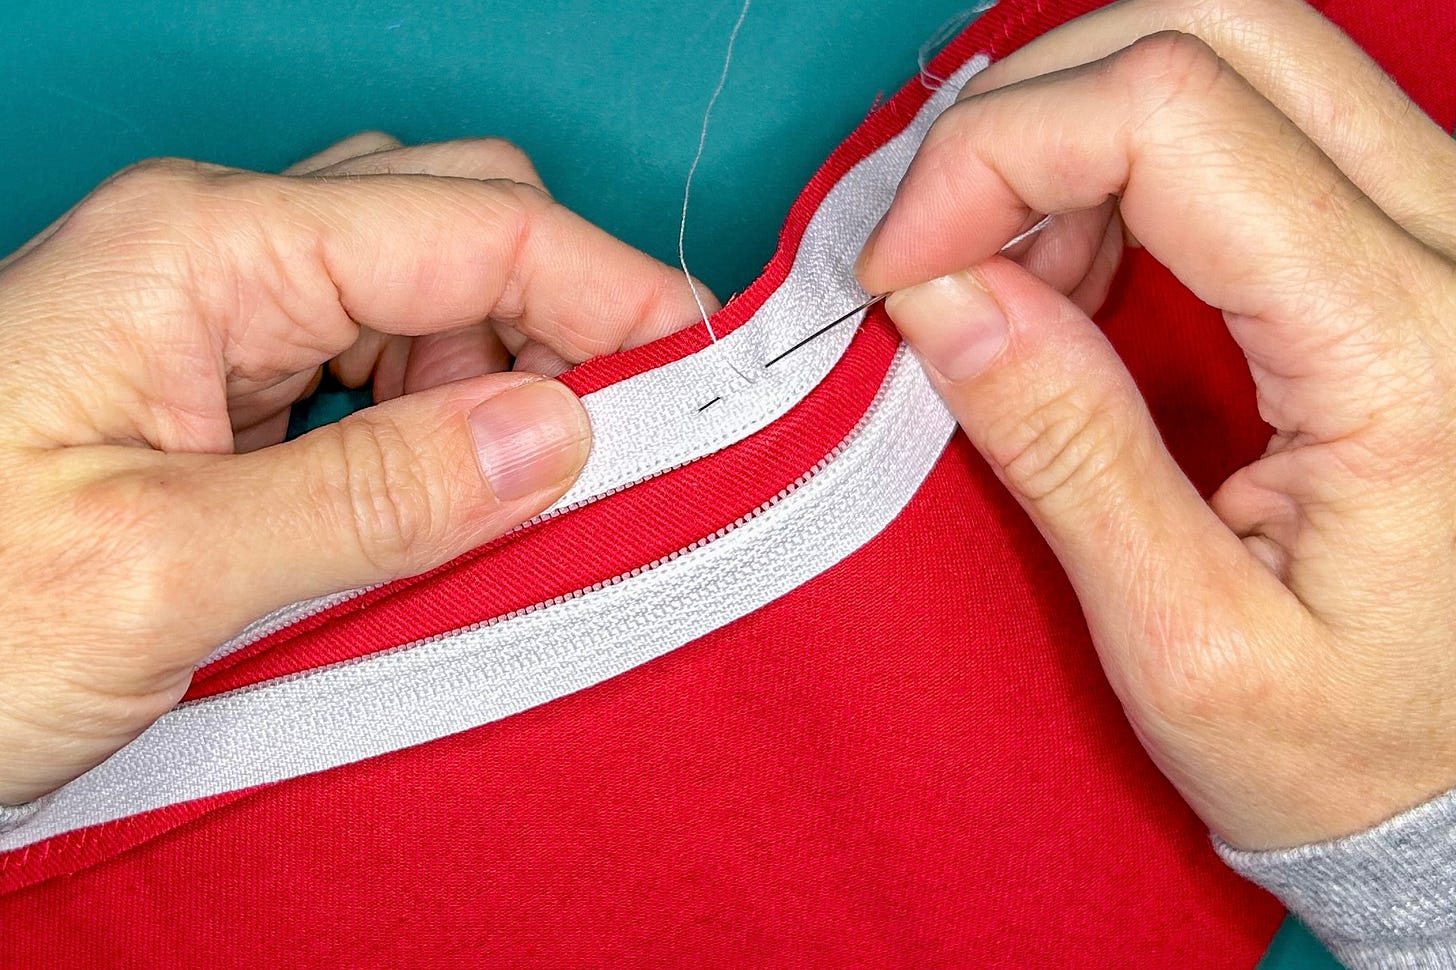
For a hand-finished zipper, do the last two steps by hand. Instead of topstitching, prickstitch in the same location, using a double strand of thread or buttonhole twist.
To prickstitch, knot your thread and pull the needle up through all layers. Insert the needle a few fabric threads behind the exit point, then bring it up again ⅛ to ¼ inch ahead of where the thread emerges.
Tip: Wax your thread with beeswax or Thread Magic to reduce knots and tangles!
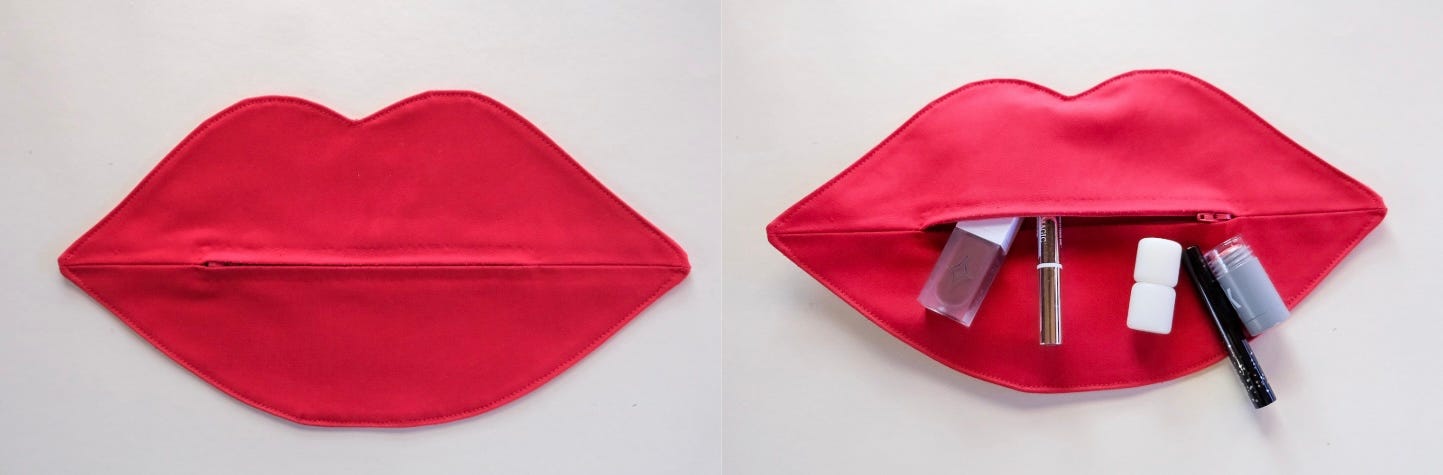
To finish the zip pouch, open the zipper before sewing the front and back together—this makes it much easier to turn the pouch right side out. Trim and clip the seams before turning, and hand baste and press after to create a defined edge.
And lastly, topstitching around the edge will deliver a crisp finish that holds its shape.
Hand-Pick a Zipper with the Prickstitch
A prickstitch is a type of backstitch. Seen from the top side, the stitches are very short, with ⅛ to ¼ inch space between them. This stitch is primarily used to hand-pick a zipper.

Seam Finishes for Woven Fabrics
Before any zipper is sewn, the slot seam should be seam-finished if the fabric will fray. Since I didn’t want these seams too bulky, I went with a simple zigzagged edge.
Here’s a quick rundown of some classic seam finishes that don’t add bulk:
Pinked: Cut along edge of seam allowance with pinking shears. For best results, do not fully open shears or close all the way to the points. It’s a simple and attractive finish but won’t fully prevent fraying on its own.
Stitched-and-pinked: Using a short stitch, place a line of stitching ¼ in from edge of seam allowance, then pink edge. This is a step up from pinking alone, as it helps reduce fraying while keeping a pinked edge.
Hand-overcast: Using a single thread, make overcast stitches along the edge of the seam allowance. Space them ¼ inch apart and about ⅛ inch deep. Keep the tension loose—don’t pull the thread too tight.
Zigzagged: A zigzagged edge is a quick, effective, and one of the best options for fabrics that tend to fray. Set the zigzag stitch to medium width and short length, and test on a scrap to find the right shape. Tip: Don’t trim the edge on a zipper placket—you’ll need the full 5/8-inch seam allowance.
That’s all for now! I have my seam ripper out for next time—and I’m super excited about it. Until then, happy sewing! ~ Jane