


Fabric Scraps, A Leaf Pillow, & Pintucks
From throwaway to throw pillow.

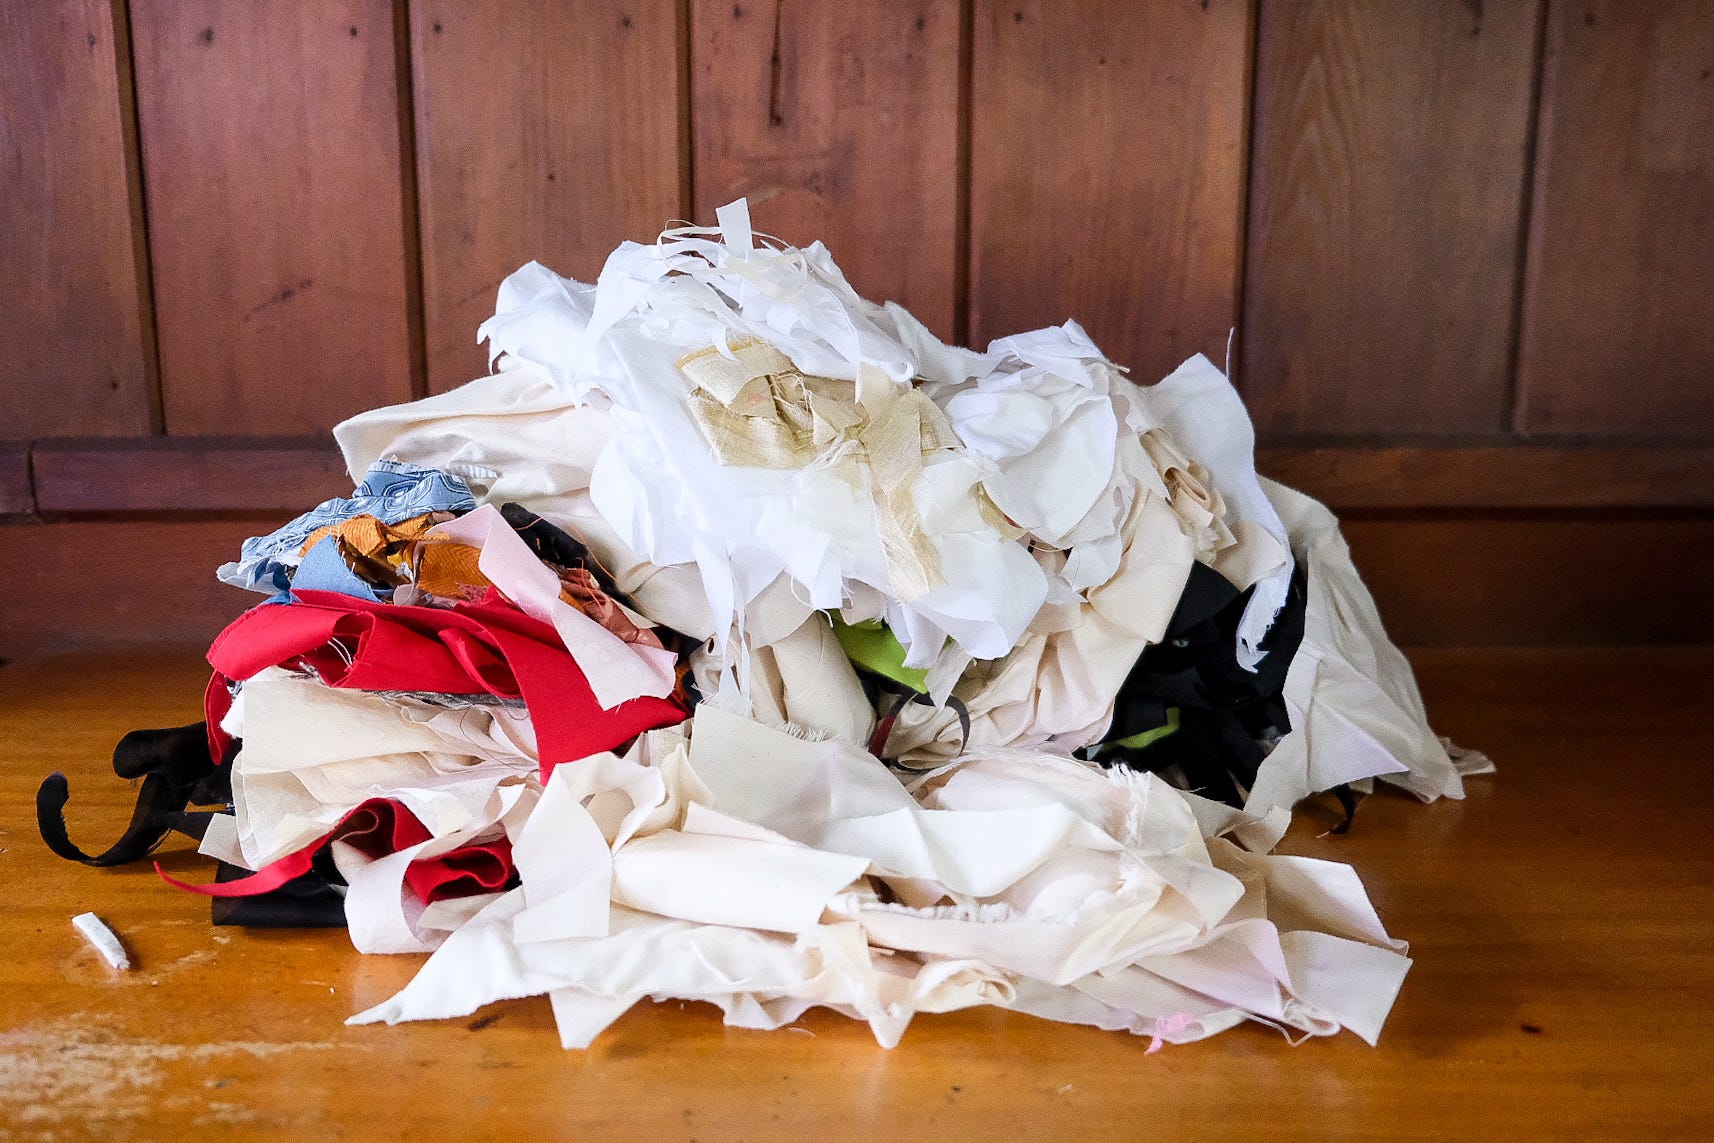
There’s a Japanese saying, If you can wrap three beans in a piece of cloth, then it is big enough to keep.
That’s the spirit behind the paper bag I keep next to my work desk. I fill it with scraps and tiny snippets of fabric that may even be too small to wrap three beans. This time, when it started to overflow, I dumped it out onto my desk and thought, let’s make a leaf pillow!
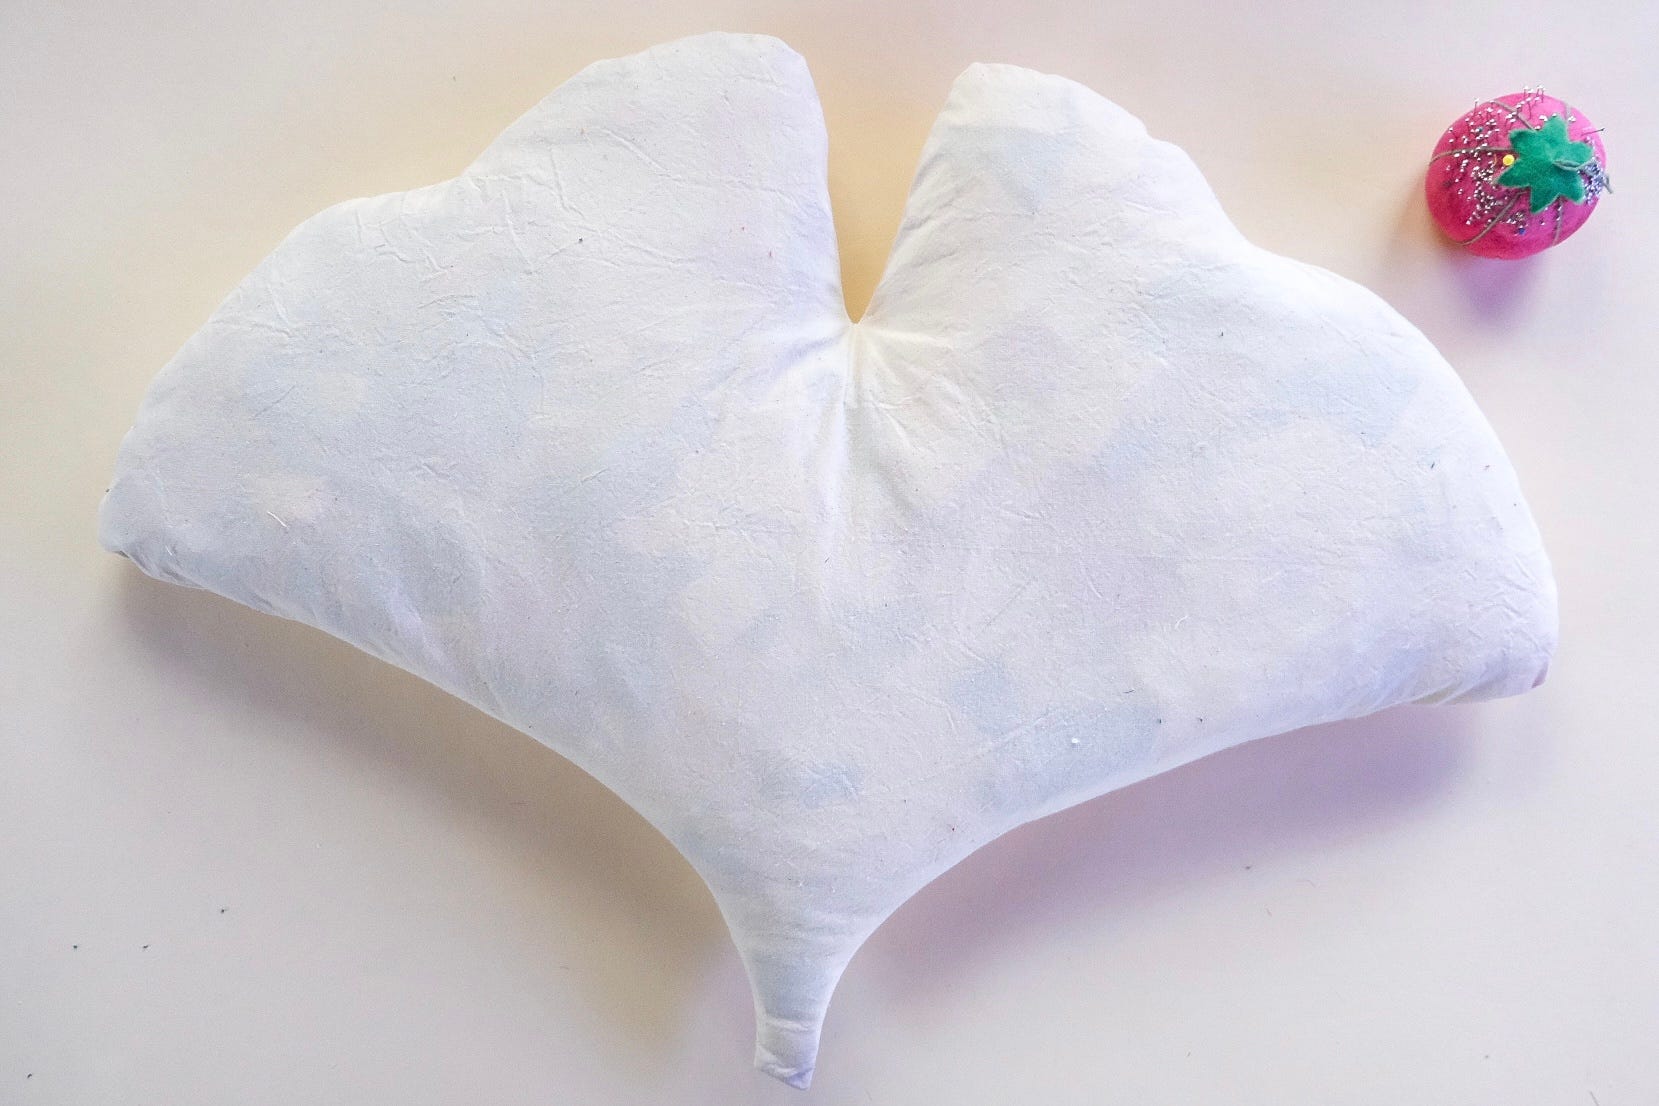
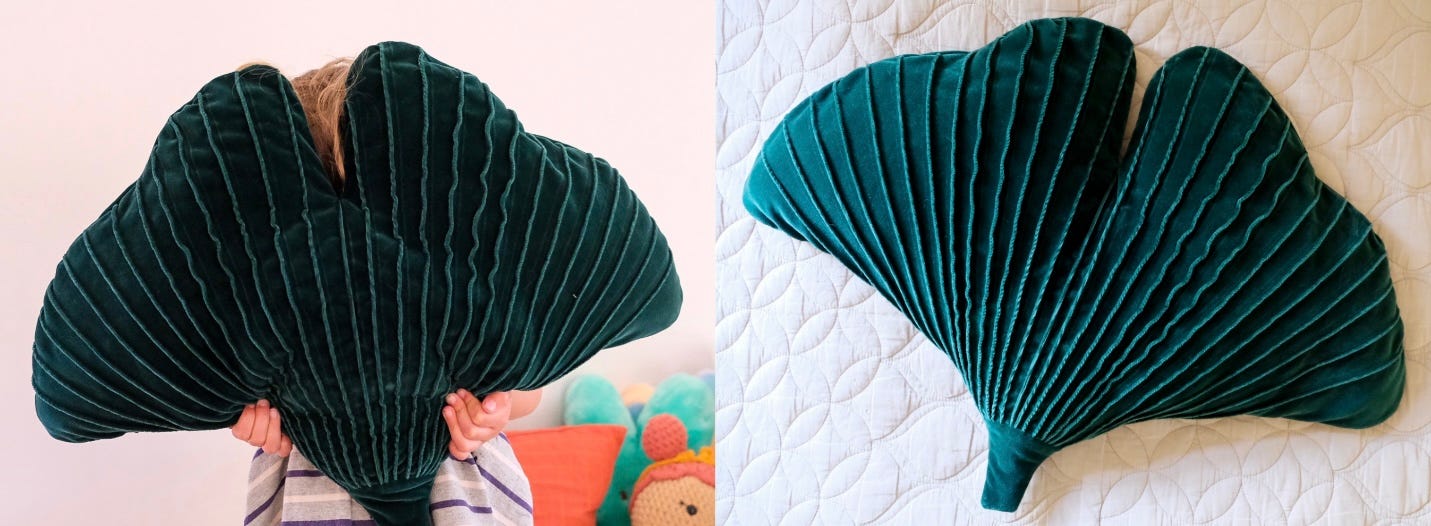
Ginkgo Leaf Pillow
Inspired by the Ginkgo leaf, I decided to make a Ginkgo-shaped pillow with pintucks to echo its natural texture.
What’s a Pintuck?
A tuck is a stitched fold of fabric, most often used decoratively but sometimes for shaping as well. It’s made by bringing two lines of stitching together so that a soft ridge forms along the fold.
The width of a tuck is measured from the fold to the stitching lines—and both the width and spacing can vary. When the tuck is very narrow, it’s called a pintuck.
Making the Pillow
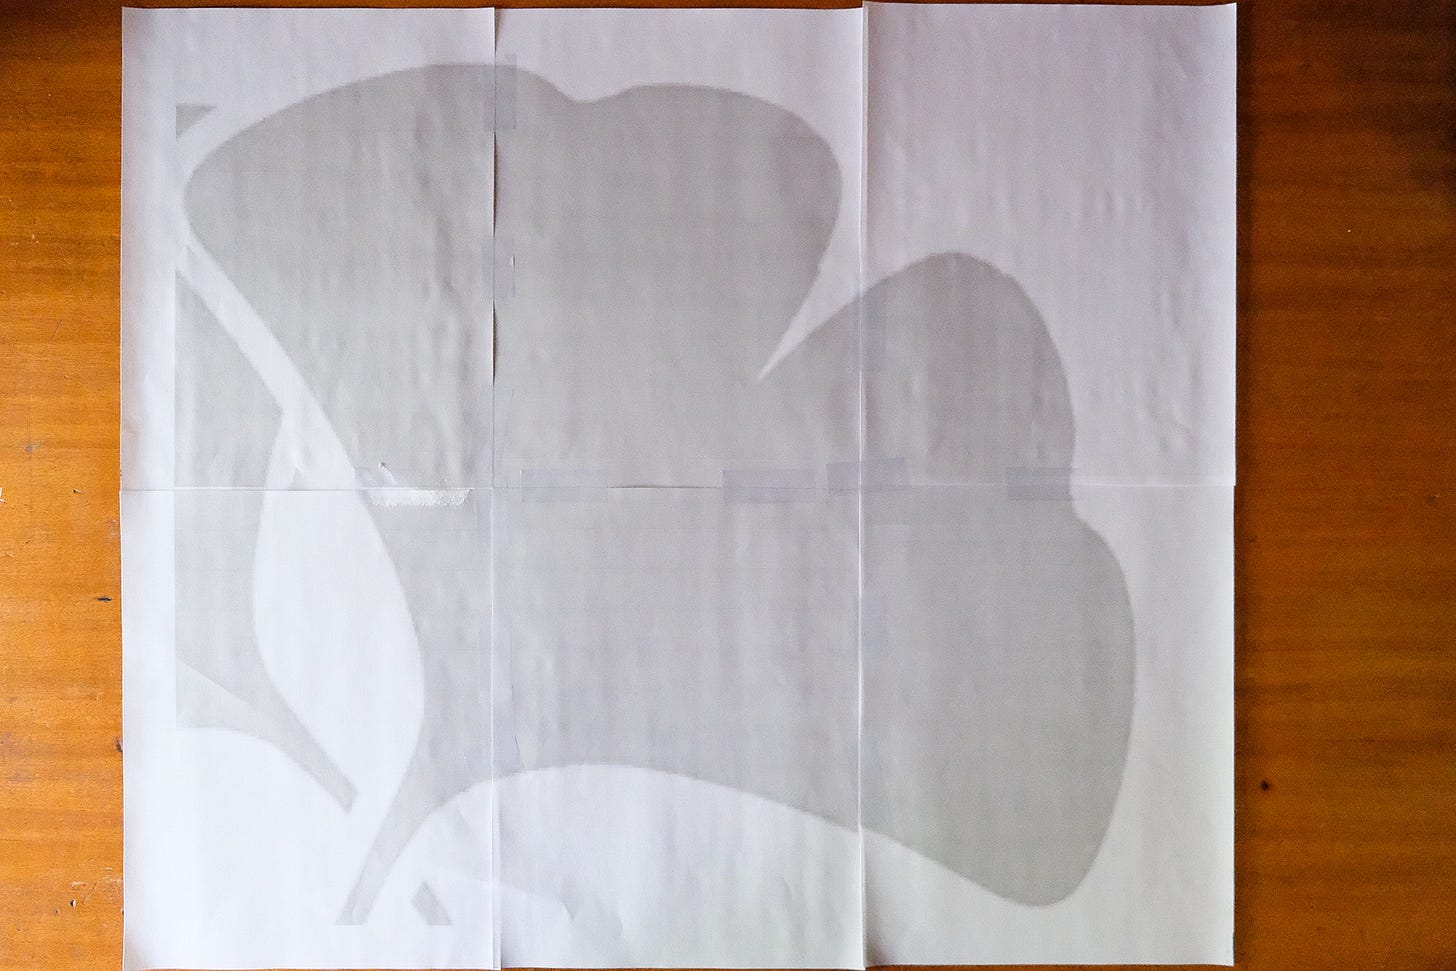
Do you ever have the opposite of creative flow? Last week, my brain felt like it was processing through mud. I was having a hard time picturing the tuck spacing, so I cut and taped to visualize. I probably added more steps than needed. But that’s how it goes: sometimes you’re in the flow, and sometimes you aren’t. So I took it step by step. Here’s how I made the pillow with lots of sewing tips sprinkled in!
I started by finding ginkgo leaf clipart, then scaled it up to create a larger template for the pillow.
Next, I added seam allowances, then cut and sewed a muslin pillow insert. I left an opening to turn it right side out, filled it with the fabric scraps, and whipstitched the gap closed.


Pillows stuffed with scraps will be heavier than a pillow stuffed with fiberfill, batting, or the like. They make great seat pillows!

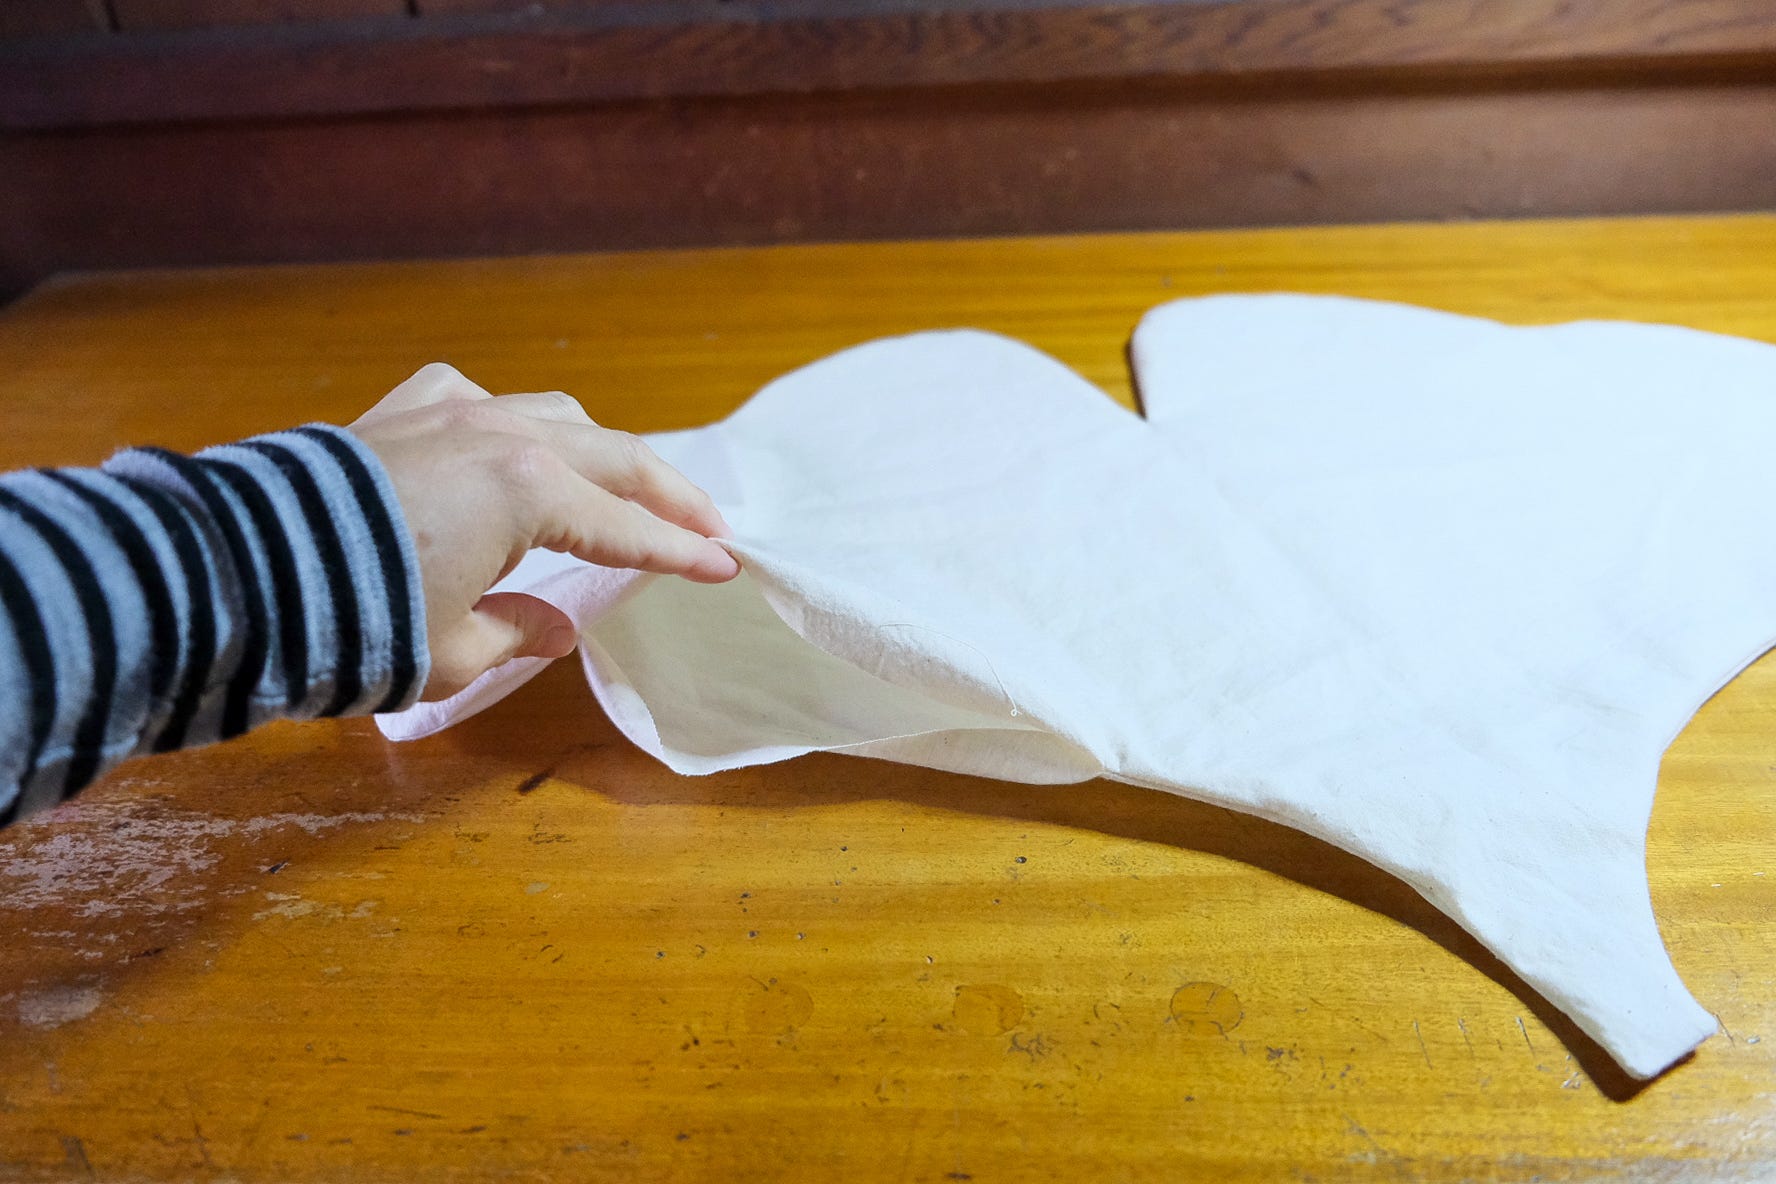
Sewing Tip: If you're working with larger scraps, cut them into smaller pieces. This makes stuffing easier and helps the shape stay more uniform.

Next, I decided how wide I wanted each pintuck to be. Then I doubled that width to figure out the spacing between my stitching lines. Another way to think of this is: the width of the a finished tuck is half the distance between its stitching lines.
Sewing Tip: Make a tuck mockup! Before marking your pattern, sew a sample to test your tuck width and how it works with your fabric. You might find you prefer a narrower or wider tuck once you see it stitched. It’s also a great way to check how your fabric handles pintucks, especially if you’ll be sewing them off grain like I did.
Before making any changes to the leaf pattern, I traced a duplicate to use as the back piece.
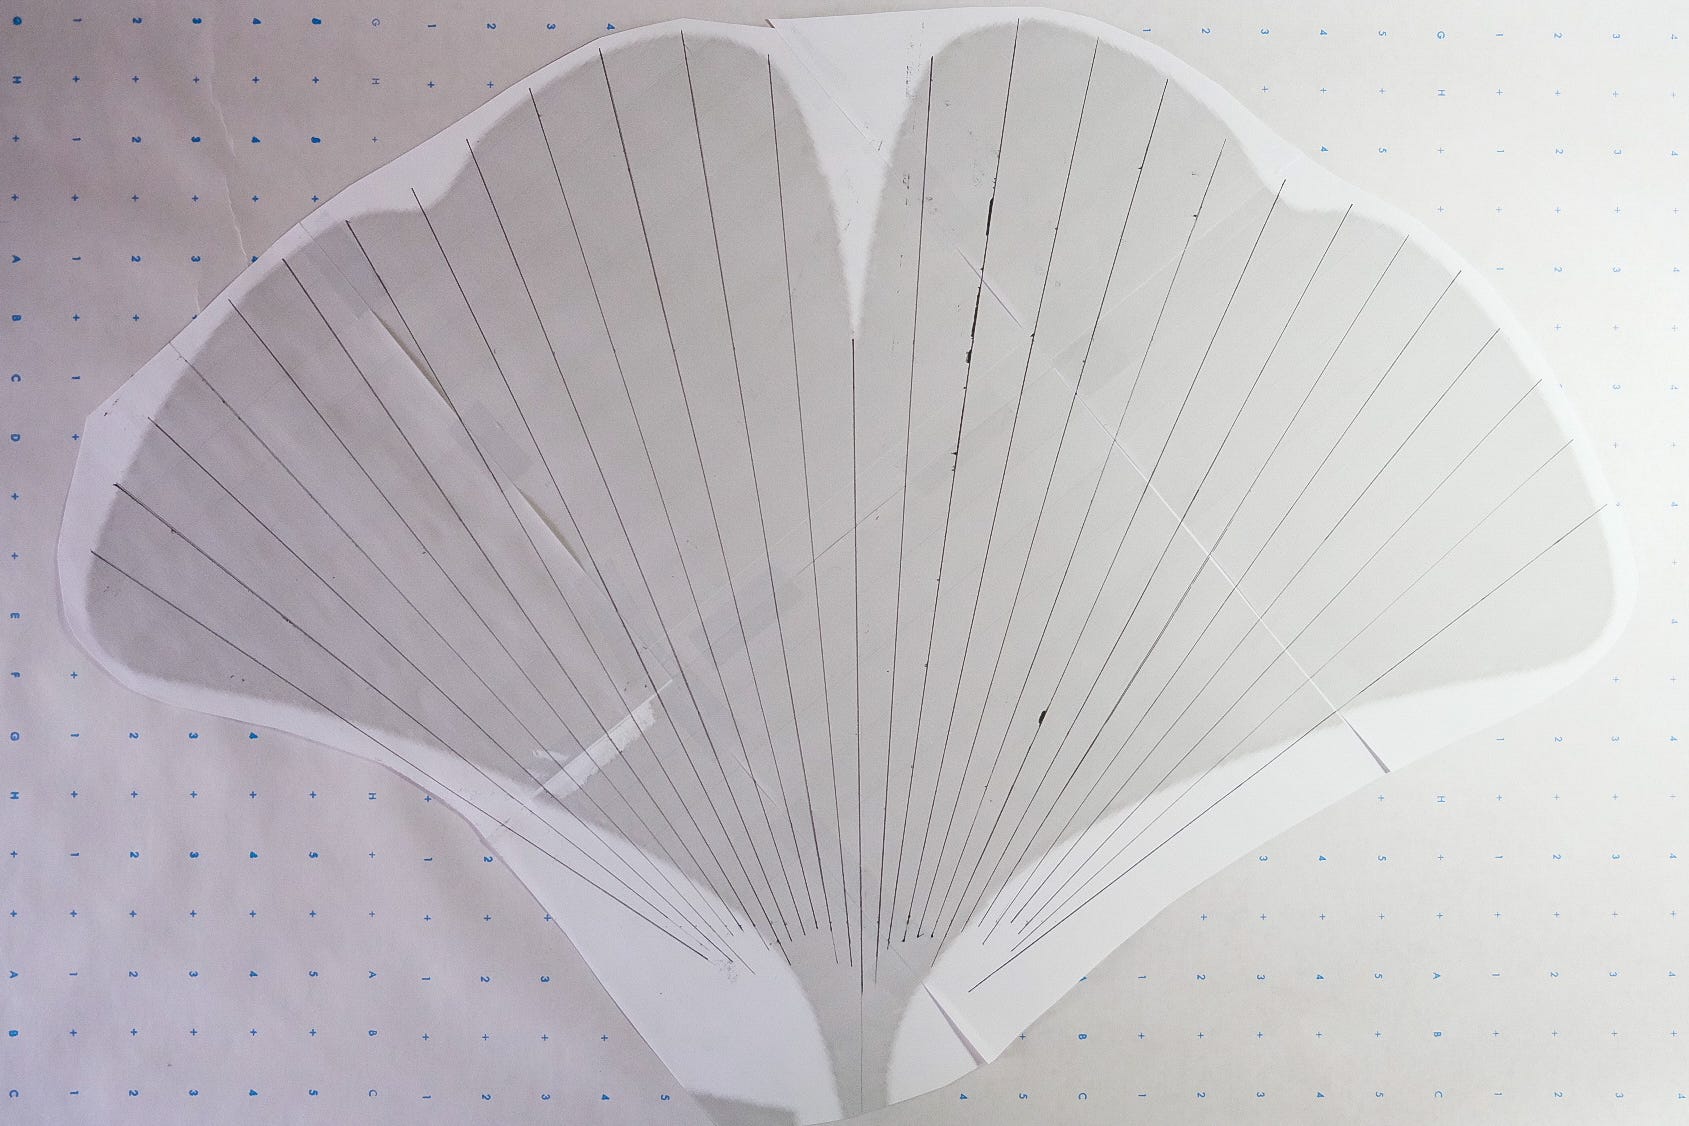
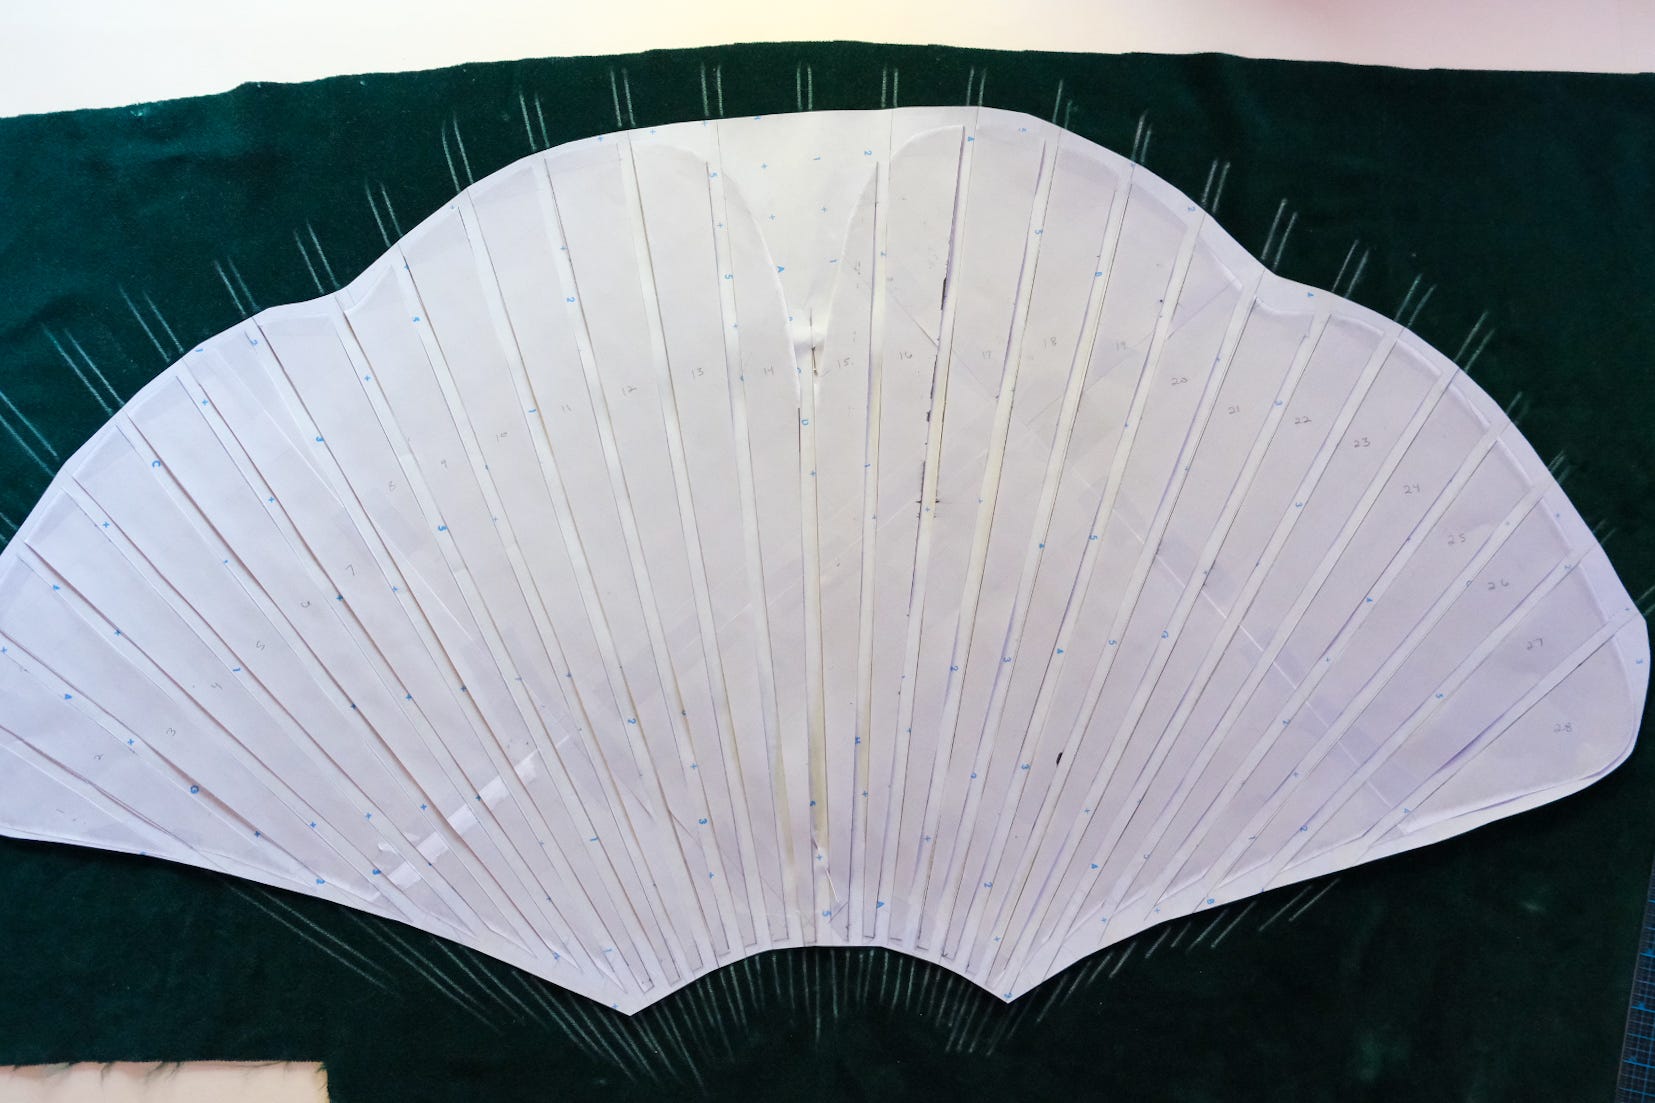
On the front, I mapped out my tuck placement and added the spacing between each one. Pintucks are often (but not always!) sewn along a lengthwise grain, but I wanted mine to radiate, mimicking the natural lines of a leaf.
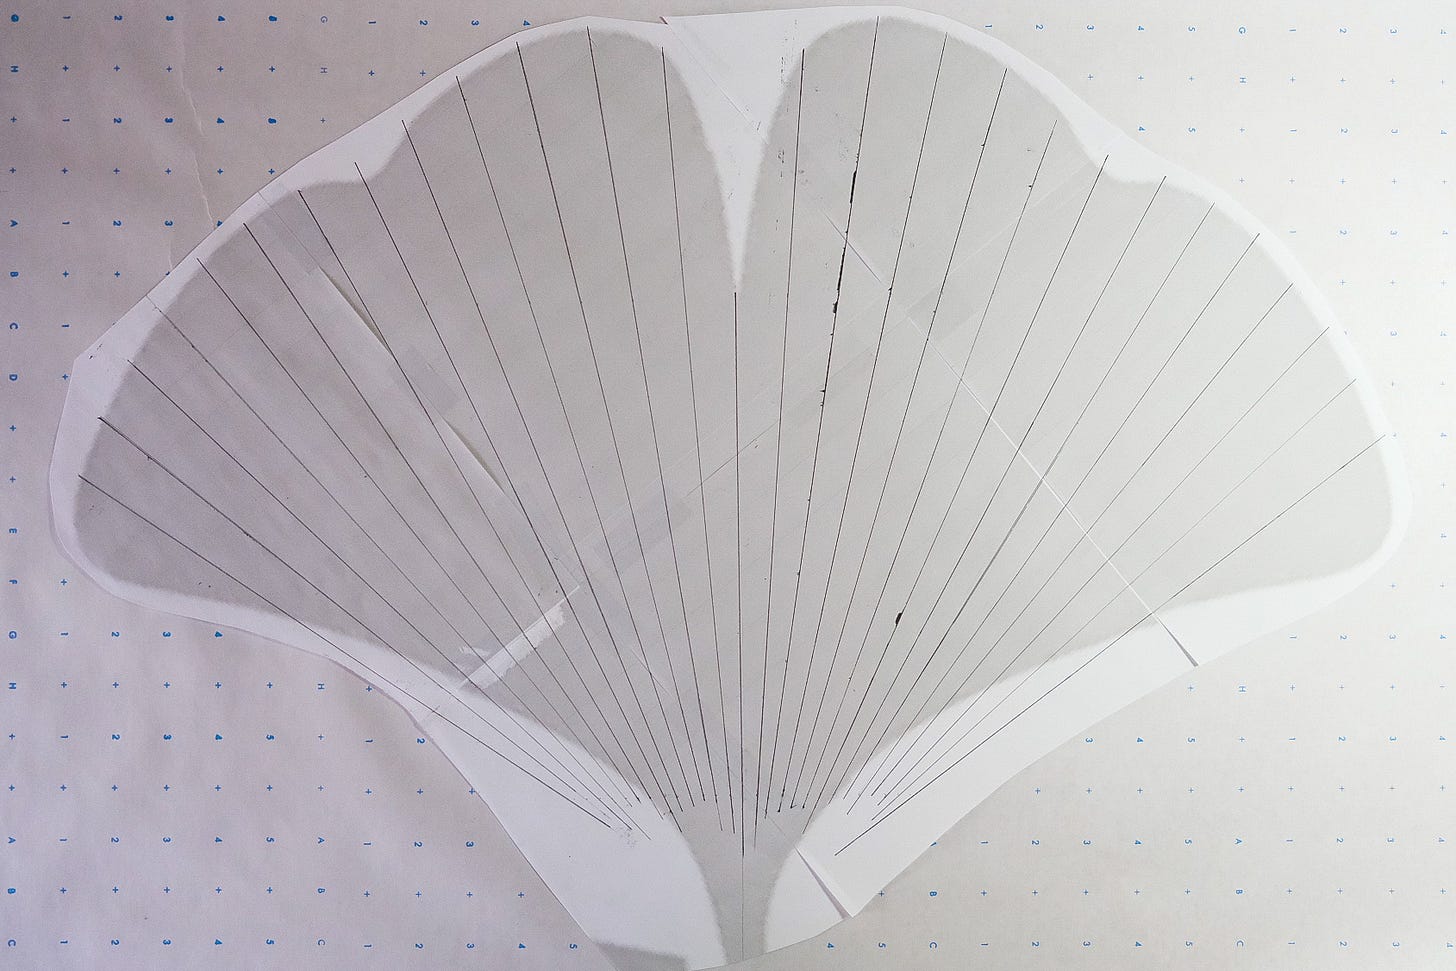
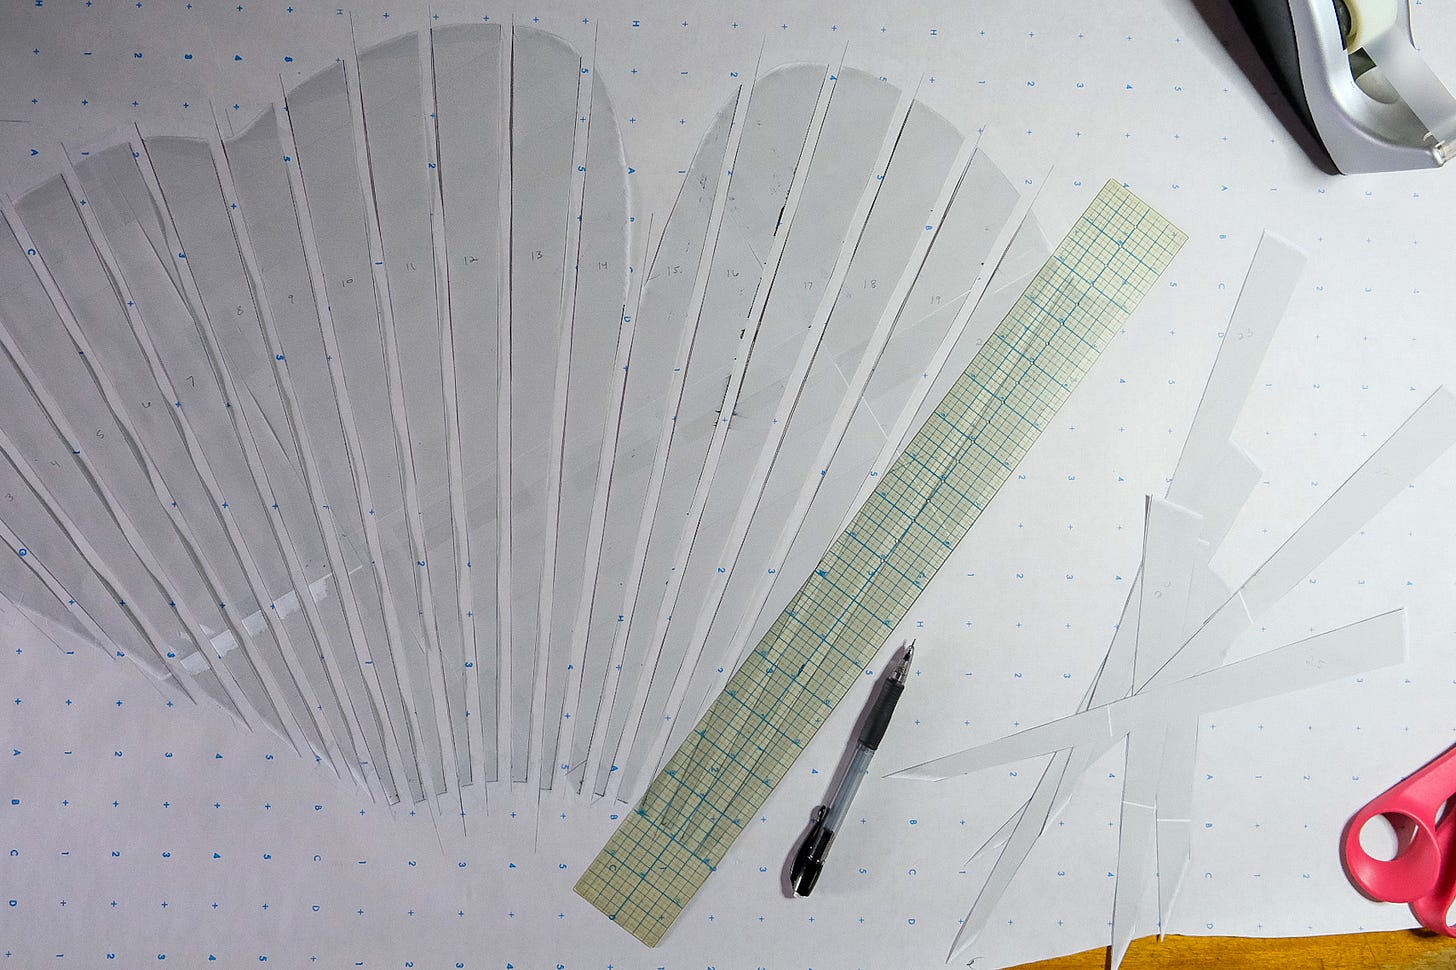
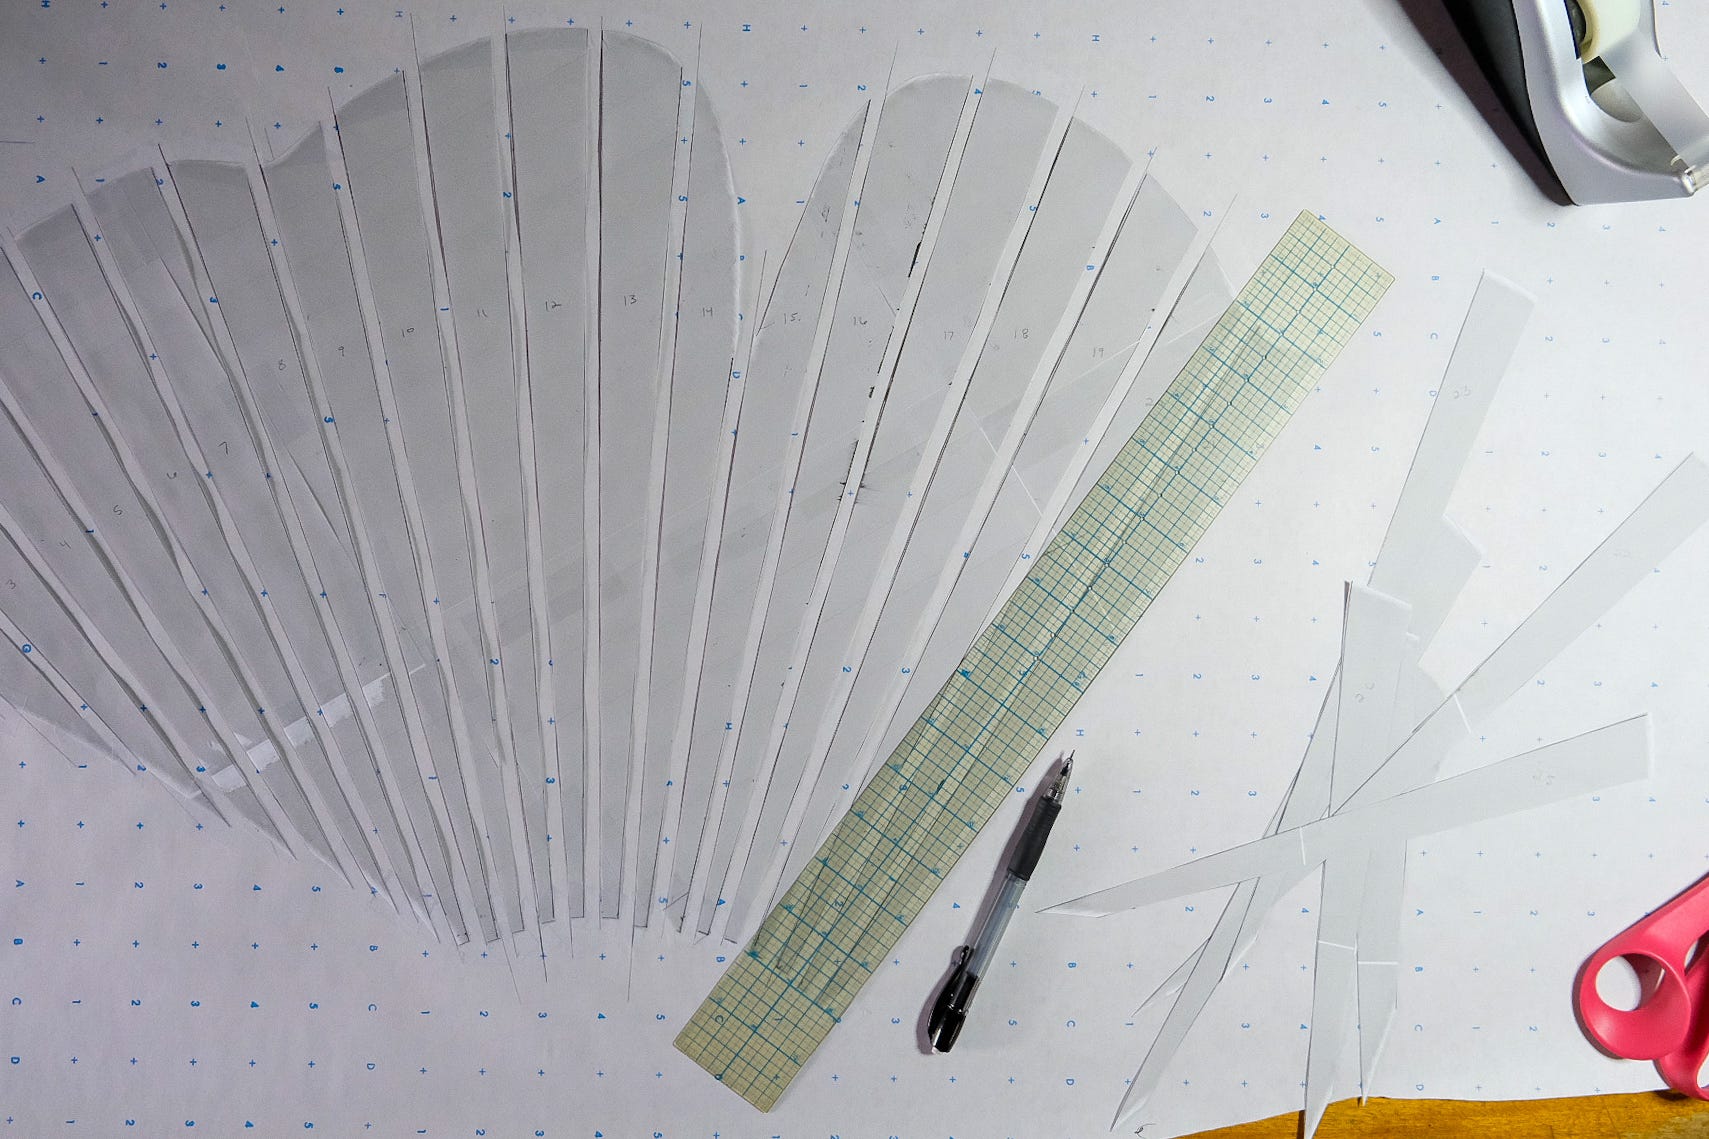
To create tuck sewing lines, I used the slash-and-spread method. (Kind of like pattern grading!)
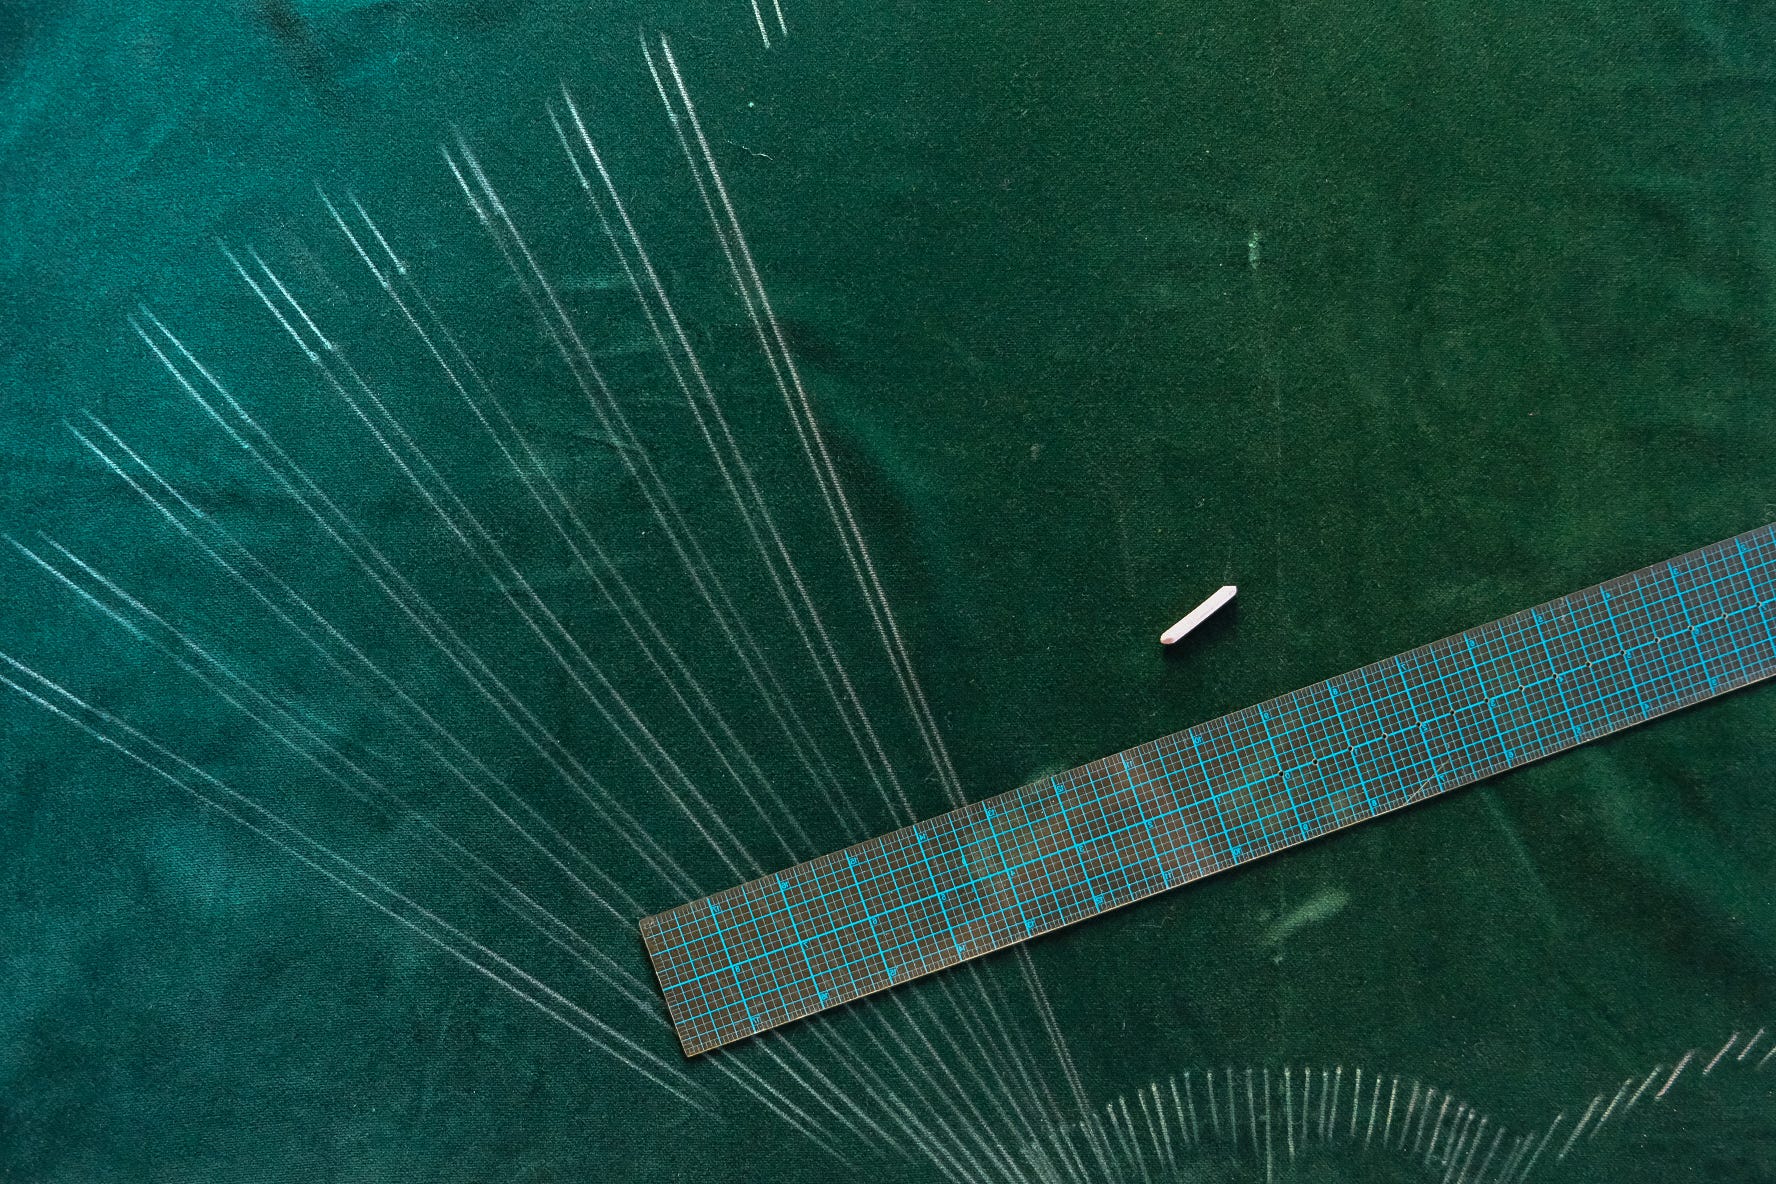
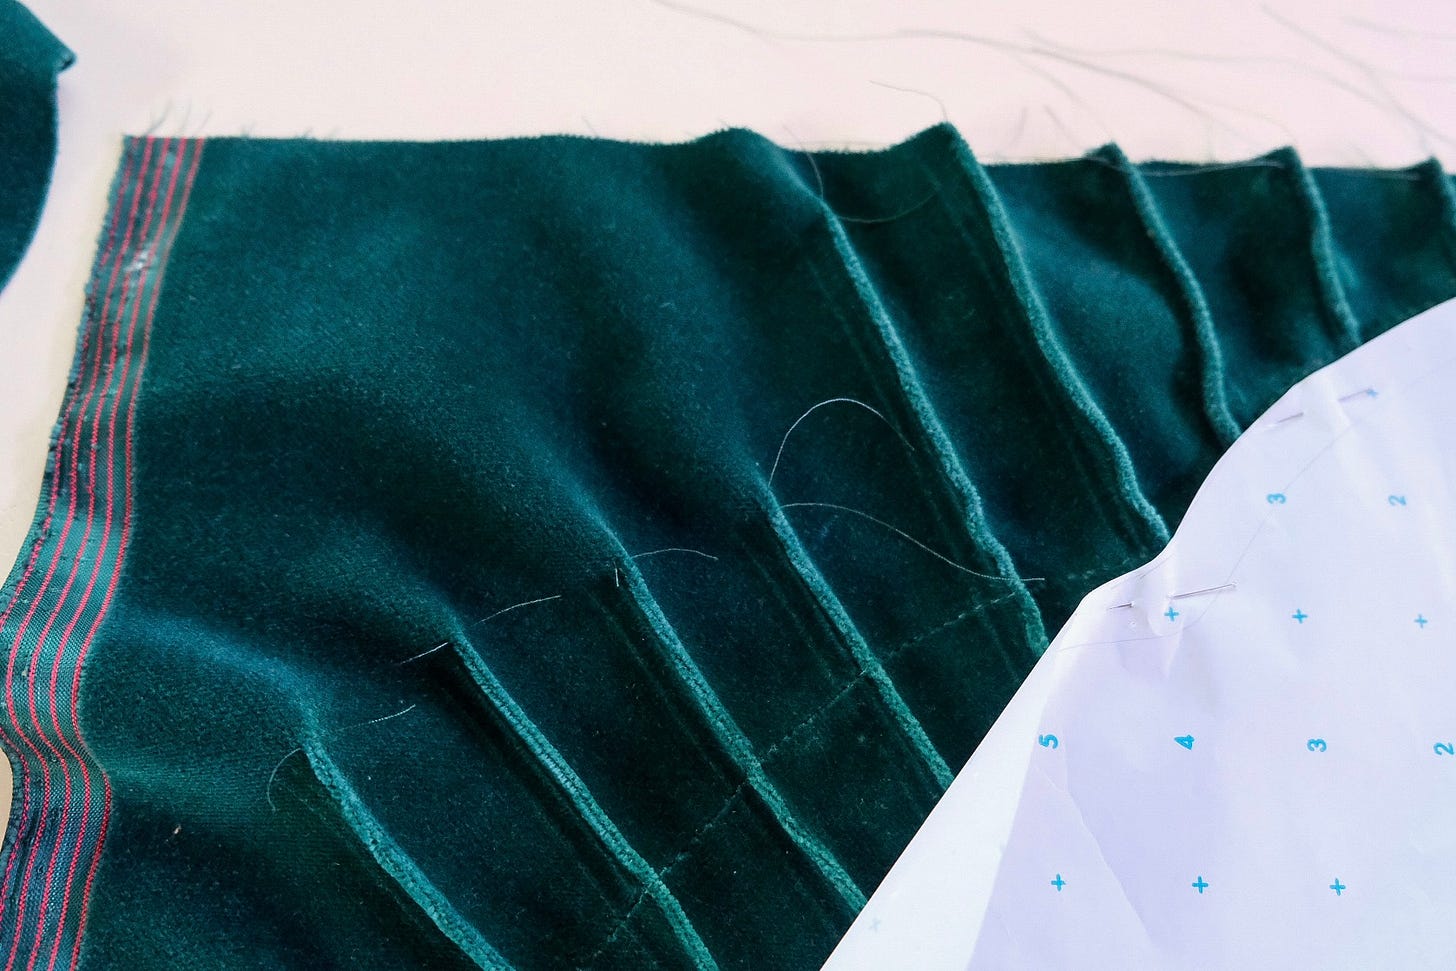
Then I transferred the stitch lines to my velvet, cutting generously beyond the pattern edges to give myself some wiggle room after pintucking. I used chalk to extend the stitch marks, then connected them to create clear stitching guides.

Since tracing paper didn’t work well on velvet, I used tailor’s chalk to mark my lines. It’s not going to be exact, but it’ll be close, and that’s what I’m going for.

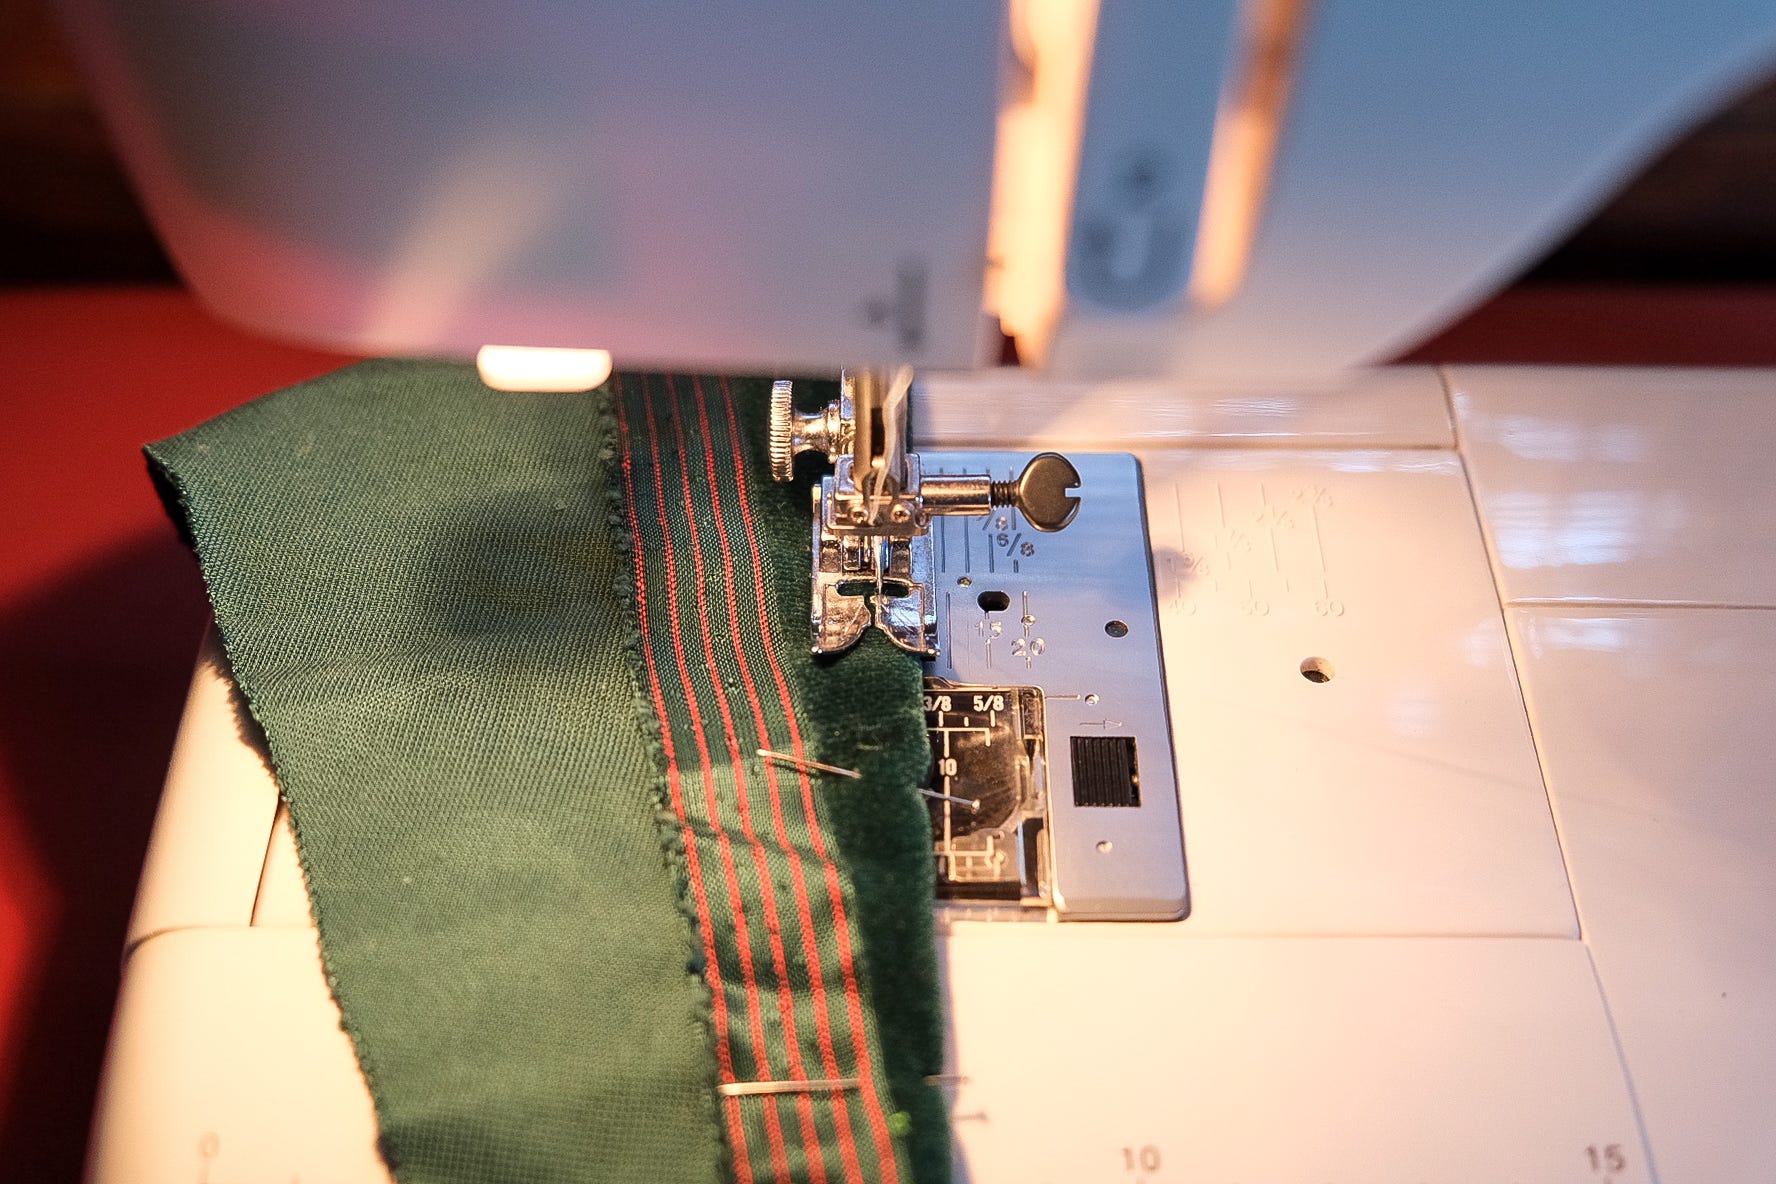
Next, I stitched the center tuck, then worked my way out—left, right, left, right, and so on.


Sewing Tip: The edge or indentations of your presser foot are helpful guides are for stitching narrow tucks.
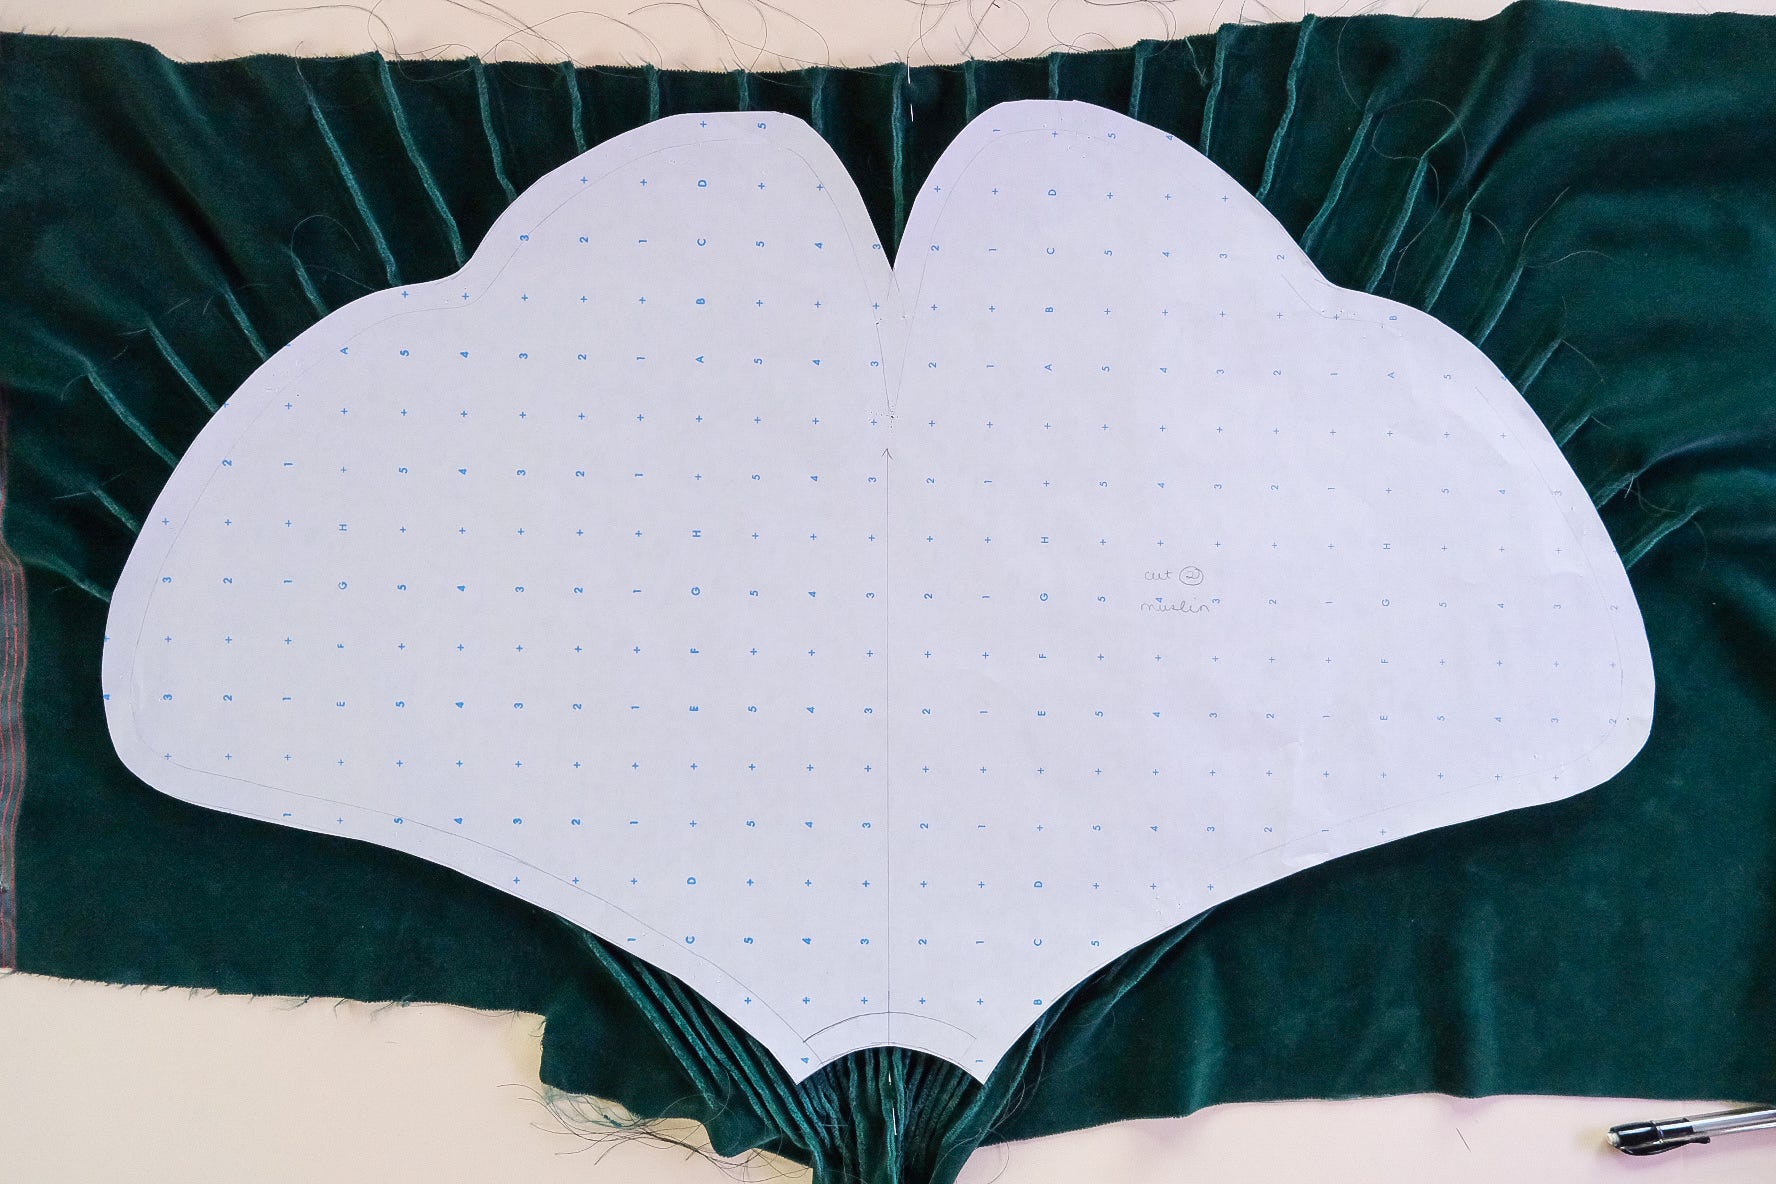
To wrap it up, I cut the pattern from the pintucked velvet, sewed the pillow, and left an opening to slip it over the muslin insert before whipstitching it closed.
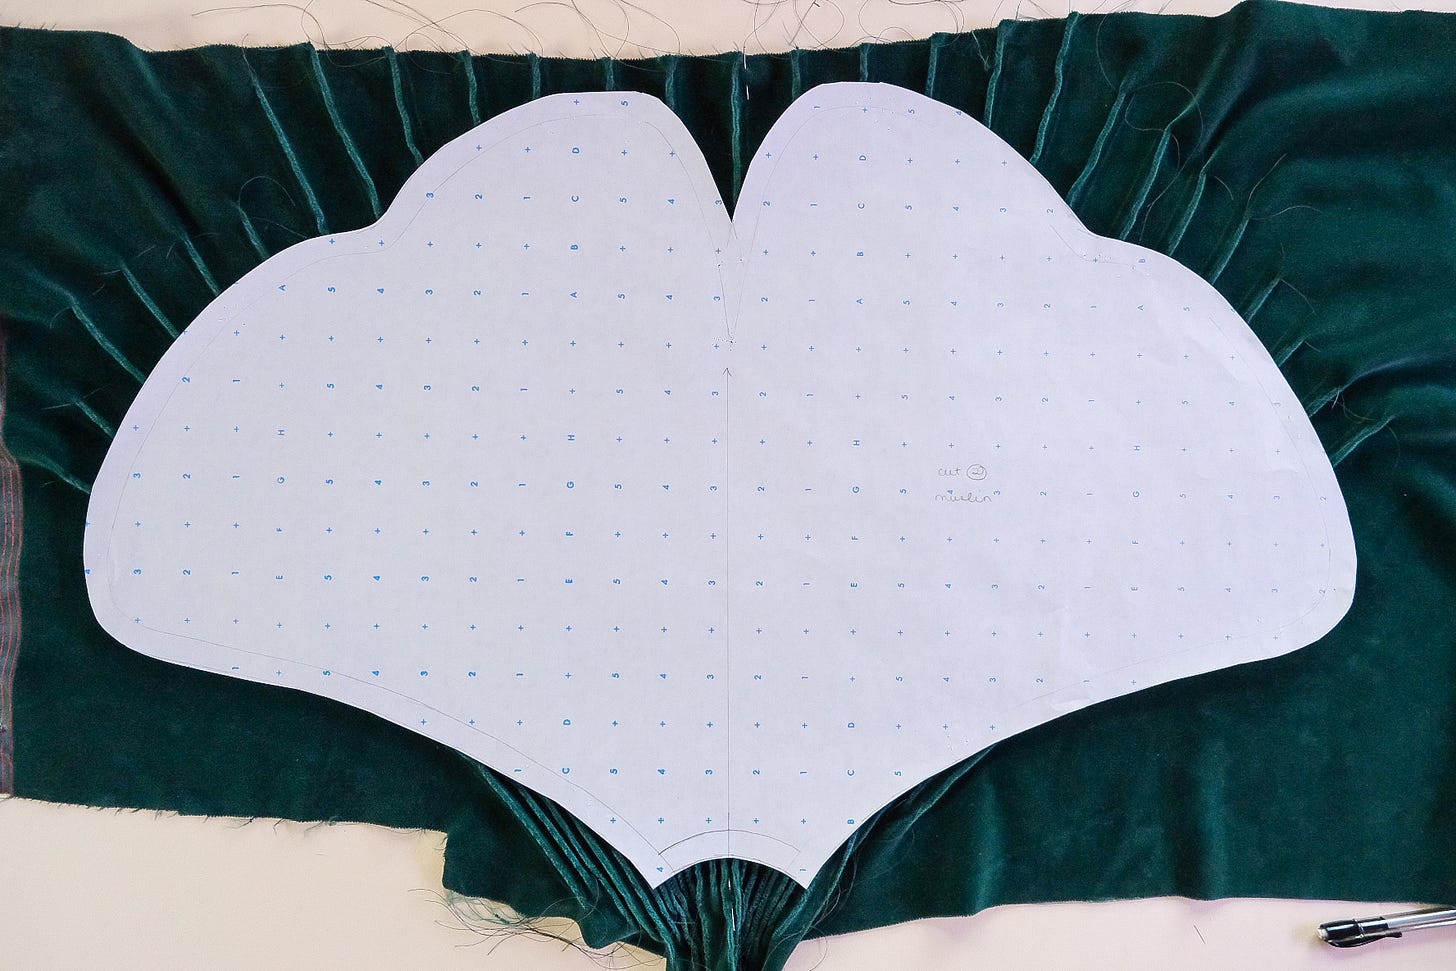
Before cutting, I ran a quick machine basting around the pinned paper pattern to hold the pintucks in place.

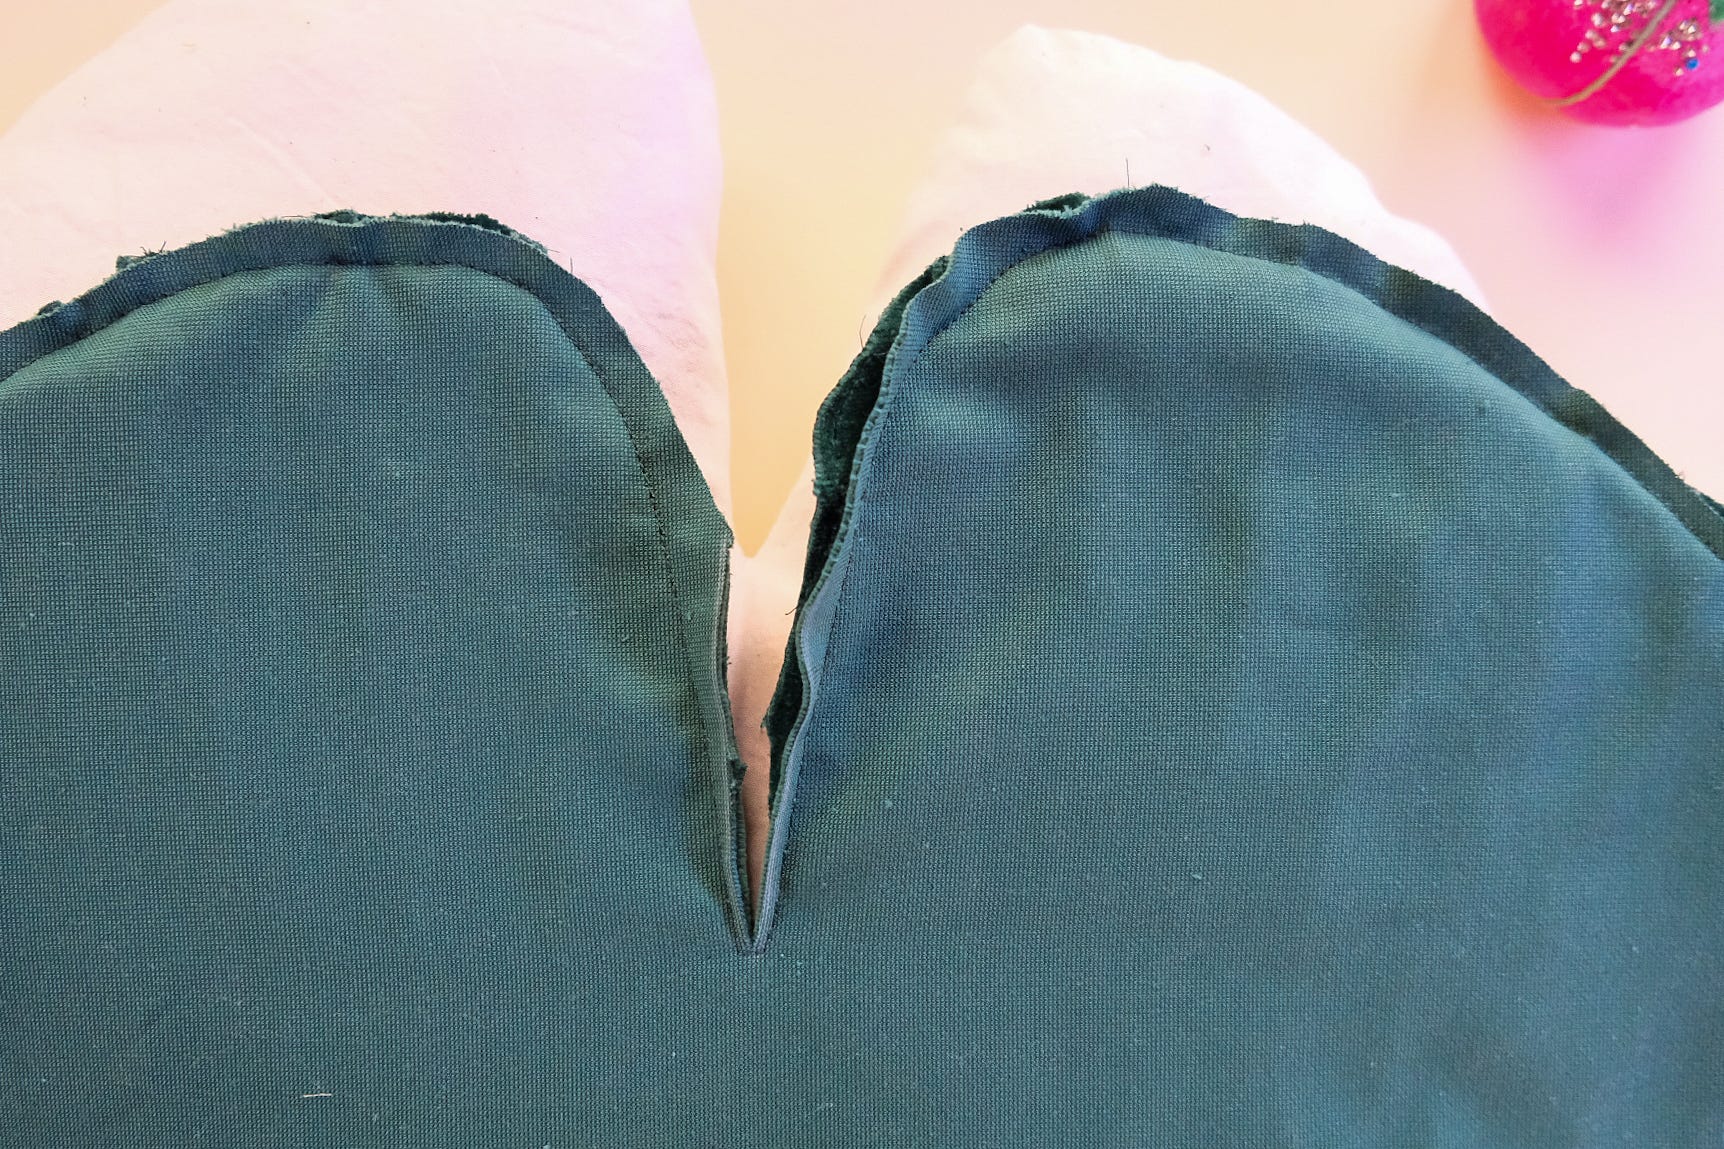
Sewing Tip: Snip all the way to the inner point so the fabric lies flat and doesn’t pucker when turned right side out.
Lastly, if you find yourself sewing pintucks often or just want to explore them more, you might want to pick up a dedicated pintuck presser foot and a matching double needle attachment.
A new pillow for lounging and daydreaming!
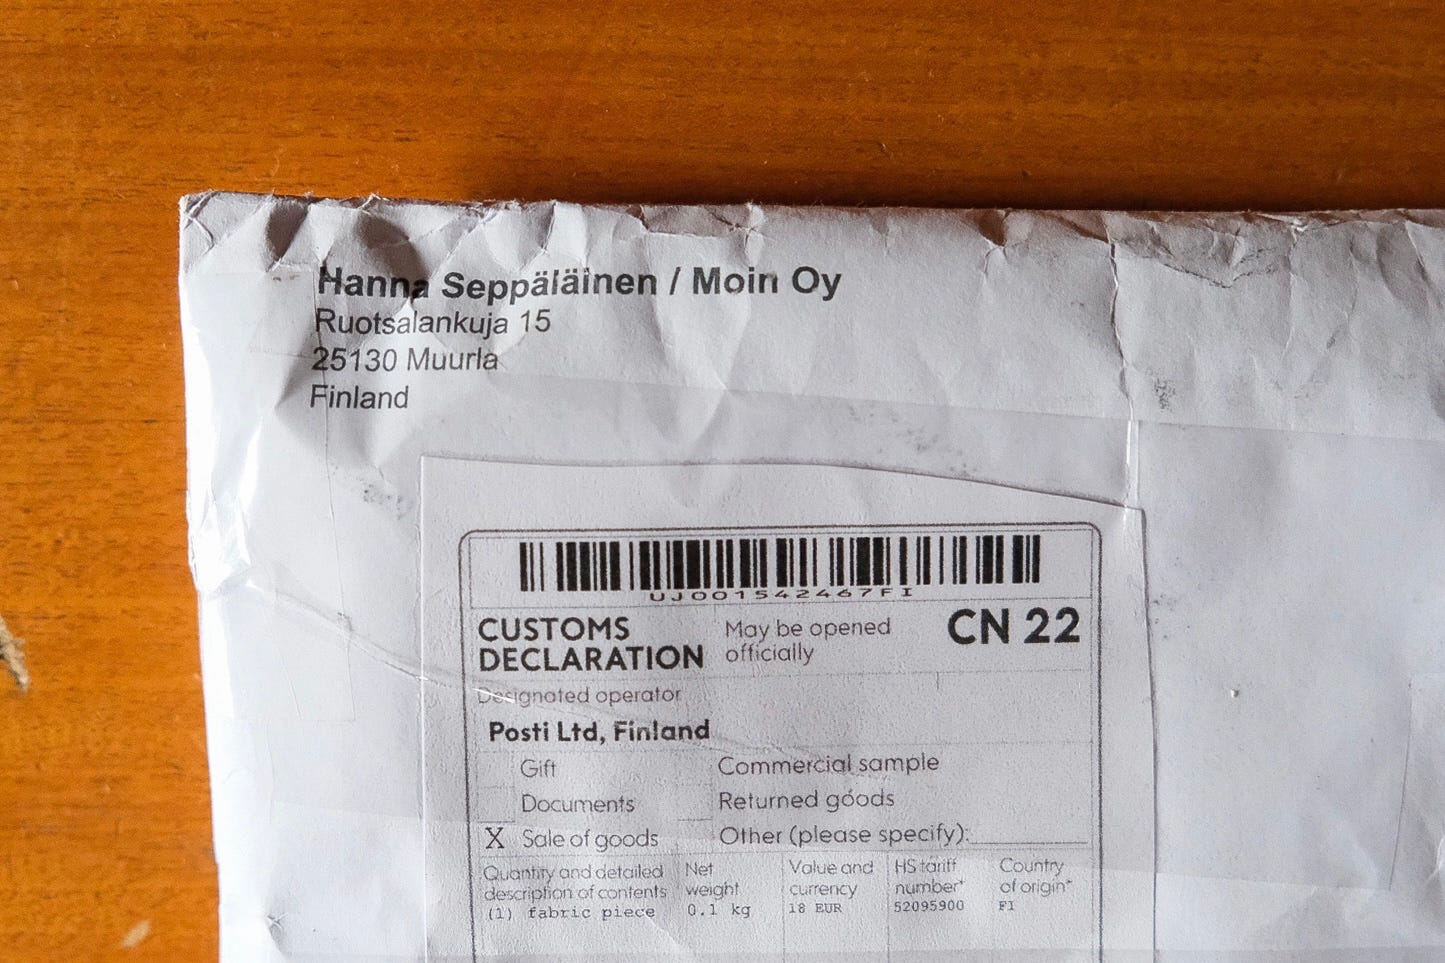
Also! A special delivery from Finland arrived for my next letter.
Any guesses what kind of vintage fabric remnant this might be?? Drop a guess in the comments or reply to this email!
Here’s to a week of soft fabrics, small joys, and a spark of inspiration. Thank you for reading, and happy sewing!
~ Jane
Excellent work! Love that pillow. Were the pintucks about 1/4 inch finished width? Sometimes, working through a writer’s block or creative block ends in the best way.
Luv Luv Luv it!