

Locker Loops
What are they? And how to sew a loop with self-filled tubing.

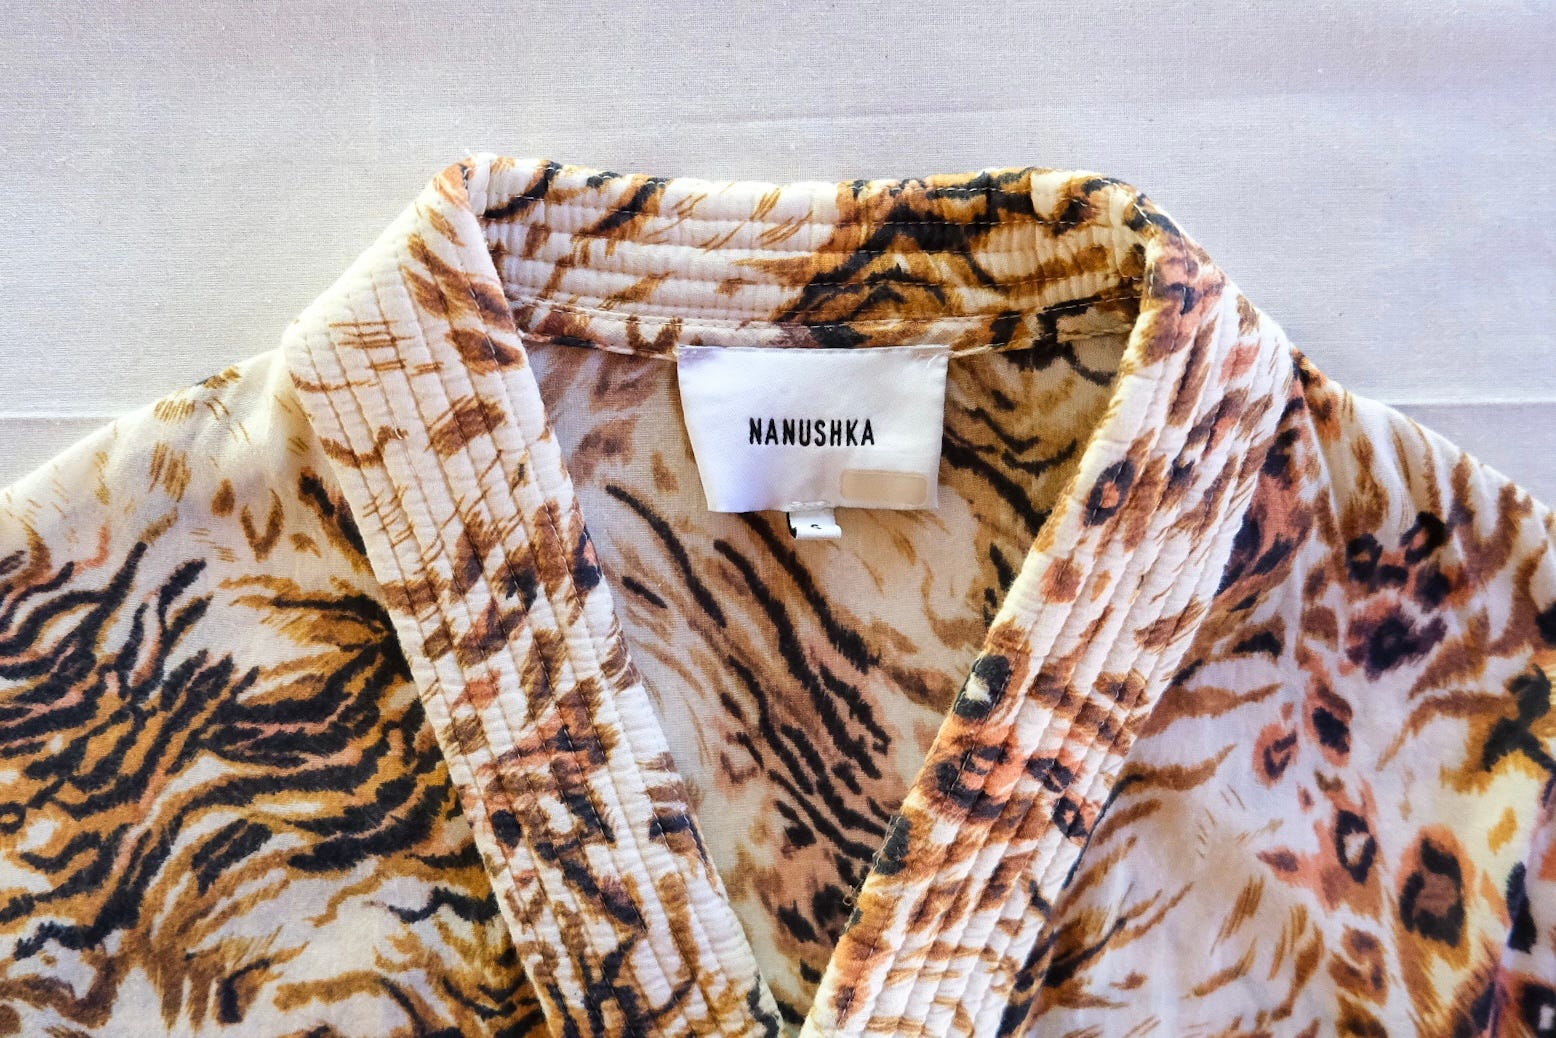
Sometimes one project naturally leads into the next. While working on the jacket from my last letter, I noticed it had a hanger loop sewn into the neckline, and it reminded me that I’ve been meaning to add one to a robe to make it easier to hang. So here we are, starting with: what’s that loop actually called?
When it’s on the outside of the garment, it’s most commonly called a locker loop.
One source I read shared that these loops started with naval sailors’s uniforms. There wasn’t much space for their uniforms on a ship, and loops were included so they could be hung from a hook. Later in the 1960s, GANT added what became known as a locker loop to their dress shirts so they could be hung in lockers without getting wrinkled.
According to the story, soon after students used the loops to communicate their relationship status. If a shirt’s loop was missing, it meant that person was dating someone. “Particularly enthusiastic partners” would rip the loop off spontaneously.
And I love this: For people who wanted to have a loop without ruining a shirt, one mail-order company offered to send extra loops to hand out when you by a shirt from them.
Some trends are impossible to predict.
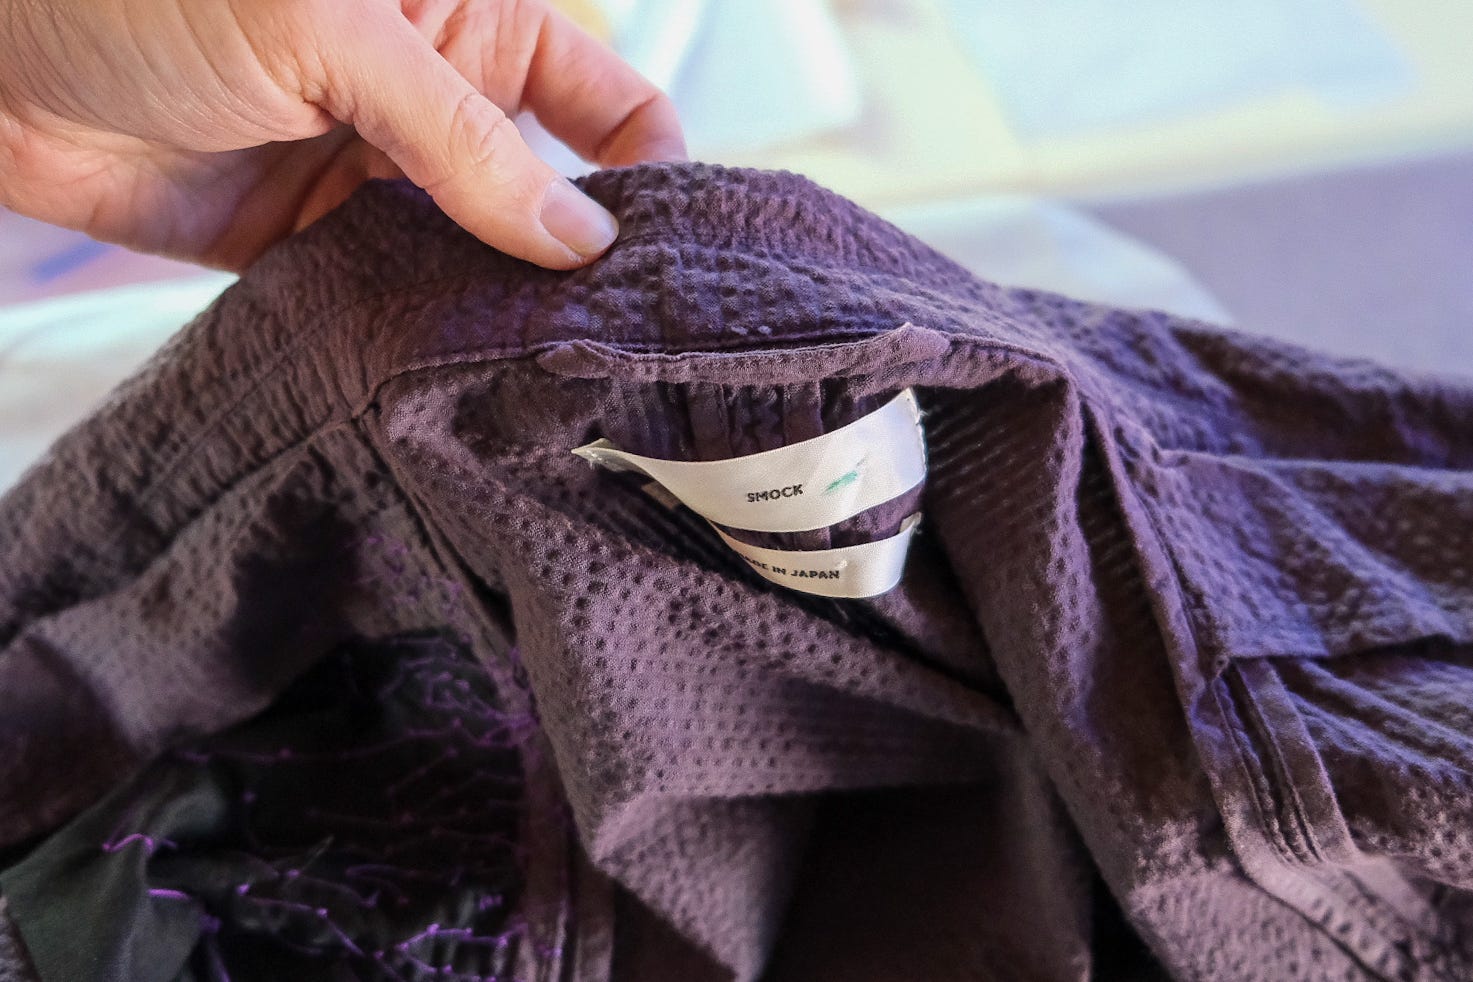
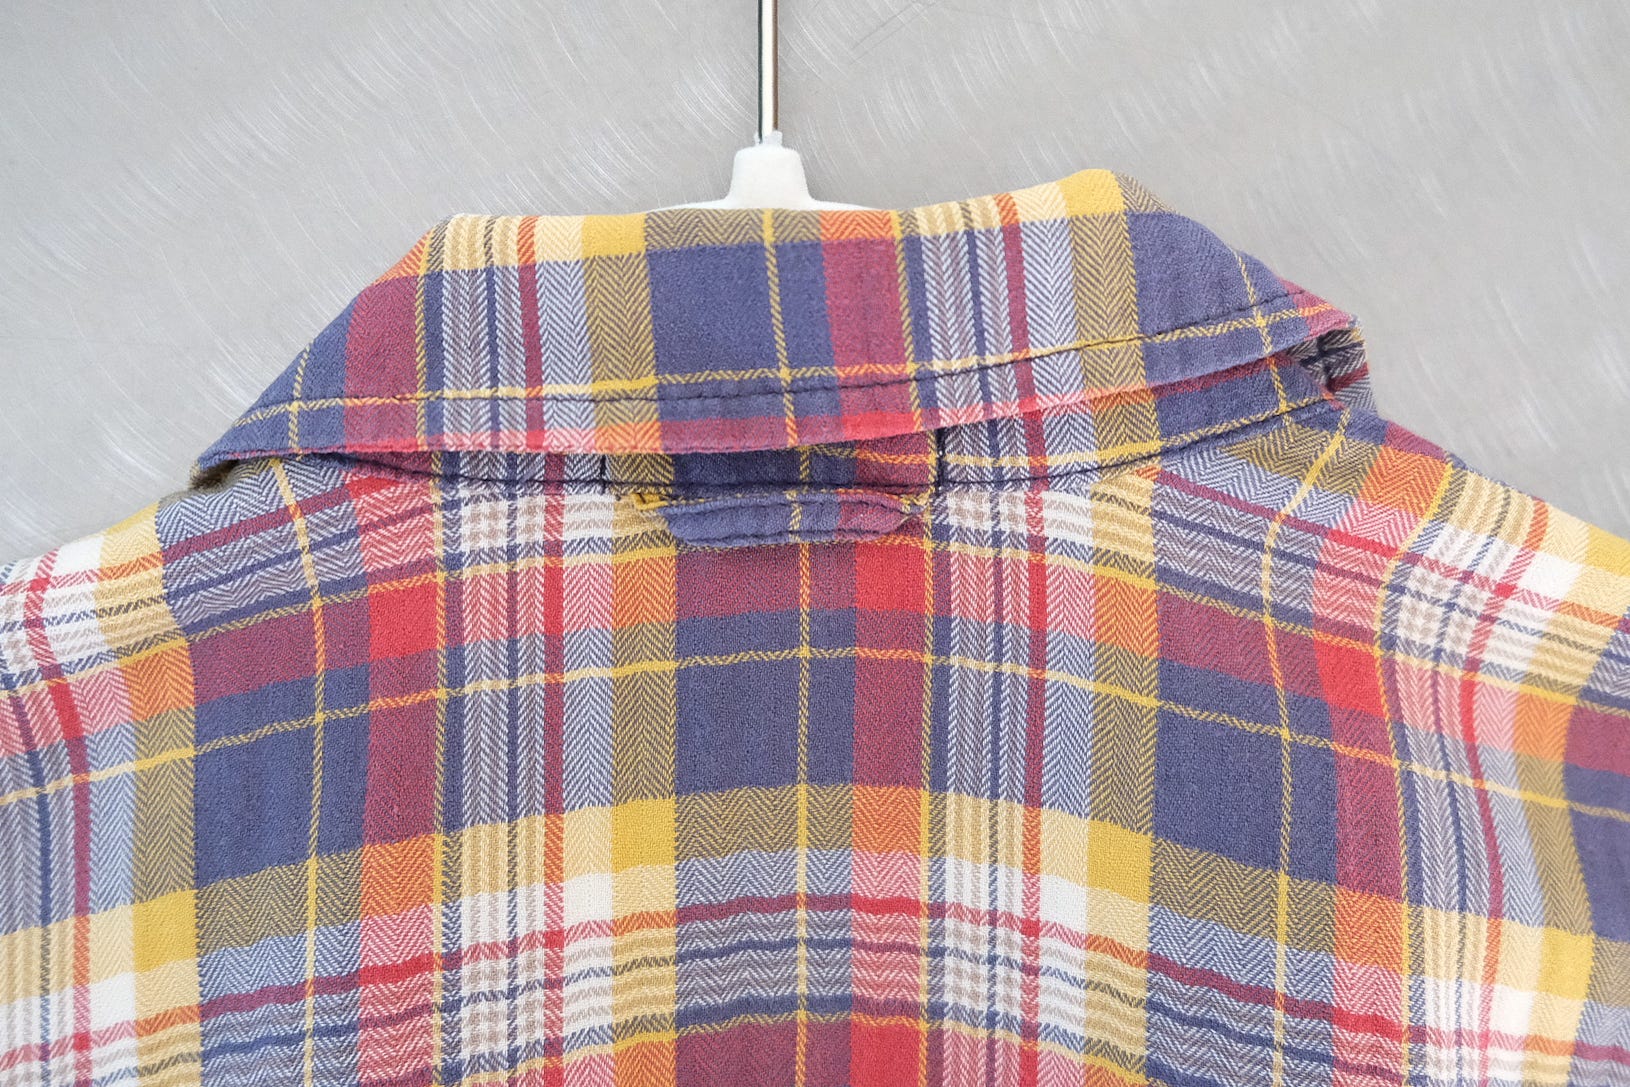
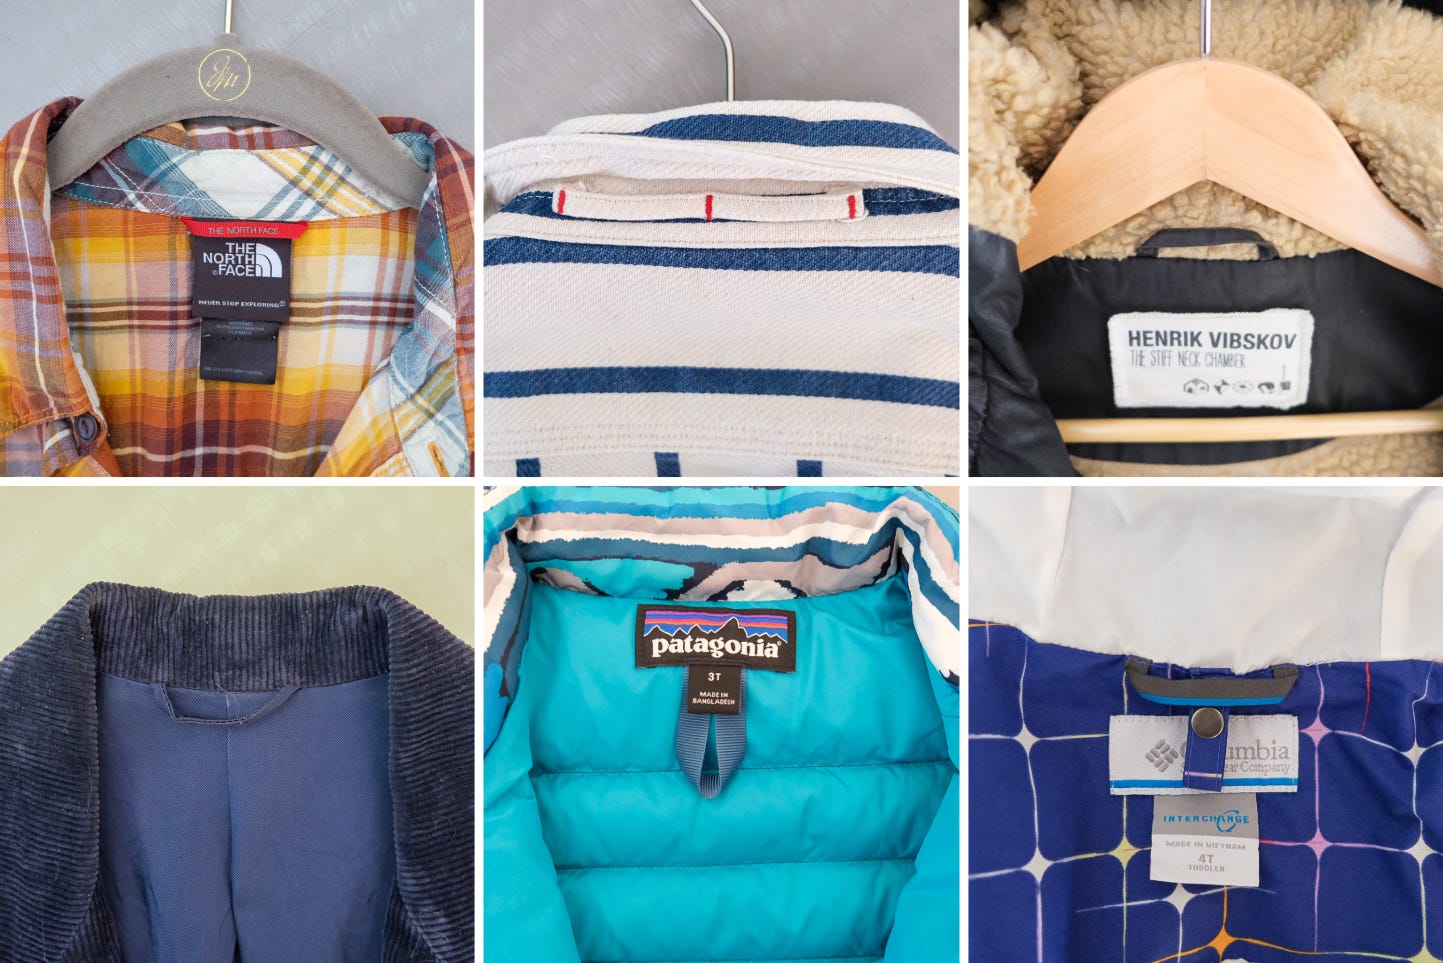
While locker loops as described above are on the garment’s exterior, loops for hanging are also often found at the interior back neck. I don’t think these are technically called locker loops, but it would be nice to have a name for them, especially since hanger loops can also mean these:
Loops are made in varying lengths and materials, often placed at a seam so raw edges can be sandwiched between two pieces.
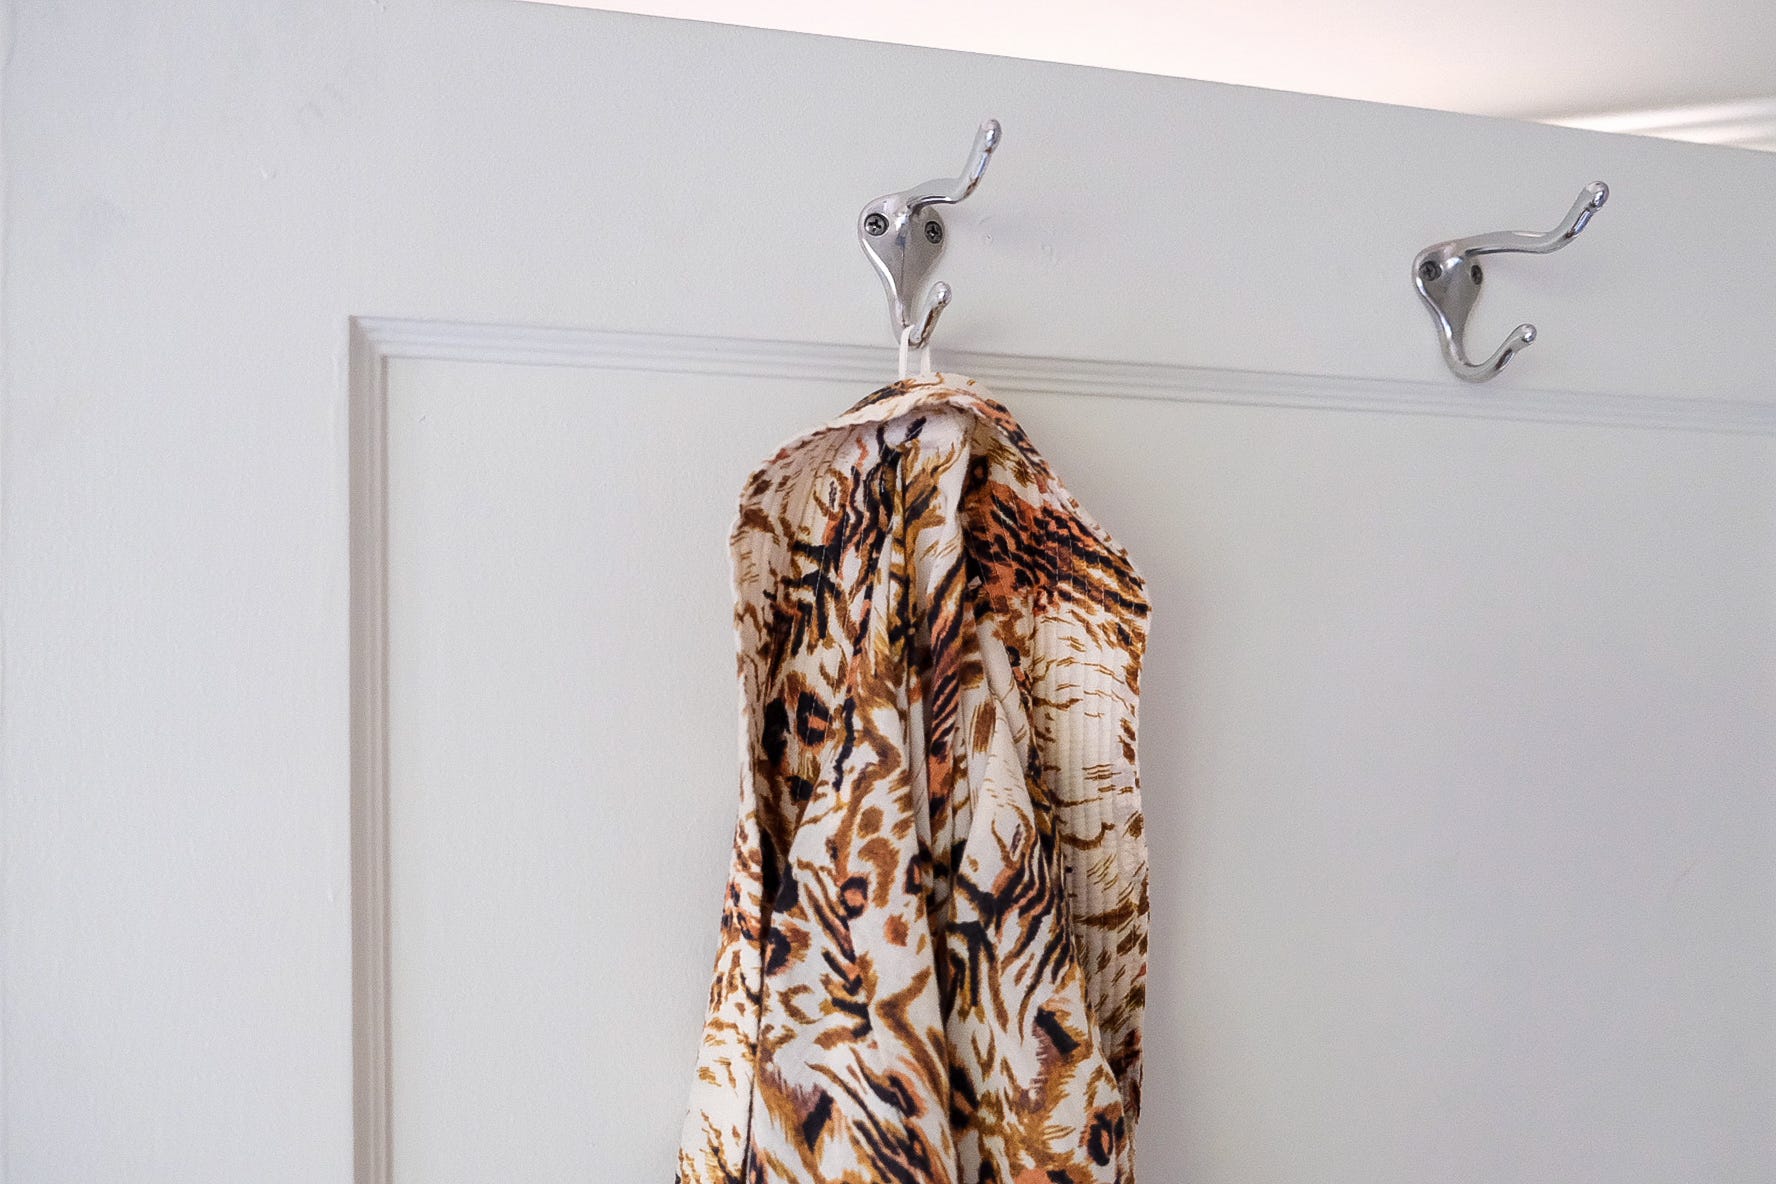
I'm adding a loop to this cotton robe to make it easier to hang, and to avoid those bumps you get when the fabric stretches over the hook.
So, without further ado, let’s make one.
How to Sew a Loop
This is the same method you’d use to make self-filled tubing.
Cut a true bias strip 1” wide—longer than you think you’ll need. Fold it in half lengthwise, right sides together, and stitch ¼” from the fold with a short stitch length, gently stretching the bias as you sew. Don’t trim the seam allowances.
Next, thread a large needle with thread. Anchor the thread at the seam on one end of the tube, then insert the needle eye-first into the tube and work it through to the other end. As you go, gently pull the thread and feed the seam allowances inside to help turn the tube right side out.
I wanted my tube to flat, so after turning it right side out, I basted along the seam and gave it a good press. Then I inserted it into seam-ripped openings where the collar attached to the robe.
After that, I hand-basted the loop in place before machine sewing it—and finally, I lost the thread tails inside the collar for a clean finish.
Here’s a short video of my process:

Sewing Tip
I love this tip from Claire Shaeffer: stitch a funnel tip at one end to make turning easier. (Her book COUTURE SEWING TECHNIQUES is fantastic, by the way.)

A tiny detail that makes all the difference!
Thank you for reading, see you next time, and happy sewing!
~ Jane
Oh your third baby! How wonderful. You will really be juggling. It sounds like you had some great opportunities with Boston and L.A. What a an experience. Yes I altered wedding gowns, made a few, altered prom gowns and created several and tons of welding caps. That was because at that time the gas industry was booming where I live (small town too) and there were hundreds of gas wells being dug and there were workers from all over the states moving here for a few years, sometimes for the summer.. They could be bought online of course and many brought them along. I had one nice guy that was looking for a sewing mom and pop shop. He was from Oklahoma. He liked his custom fit. So he gave me one of his caps to knock off. I had to have one fitting to make sure it's what he wanted(no elastic), he also liked the bill of the cap longer than standard fit caps. He asked if I could make around 38 caps, I laughed and said ,"sure". I knew that had to be 100% cotton. I asked him if he had a certain design or color. He asked, " Do you have any Bob the Builder?" I did! Left over from making shorts for my young son. He said after that to just use some cool stuff. So I made, dinosaurs, Power Rangers, Superman,Batman, spiders, and more! He loved them! And I learned how to create welding caps to fit under those big metal things they wear. The bill is wore over one or 5he other ear depending what side they are welding from. The bill is worn over an ear so when sparks fly they fly off the bill instead of going down their neck catching hair on fire. He liked his long for a reason.
Oh, this is very helpful. I own a jacket without any loop or label and the loop of my kid’s jacket ripped off. Now I know how to fix both!